Introduction
The Petcube Play 2 (model number PP2OUS) has a built-in microphone that relays your pet's sounds on the Petcube App. A defective microphone might lead to improper sound output or no output at all. If the microphone of your Petcube Play 2 is malfunctioning, use this guide to replace it.
Before using this guide, check that there are no connection issues between the Petcube, your Wi-Fi router, and your phone. The Troubleshooting Page covers connection-related issues and how to address them. If you determine that connectivity is not the issue, ensure that the Petcube Play 2 is turned off before beginning the replacement process.
Please note that step 10 of this guide requires you to remove the solder holding the microphones to the board. Be sure to carefully follow the IFixit soldering instructions to avoid burning yourself or damaging the device.
What you need
-
-
-
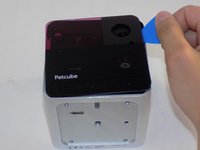
Flip over the Petcube so the rubber bottom faces you.
-
Pull up the rubber layer with an iFixit opening pick to expose the screws underneath.
 Ask FixBot
-
-
-
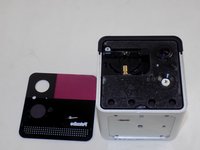
Remove the four 3.5mm screws from under the rubber cover using a Phillips #1 screwdriver.
-
-
-
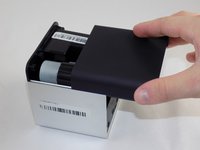
Slide off the two covers, starting with the top plastic cover.
-
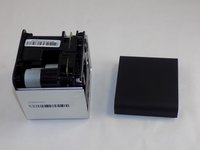
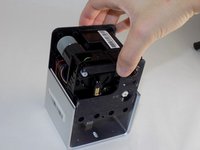
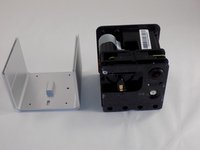
Slide out the internal assembly from the aluminum casing.
-
-
-
-
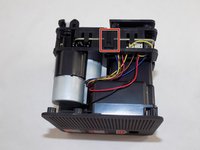
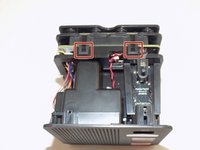
Flip the cube onto its side to locate the pull tabs.
-
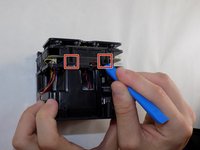
Using an opening tool, lift each of the five tabs to separate the two halves of the Petcube 2.
-
-
-
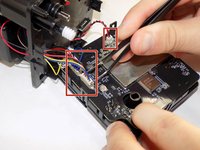
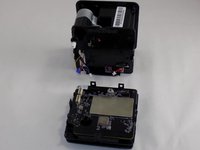
Gently disconnect the cable connectors to separate the two halves of the device.
-
-
-
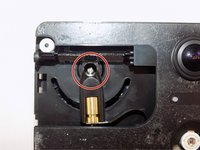
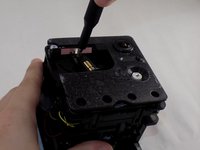
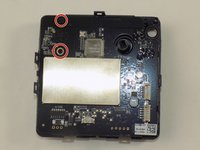
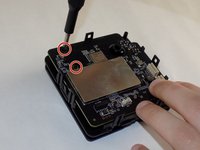
Use a Phillips #1 screwdriver to remove the two 1mm screws.
-
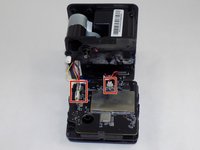
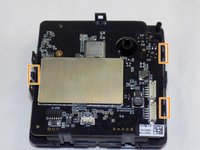
Carefully release each of the tabs on the sides of the cube and remove the motherboard.
-
-
-
-
-
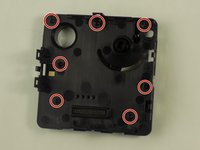
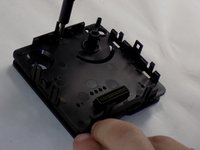
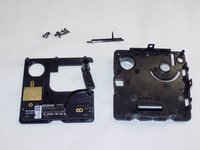
Use a Phillips #1 screwdriver to remove the screws from the plates behind the motherboard, separating the two plates.
-
-
-
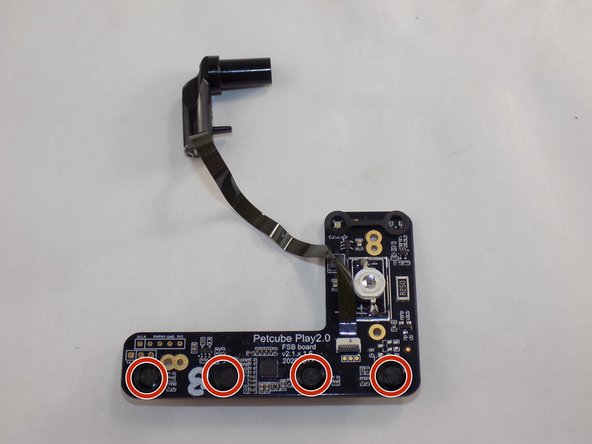
Detach the PCB with the microphones from the plastic.
-
Using a soldering iron, desolder the microphones from the PCB.
-
-















To reassemble your device, follow these instructions in reverse order. Take your e-waste to an R2 or e-Stewards certified recycler.
Cancel: I did not complete this guide.
One other person completed this guide.

Team

UMass Dartmouth, Team 1-5, Konn Spring 2024 Member of UMass Dartmouth, Team 1-5, Konn Spring 2024
UMASSD-KONN-S24S1G5
4 Members
72 Guides authored
