Introduction
This guide will disassemble the device to the point where the CD tray unit can be replaced with a new one.
What you need
-
-
Using a Phillips screwdriver, remove the eight 9.5 mm screws on the left and right sides of the device.
-
-
-
Lift the top gently but firmly from the back of the device. Allow it to rest on the back without reattaching it.
-
-
-
Lift up the top while firmly sliding it towards the back of the device.
-
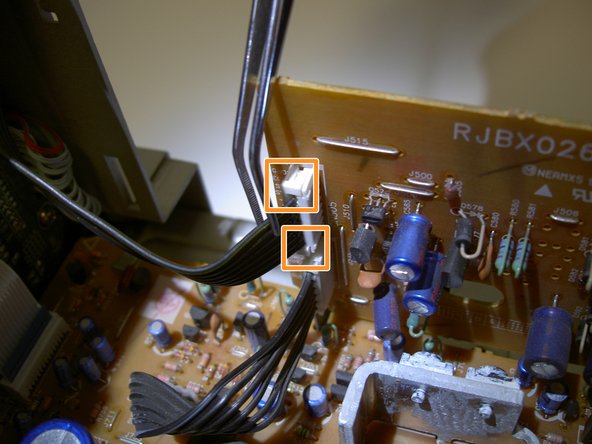
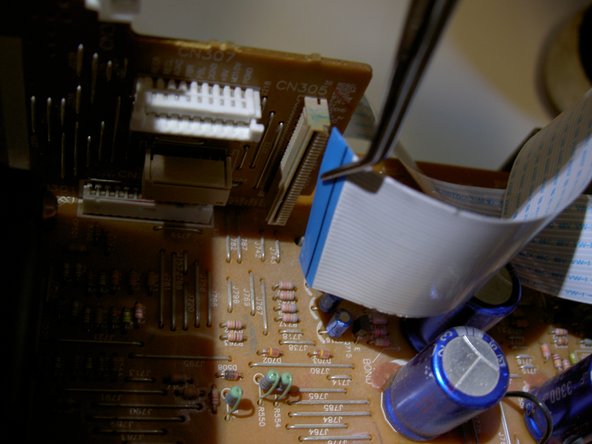
The next step is a zoom-in of the indicated area.
-
-
-
Using forceps or fingers, remove the small black wire indicated.
-
Grip the wire near its base and pull gently but firmly until it pops out of the slot.
-
-
-
-
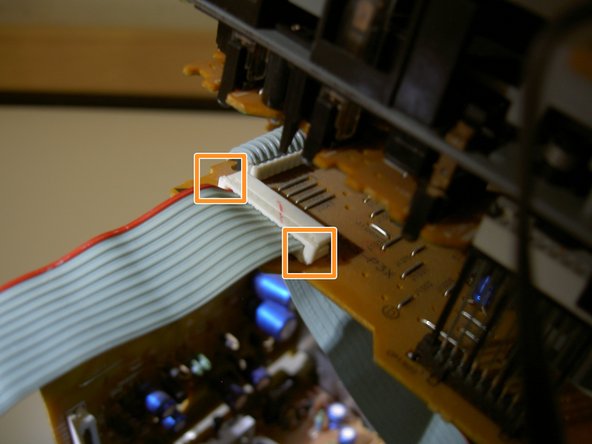
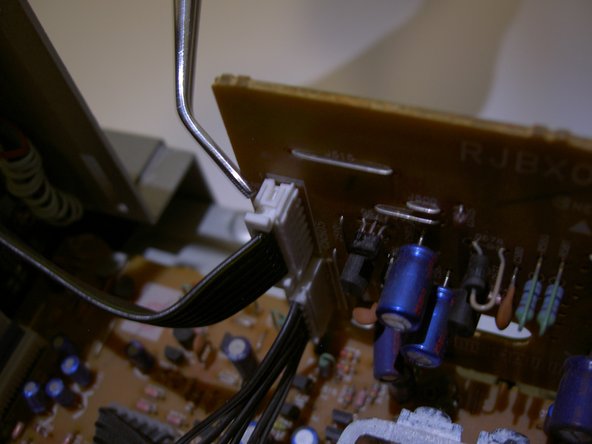
This step deals with the indicated area of the device.
-
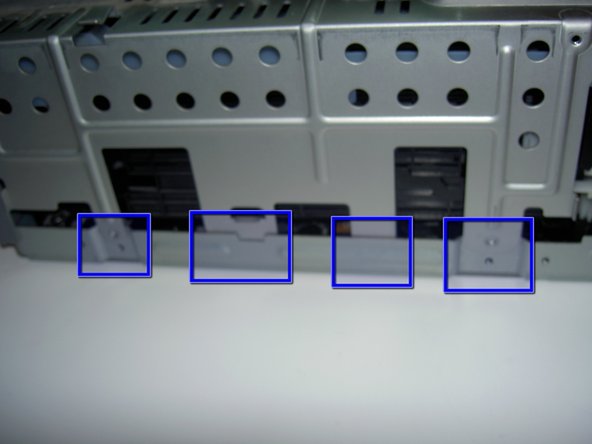
Lift the indicated tabs out until the restraint looks like the final picture.
-
Gently pull on the cord until it comes free of the attachment.
-
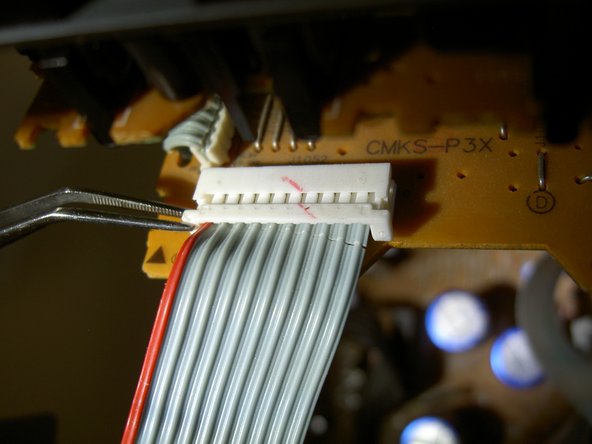
The top section of the device should now be free of the body. Place it aside in a safe place.
-
-
-
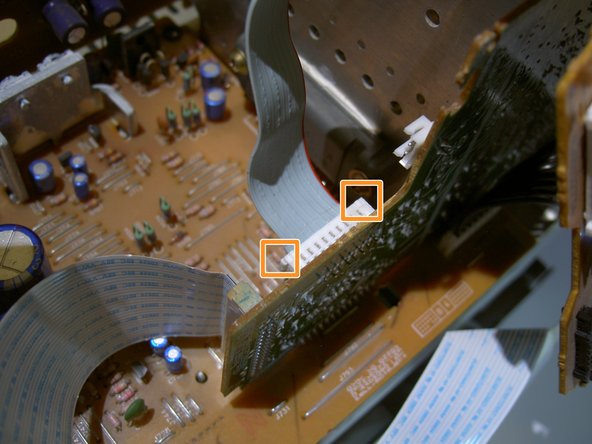
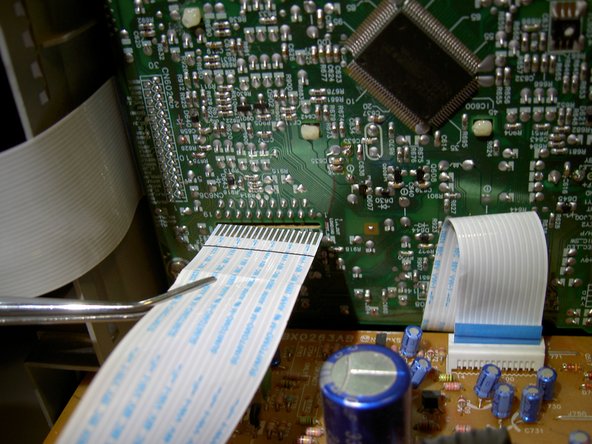
This step deals with the indicated portion of the the device.
-
Lift the indicated tabs out until they look like the final picture.
-
Gently pull on the cord until it comes free of its restraint.
-
-
-
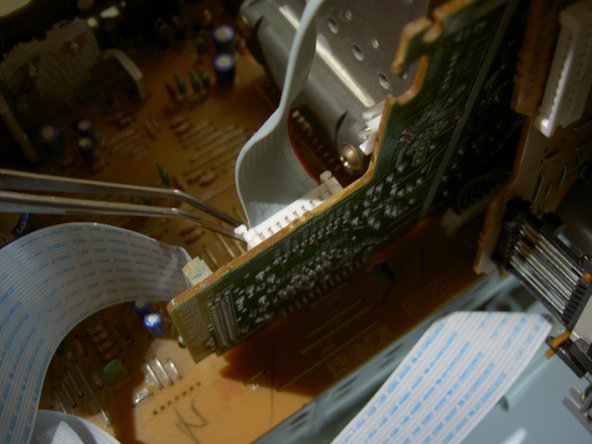
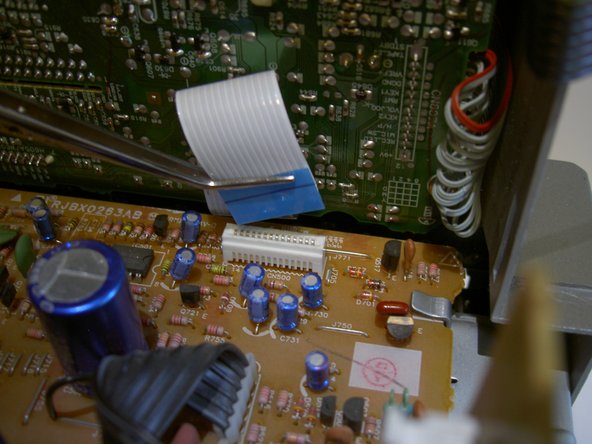
This step deals with the indicated area of the device.
-
Neither of the indicated cords have restraints on them like the previous ones. Use tweezers or fingers to pull firmly on the base of each cord until it comes free.
-
-
-
This step deals with the indicated area of the device.
-
Use tweezers or fingers and firmly pull straight out on the cord until it comes free.
-
-
-
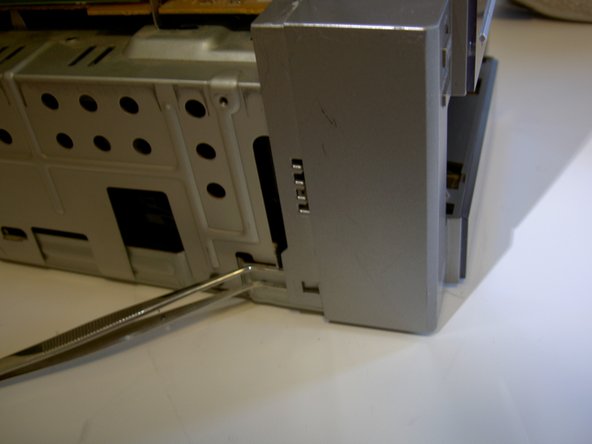
This step deals with the indicated area of the device.
-
Using tweezers or fingers, lift gently on the tab indicated to free the front from the body of the device.
-
Rotate device 180 degrees and repeat for other side.
-
Rotate the front slightly forward to keep the tabs from re-engaging on their hooks.
-
-
-
Wiggle the front gently while pulling it forward until it comes free of the body of the device.
-
-
-
This step deals with the indicated area of the device.
-
Using tweezers or fingers, pull gently but firmly on the base of the cord until it comes free of its slot.
-
-
-
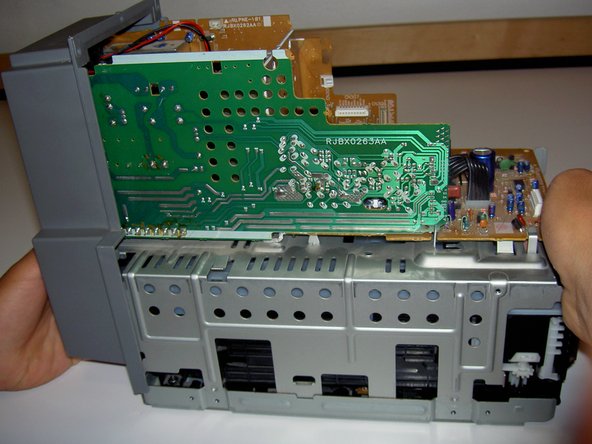
Lift the body directly up off of the base and place aside.
-
Note the proper locations of the various tabs in the last picture.
-
-
-
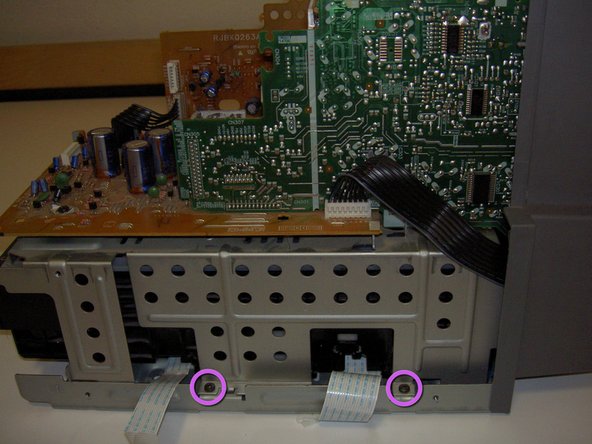
Lift the CD Tray Unit off of the bottom of the device and replace with new unit.
-
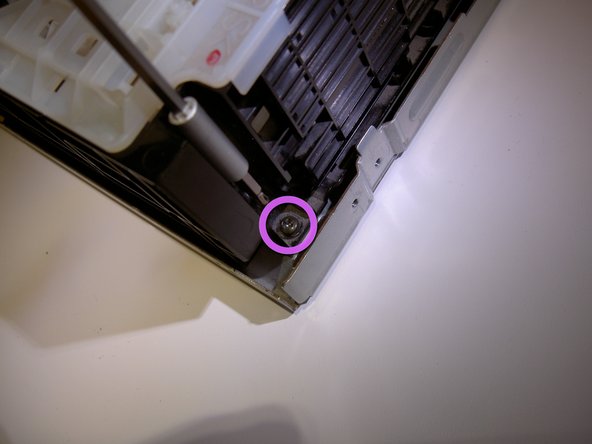
When placing the new unit in, verify that the indicated pin is in its proper slot before putting the screws back on.
-


Team

Cal Poly, Team 4-1, Regan Spring 2011 Member of Cal Poly, Team 4-1, Regan Spring 2011
CPSU-REGAN-S11S4G1
3 Members
5 Guides authored