Introduction
Prerequisite only guide for opening the iPad Mini 4.
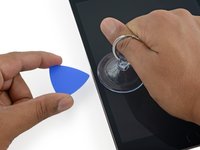
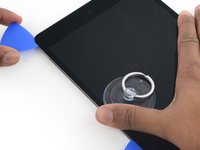
What you need
-
-
-
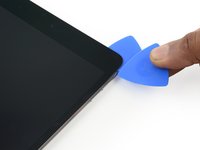
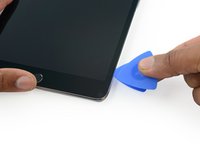
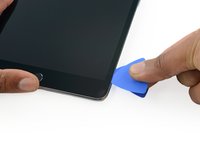
Leave the opening pick in the iPad slightly past the front-facing camera.
-
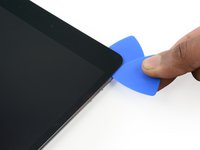
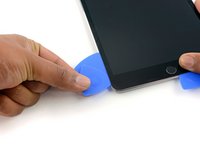
Take a third pick and insert it to the left of the camera, where the first pick just was. Slide it back to the corner to completely cut any remaining adhesive.
-
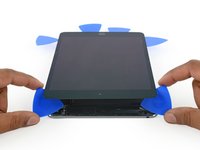
Leave the third pick in place to prevent the corner adhesive from re-sealing as it cools.
-


Conclusion
To reassemble your device, follow these instructions in reverse order.
