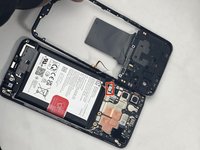
Free Shipping on Domestic Orders $75+

OnePlus Nord N200 Midframe Replacement

What you need

  1. OnePlus Nord N200 Midframe Replacement, Back Cover: step 1, image 1 of 3 OnePlus Nord N200 Midframe Replacement, Back Cover: step 1, image 2 of 3 OnePlus Nord N200 Midframe Replacement, Back Cover: step 1, image 3 of 3
    • Due to its surface, the suction tool won't hold onto the phone's rear glass. A thin slicing tool is required.

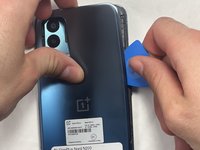
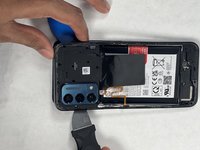
    • Insert the Jimmy into the seam between the rear glass and the midframe at the bottom edge of the phone to create a gap.

    • This may require some force.

    • Leave the Jimmy in place for a few seconds to prevent the adhesive from resealing.

  2. OnePlus Nord N200 Midframe Replacement: step 2, image 1 of 3 OnePlus Nord N200 Midframe Replacement: step 2, image 2 of 3 OnePlus Nord N200 Midframe Replacement: step 2, image 3 of 3
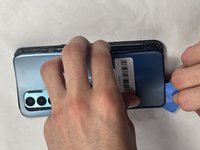
    • Insert an iFixit opening pick into the gap you created with the Jimmy.

    • Slide the Jimmy around the phone to slice the adhesive.

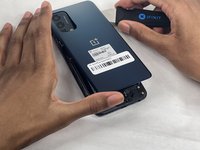
    • Insert a second iFixit opening pick at the spot you have sliced open to keep it open.

  3. OnePlus Nord N200 Midframe Replacement: step 3, image 1 of 3 OnePlus Nord N200 Midframe Replacement: step 3, image 2 of 3 OnePlus Nord N200 Midframe Replacement: step 3, image 3 of 3
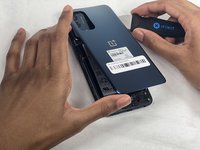
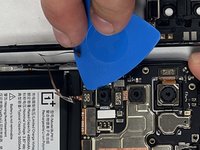
    • Slide the iFixit opening pick along the top edge to slice the adhesive.

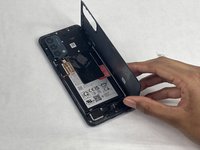
    • Start prying the back plate off the phone.

  4. OnePlus Nord N200 Midframe Replacement: step 4, image 1 of 3 OnePlus Nord N200 Midframe Replacement: step 4, image 2 of 3 OnePlus Nord N200 Midframe Replacement: step 4, image 3 of 3
    • Remove the back cover.

  5. OnePlus Nord N200 Midframe Replacement, Midframe: step 5, image 1 of 3 OnePlus Nord N200 Midframe Replacement, Midframe: step 5, image 2 of 3 OnePlus Nord N200 Midframe Replacement, Midframe: step 5, image 3 of 3
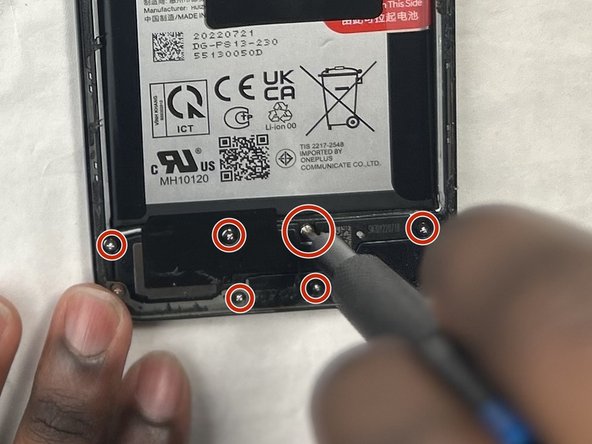
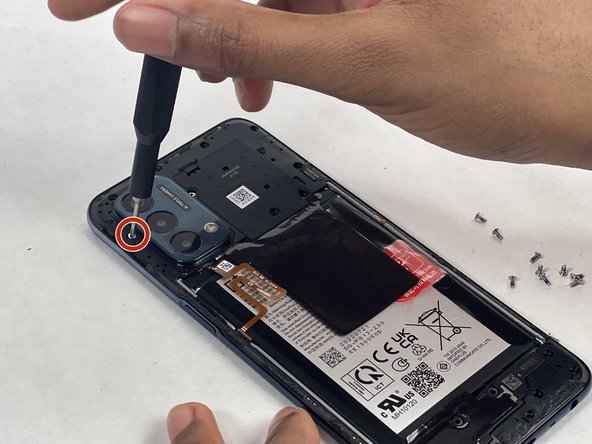
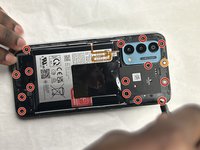
    • Use a Phillips #00 screwdriver to remove the sixteen 3.6 mm-long screws securing the midframe.

    • The orange circle represents a hidden screw that also needs to be screwed out. (At first glance it may not look like a screw).

  6. OnePlus Nord N200 Midframe Replacement: step 6, image 1 of 3 OnePlus Nord N200 Midframe Replacement: step 6, image 2 of 3 OnePlus Nord N200 Midframe Replacement: step 6, image 3 of 3
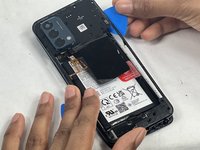
    • Gently insert the Jimmy to create a gap between the midframe and the top of components in the bottom case.

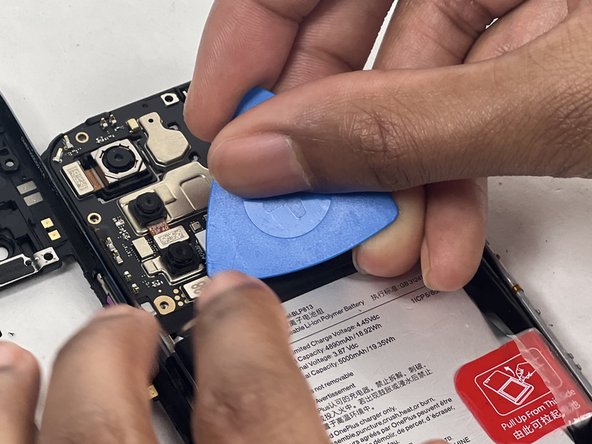
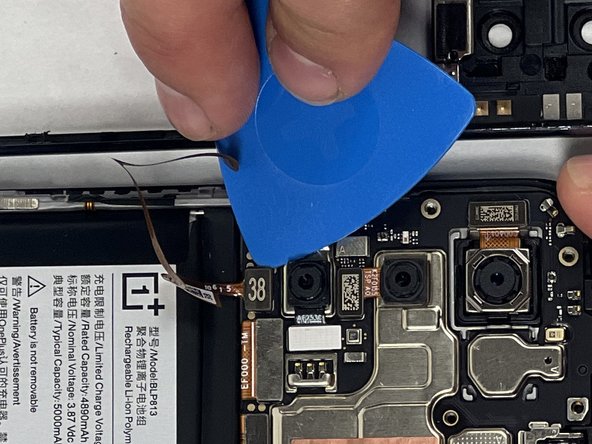
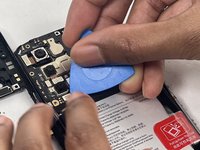
    • Slide an opening pick around the edge of the midframe to slice the adhesive.

    • Use the Jimmy to pry off the midframe of the phone.

  7. OnePlus Nord N200 Midframe Replacement: step 7, image 1 of 3 OnePlus Nord N200 Midframe Replacement: step 7, image 2 of 3 OnePlus Nord N200 Midframe Replacement: step 7, image 3 of 3
    • Use your hands to finish prying open the midframe off the phone.

    • Watch out for the fingerprint reader cable when taking off the back tray as it is still connected. If you are not careful, it could be damaged.

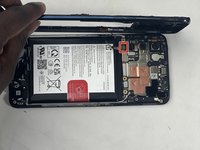
    • Pull the midframe off of the phone and lay it to the side of the phone.

  8. OnePlus Nord N200 Midframe Replacement: step 8, image 1 of 3 OnePlus Nord N200 Midframe Replacement: step 8, image 2 of 3 OnePlus Nord N200 Midframe Replacement: step 8, image 3 of 3
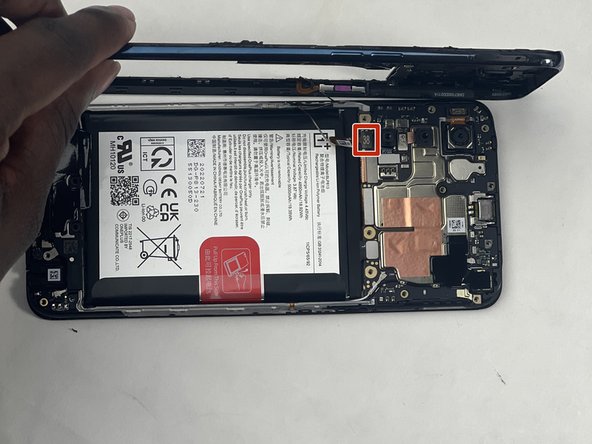
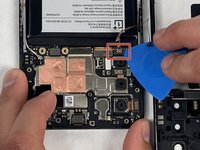
    • Place a spudger or an opening tool under the connector's edge and pry straight up to disconnect the fingerprint cable connector.

    • Move the fingerprint reader cable to the side along with the midframe.

  9. OnePlus Nord N200 Midframe Replacement: step 9, image 1 of 1
    • Remove the midframe.

Conclusion

To reassemble your device, follow these instructions in reverse order.Take your e-waste to an R2 or e-Stewards certified recycler.

One other person completed this guide.

Fabrise Niyonkuru

Member since: 03/18/24

1,138 Reputation

9 Guides authored

Team

0 Guide Comments

Add Comment

View Statistics:

Past 24 Hours: 0

Past 7 Days: 7

Past 30 Days: 28

All Time: 412