Introduction
OnePlus 6T was the flagship killer launched by the Chinese brand in November 2018. One of the major upgrades from its OnePlus 6 model, was the in-screen fingerprint scanner alongside other hardware updates. 6T featured a dual-camera setup at the rear (16+20 MP) and was the best camera launched by the company until the OnePlus 7 in the following year. This post helps you replace that setup and its detailed explanation ensures that you perform this procedure in the best way possible.
What you need
-
-
Make sure the phone is powered off and placed with the back cover facing towards you on a stable surface.
 Ask FixBot
-
-
-
Pop open the SIM card tray by inserting a SIM card removal tool into a small hole on the upper-left side of the phone.
-
Carefully remove the SIM card from its tray.
-
-
Tool used on this step:Plastic Cards$2.99
-
Insert a Jimmy under one of the heated corners of the phone to lift it slightly.
-
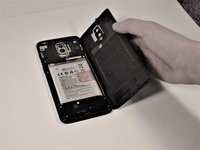
Insert a plastic card underneath the slightly lifted lip on the back cover and gently glide the card under the lifted phone casing.
-
Remove the back cover from the phone.
-
-
Tool used on this step:Tweezers$4.99
-
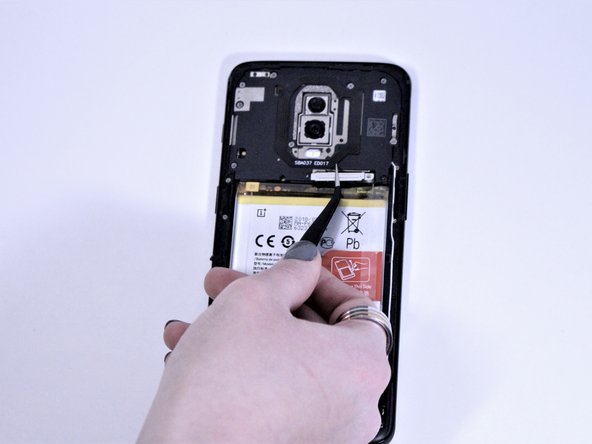
Remove the single 3mm Phillips #00 screws holding the metal battery cover on the phone.
-
Use tweezers to remove the battery cover and place it to the side.
-
-
-
-
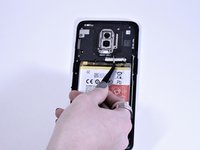
Using a spudger, lift the light brown tab in the middle of phone to disconnect the front camera.
-
Remove the front camera from the phone.
-
-
-
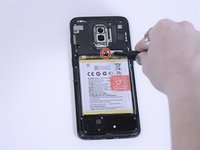
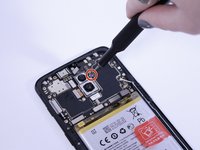
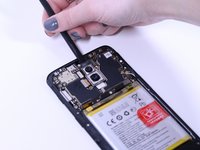
Remove the single 3mm Phillips #00 screw to the right of the top rear camera.
-
-
-
Using a spudger, disconnect the charging port flex connector, the main flex connector, and the screen flex connector at the bottom of the camera.
-
-
-
Use a spudger to disconnect the signal cables on the right side of the motherboard.
-
-
-
Disconnect the slider from the top of the phone with a spudger.
-
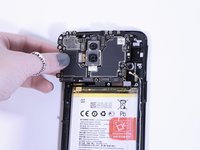
Gently pull the motherboard from the left side and remove it from the phone.
-
-
-
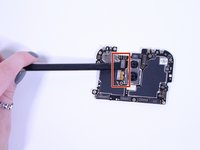
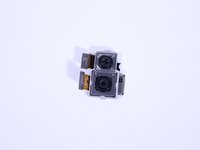
Using a spudger, disconnect the two metal rear camera tabs on the left side of the camera.
-
Remove the camera from its slot on the motherboard.
-


To reassemble your device, follow these instructions in reverse order.
Cancel: I did not complete this guide.
3 other people completed this guide.

Team

Grand Valley State University, Team S4-G6, DeVasto Fall 2019 Member of Grand Valley State University, Team S4-G6, DeVasto Fall 2019
GVSU-DEVASTO-F19S4G6
4 Members
22 Guides authored