
OVNS Firework Refill Technique

Jerry Wheeler and
Last updated on Nov 11, 2026
Views: 98
View statistics:
- Past 24 Hours:
- 4
- Past 7 Days:
- 42
- Past 30 Days:
- 89
- All Time:
- 98
Comments: 2
2 comments on steps.
Completed: 0 1
No one has marked this guide "completed." Will you be the first?
1 person has marked this guide "completed." It's you — great job!
Favorites: 0 1
No one has favorited (and subscribed to) this guide. Will you be the first?
1 person has favorited (and subscribed to) this guide — and that's you!
Community-Contributed Guide
An awesome member of our community made this guide. It was not created by iFixit staff.
Introduction
Go to step 1 ↓Although this vape is marketed as disposable, in reality it works quite well once you refill it with your favorite ejuice. Most Salt Nic liquids will work fine in it at a substantial discount from purchasing a new disposable vape.
Three or four refills are all that are recommended; after that the heater coils get too gummed up with carbon and the cotton gets burnt, resulting in bad flavor and poor vapor production.
If you're considering refilling your vape for the first time, be sure to stop using it just as soon as you start tasting a burnt flavor. A couple of pulls that taste burnt won't hurt anything, but if you continue you'll burn the cotton and possibly burn out a coil.
Note that unlike the Geek Bar Pulse vape, there is no shortcut refill technique for this vape. Even with the mouthpiece removed, there is yet another seal preventing access to the absorbent foam, so the covers must be remove to be able to refill this vape.
What you need
Tools


-
-
-
Grasp the mouthpiece with a pair of pliers.
-
Give it a good, solid twist, left or right doesn't matter.
 Ask FixBot
-
-
-
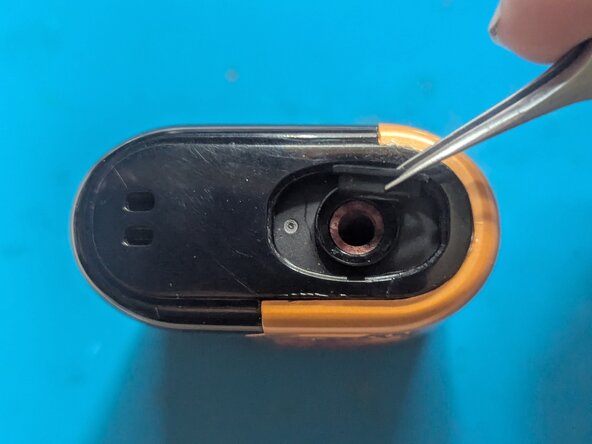
If the mouthpiece seal came off with the mouthpiece, good, because you'll need to take it off anyway.
-
Use your tweezers to take out the seal and set it aside.
-
The rim around the top goes toward the mouthpiece.
-
-
-
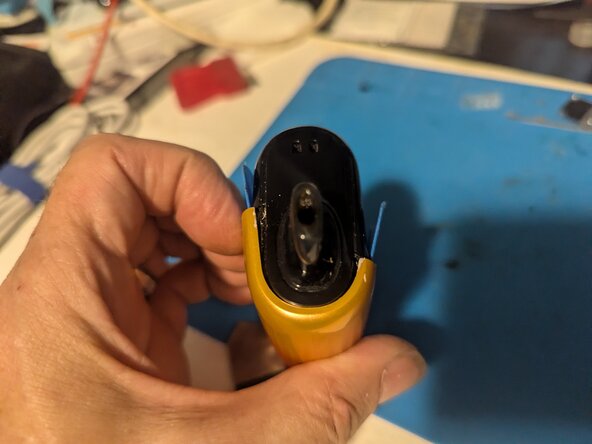
Note that the mouthpiece has a tab that only allows it to be mounted in one orientation. The arrow here points to the one you'll need to match up with on the case.
-
Here you can see inside the case where the tab on the mouthpiece lines up.
-
-
-
Turn the power switch to the Off position; no air holes should be visible.
-
Use your opening tool to lever the power button up. It is only pressed on; there are no adhesives or clips to deal with.
-
Remove the power button.
-
-
-
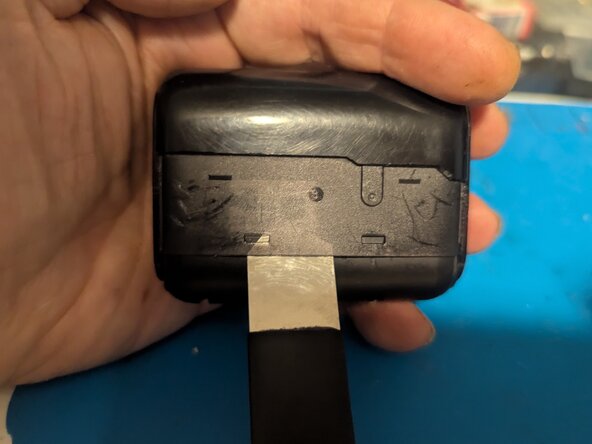
The rear cover (the colored part) is clipped on, but the clips are tricky to undo. Start with the top edge and pry it up with your metal opening tool.
-
In the gap you can now see on the side, slip in an opening pick to keep it open.
-
-
-
Flip the vape over and pry up the bottom corner of the cover.
-
Add an opening pick.
-
-
-
-
There are also internal clips along the rear side that are still holding the cover in place. It just takes a bit of force to pop it off. Grasp the long edge of the cover and pull hard.
-
With that, the cover is off.
-
-
-
Insert an opening pick in one side of the front cover to disengage the two latching tabs on that side.
-
Insert it far enough to be seen through the rectangular cutouts for the tabs.
-
-
-
On the other side, insert your pry tool.
-
Lever the tool up to both free the tabs and slide the vape out of the front cover.
-
-
-
Use the point of a spudger to flip up the retaining latch on the display's circuit board.
-
-
-
Start by inserting your pry tool in the bottom seam on one side. Separate the housing slightly.
-
Flip the vape over and pop the other side loose.
-
-
-
Holding the vape upright, push the tank out of the cover. Locate the white absorbent pad visible in the air passage.
-
Press down on the pad.
-
Once enough of the tank is exposed, you can grasp that and pull the tank/battery/electronics assembly out.
-
-
-
-
-
Here you see the white tank seal in place on top of the tank.
-
Lift off the tank seal and set it aside.
-
-
-
Go around the edges of the foam, filling the space between it and the wall of the tank.
-
-
-
This is what it will look like as you start out, with the liquid saturating the foam. Continue filling evenly around the edges of the opening.
-
Finally, here's one that is sufficiently full for use. It doesn't need to be completely saturated; too much can overflow and cause problems with the electronics.
-
-








To reassemble your device, follow these instructions in reverse order.
Your tank is topped up, so before you put it all back together now is the perfect time to reset the e-level liquid indicator as shown in this guide.
OVNS Firework e-Liquid Level Indicator Reset - iFixit Repair Guide

