Introduction
The Nintendo Switch comes with two Joy-Con controllers. This guide shows how to replace the joystick of the left Joy-Con. The procedure for repairing the right Joy-Con is different, so be sure to follow the correct set of instructions for your controller.
What you need
Video Overview
-
-
Tool used on this step:Magnetic Project Mat$19.95
-
Remove the four Tri-Point Y00 screws from the back panel of the Joy-Con.
 Ask FixBot
-
-
-
Insert an opening pick into the seam at the bottom edge of the controller (opposite the L and ZL buttons).
-
Slowly slide the flat edge of your opening pick up the side of the Joy-Con.
-
-
-
With the charging rail facing away from you, open the the Joy-Con like a book.
-
-
-
Use a spudger to gently pry the battery connector straight up from its socket on the motherboard. This will keep the Joy-Con from powering on during the repair.
-
-
-
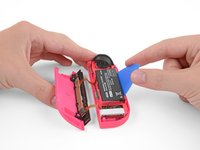
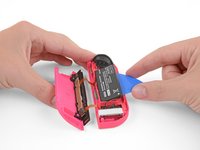
Insert an opening pick between the battery and the Joy-Con housing.
-
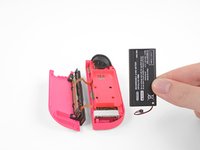
Gently pry out the battery, which is lightly taped in place.
-
-
-
-
Carefully flip the midframe over, away from the motherboard, as if you were turning the page of a book.
-
-
Tool used on this step:Tweezers$4.99
-
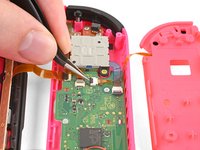
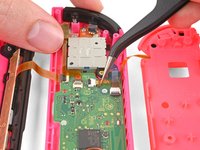
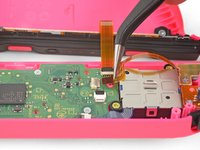
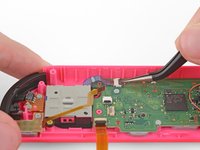
The ZL button cable is locked in place by a small ZIF connector on the motherboard. Use tweezers or a spudger to flip up the ZIF connector lock opposite the cable.
-
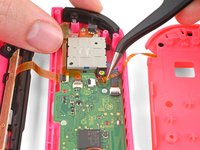
Use tweezers to gently pull the ZL button flex cable out of the ZIF connector socket. The midframe is now disconnected and can be removed.
-
-
-
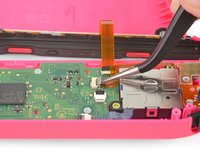
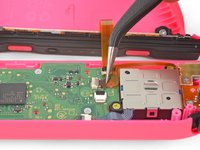
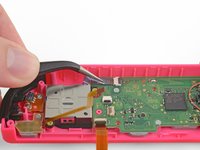
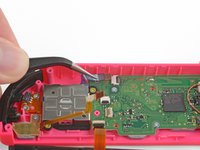
Finally, the joystick is locked into place by one last ZIF connector. Carefully flip the ZIF lock upward and disconnect the cable.
-
-
-
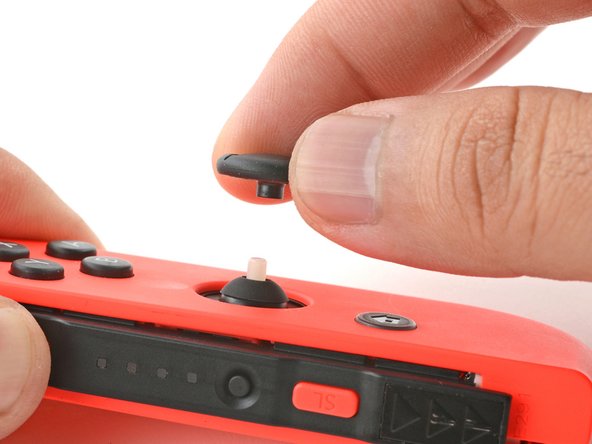
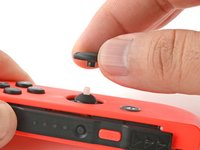
Use your fingers to pull the thumbstick off of the Gulikit joystick module.
-
-
-
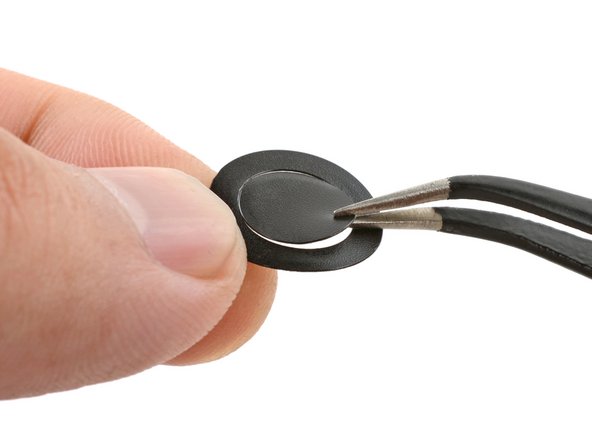
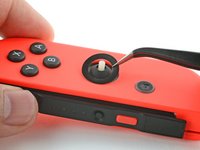
Peel the ring sticker from its liner.
-
If the sticker center is still attached, separate and remove it from the ring.
-
Set the ring sticker in the joystick recess and press it with your fingers for a few seconds to attach it.
-
-


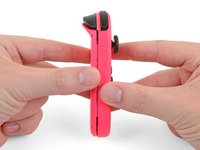
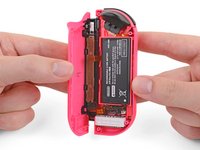


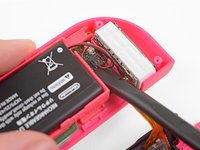
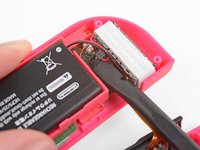










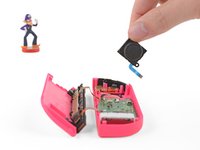
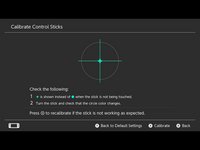



To reassemble your device, follow the above steps in reverse order.
Take your e-waste to an R2 or e-Stewards certified recycler.
Repair didn’t go as planned? Check out our Answers community for troubleshooting help.
Cancel: I did not complete this guide.
1090 other people completed this guide.

166 Guide Comments
Thx This really helped
Thanks. This was just the right amount of info and now my left stick drift is gone….for now.
I would recommend at least once a month take a can of compressed air and spray the joystick internals to clear it of any dust or debris.
