What you need
-
-
-
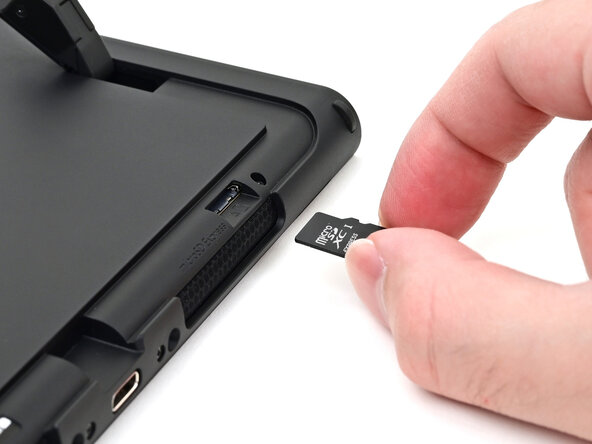
Remove any game cards and disconnect any cables, controllers, or other accessories from the console.
-
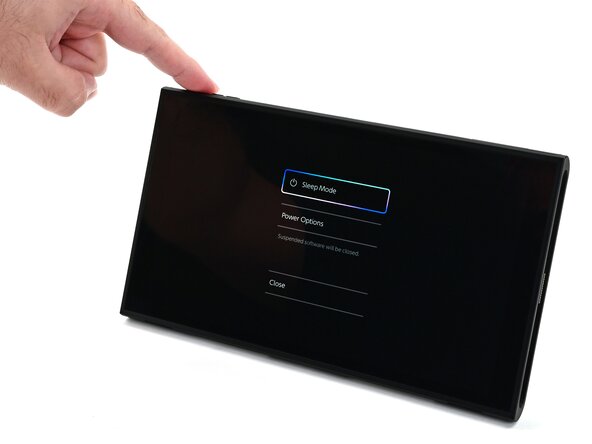
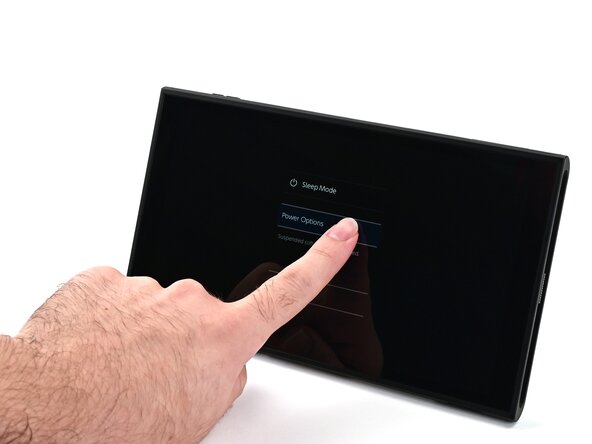
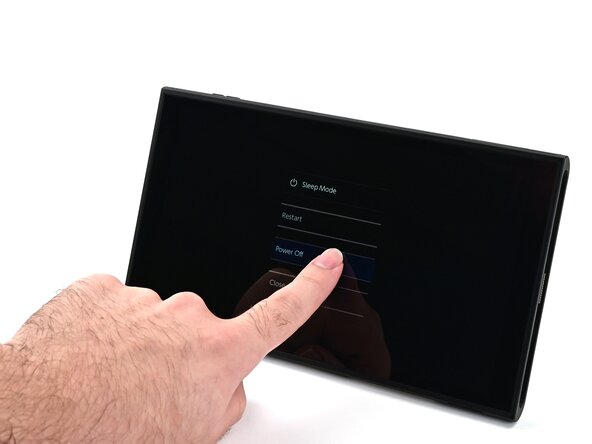
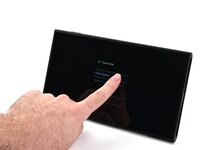
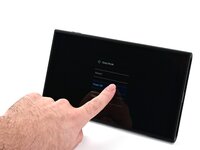
Power off the console by holding down the power button, selecting Power Options, then pressing Power Off.
 Ask FixBot
-
-
-
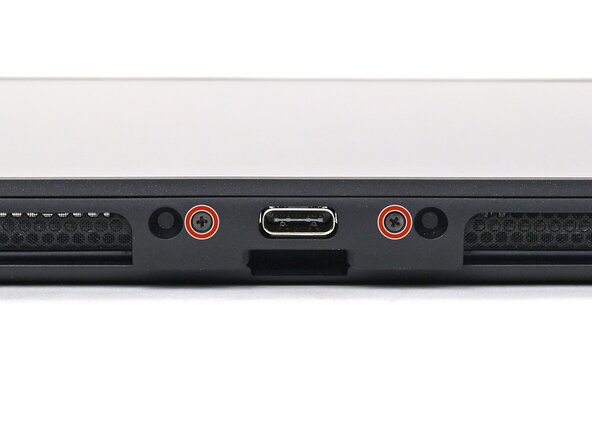
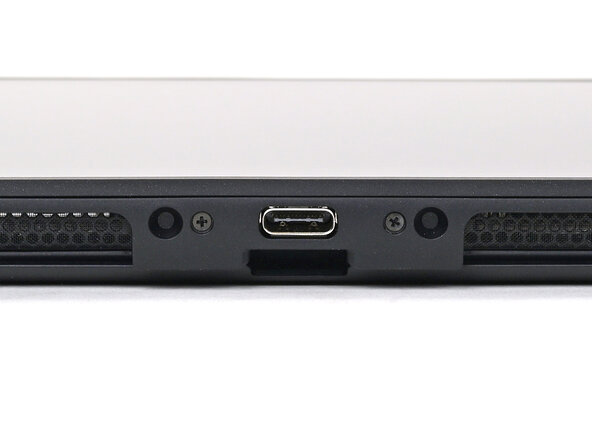
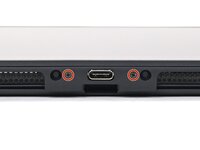
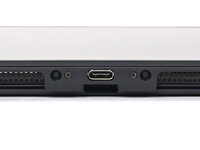
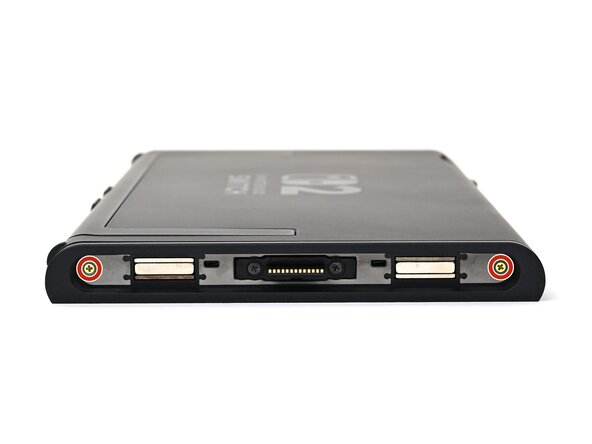
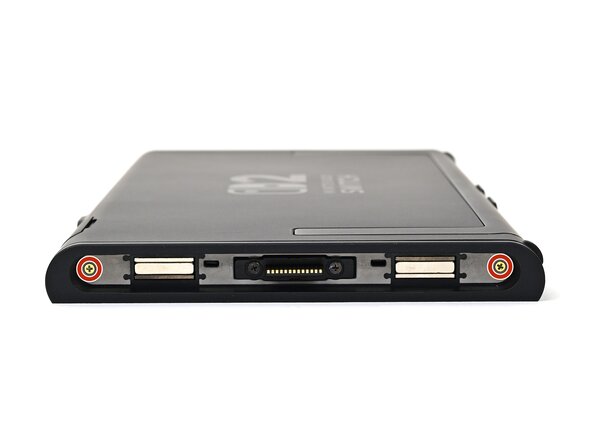
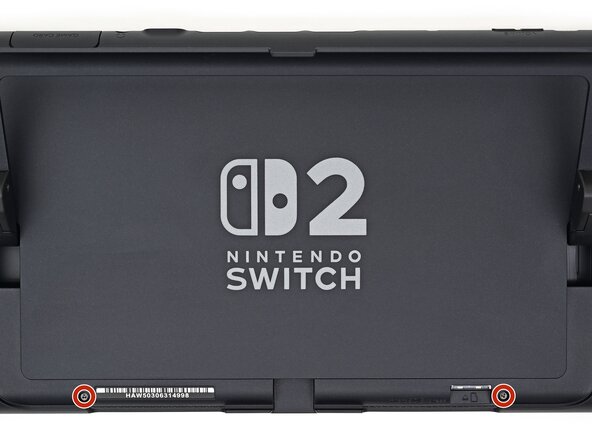
Use a JIS 00 driver to remove the two 3.1 mm‑long screws on either side of the bottom USB-C port.
-
-
-
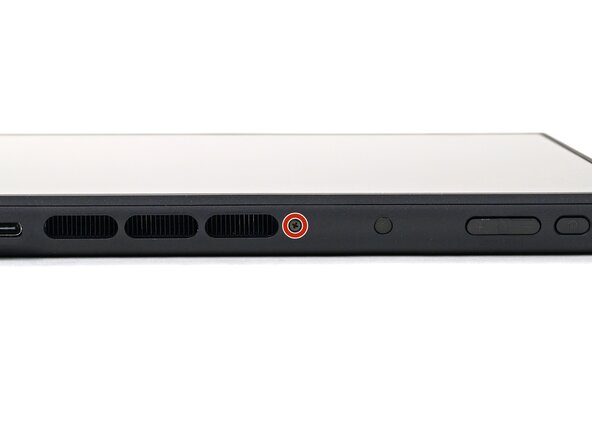
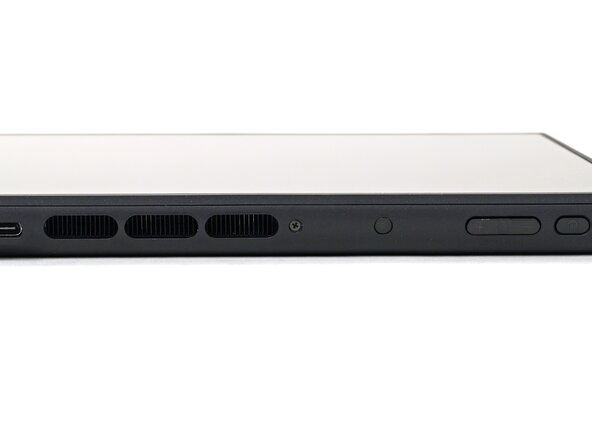
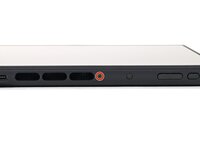
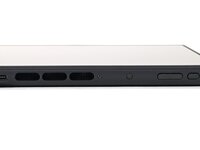
Use a JIS 00 driver to remove the 3.1 mm‑long screw on the top edge of the console (next to the ventilation cutouts).
-
-
-
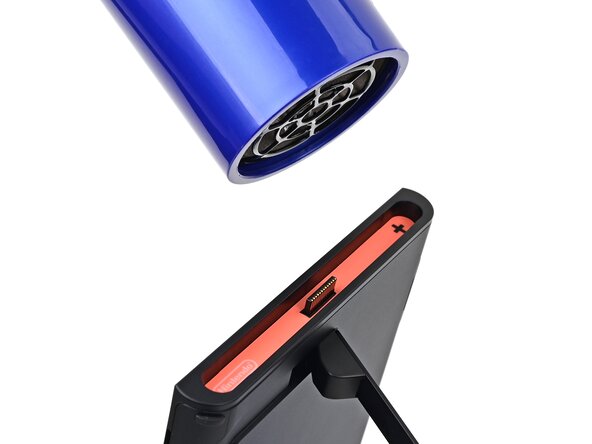
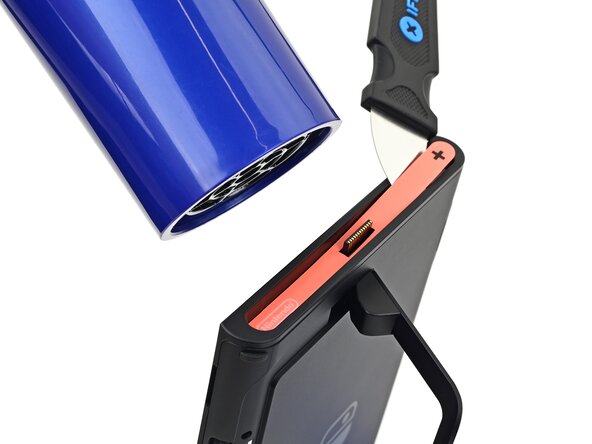
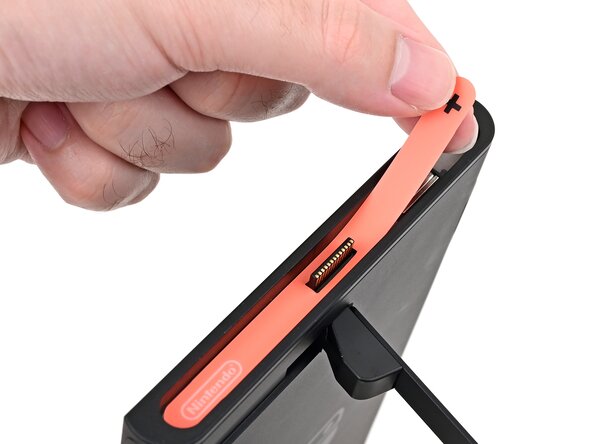
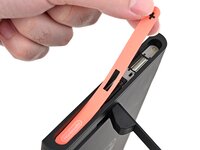
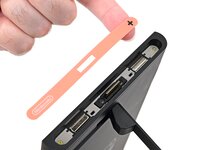
Use a hair dryer or heat gun to heat the sticker on the right side of the console, labeled with a "+" symbol, until it's hot to the touch.
-
-
-
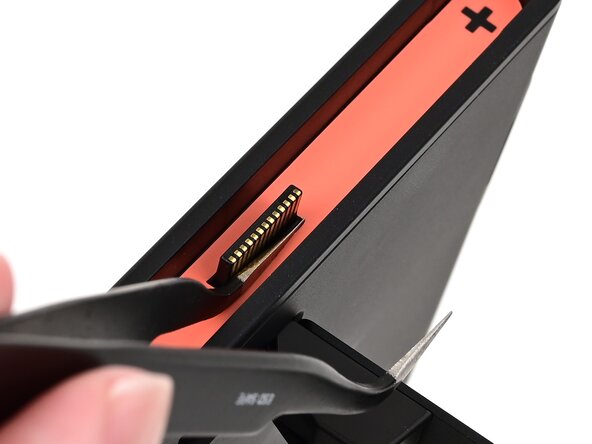
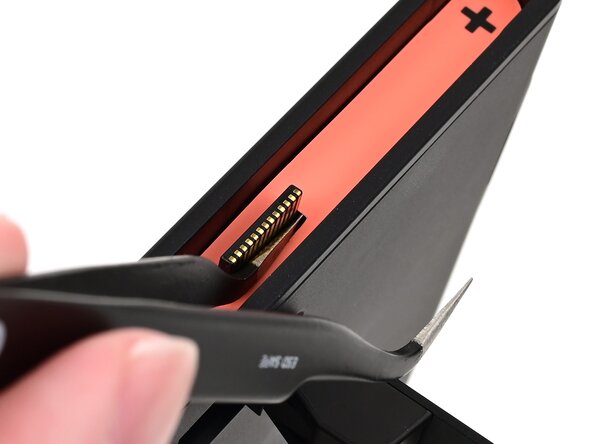
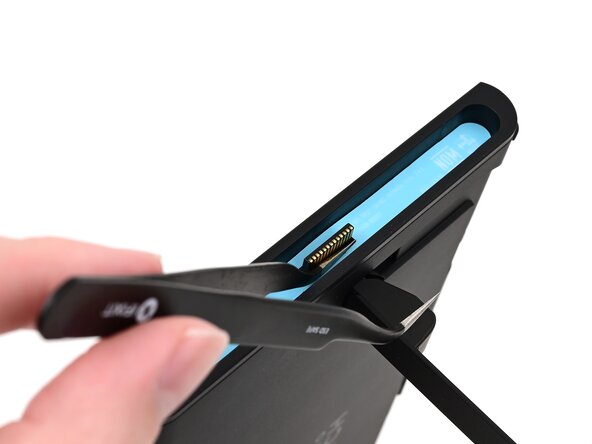
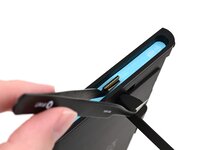
Slide one arm of angled tweezers underneath the sticker from its cutout around the right Joy‑Con 2 connector.
-
Gently pry up on the sticker until it starts to lift from the console.
-
Leave the tweezers in place to keep the sticker lifted.
-
-
Tool used on this step:Jimmy$7.95
-
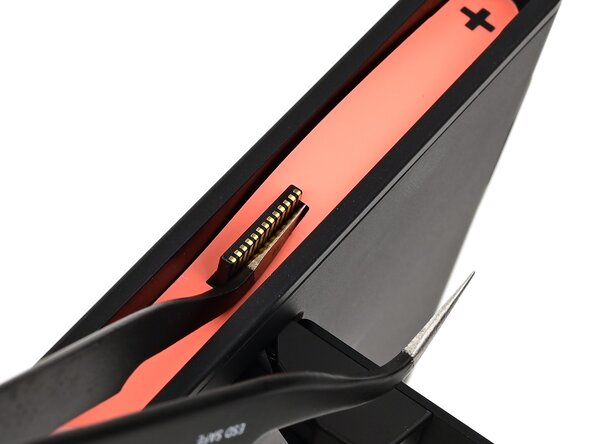
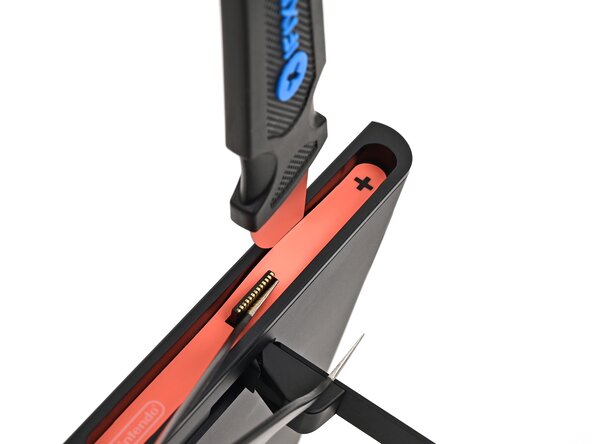
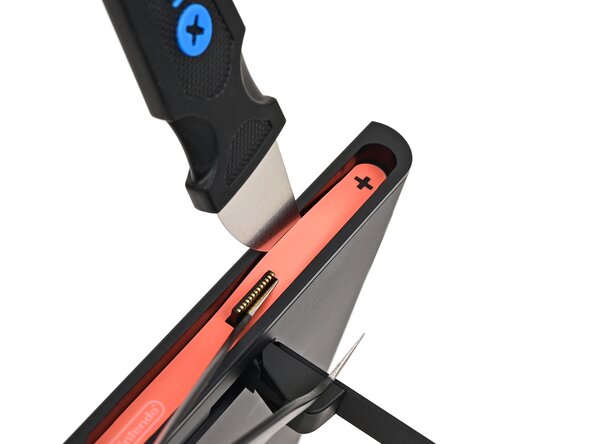
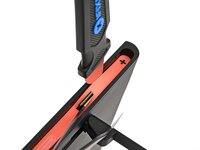
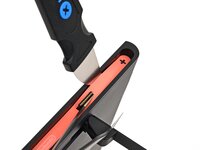
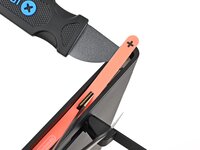
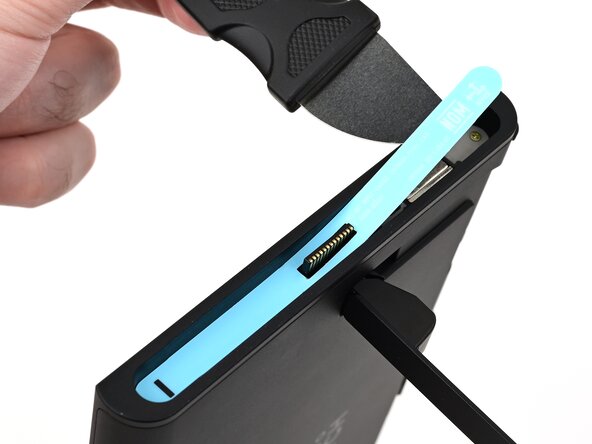
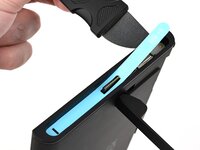
Insert the tip of a Jimmy into the gap formed between the long edge of the console and the sticker.
-
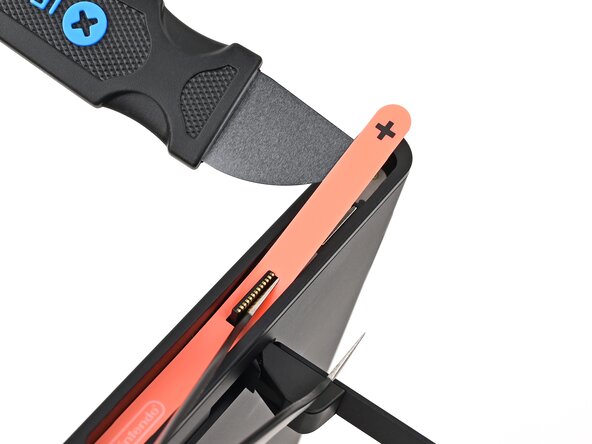
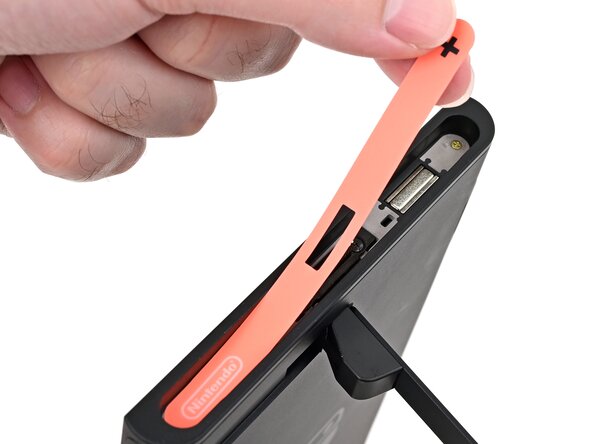
Gently pry up the sticker, working your way up the long edge until the top of the sticker is separated from the console.
-
Remove the tweezers once the sticker is lifted.
-
-
-
-
Reheat the bottom of the right side until it's hot to the touch.
-
-
-
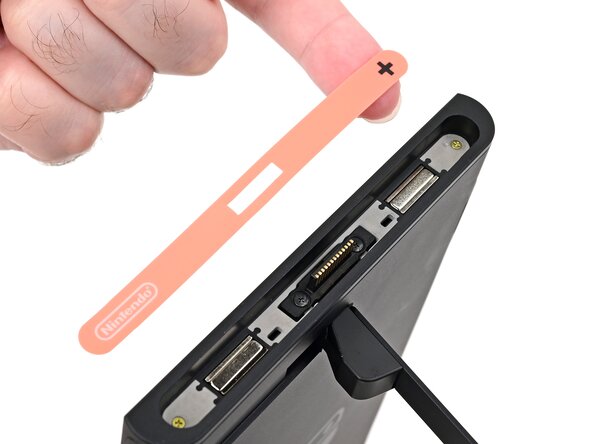
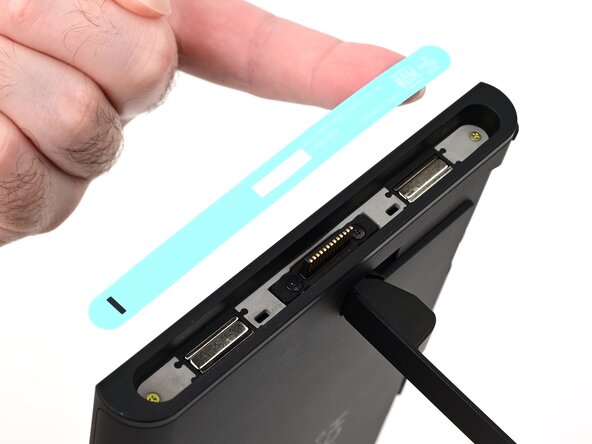
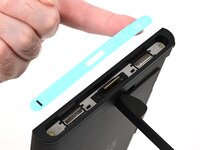
Carefully lift the sticker over the Joy‑Con 2 connector, then peel it up fully to remove it.
-
-
-
Repeat this procedure to remove the sticker along the left side of the console, labeled with a "-" symbol.
-
-
-
Use a JIS 00 driver to remove the two 3.6 mm‑long gold screws on each side of the console (four in total).
-
-
-
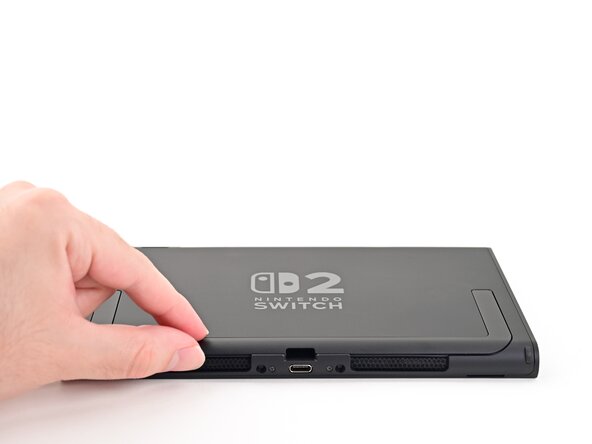
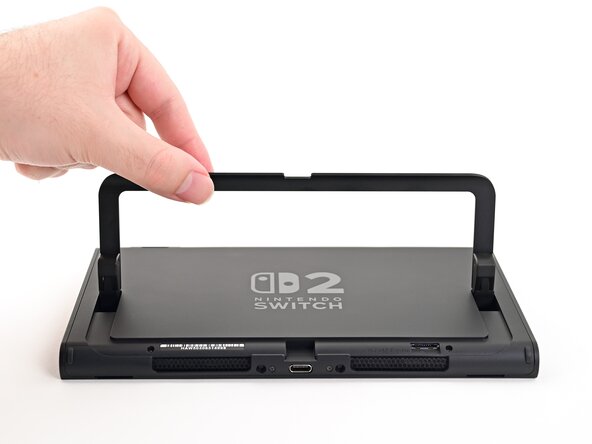
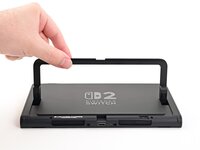
Use your fingers to flip up the kickstand on the back of the console.
-
-
-
Use a Y00 driver to remove the two 4.4 mm‑long screws in the kickstand cutout.
-
-
-
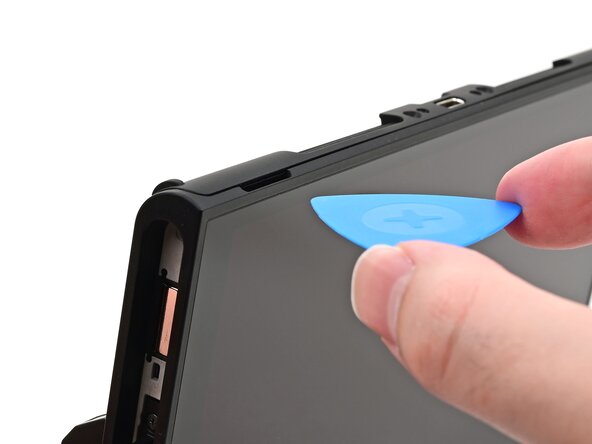
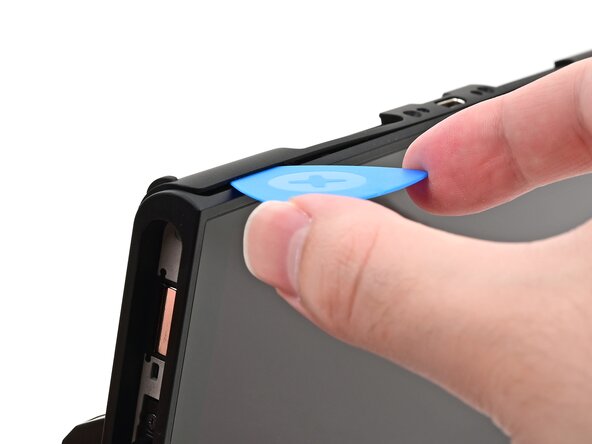
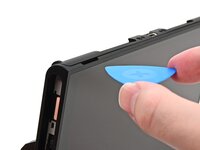
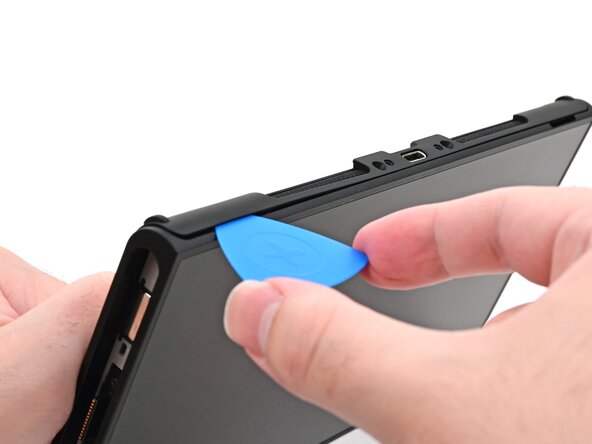
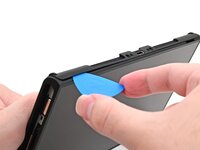
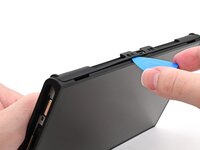
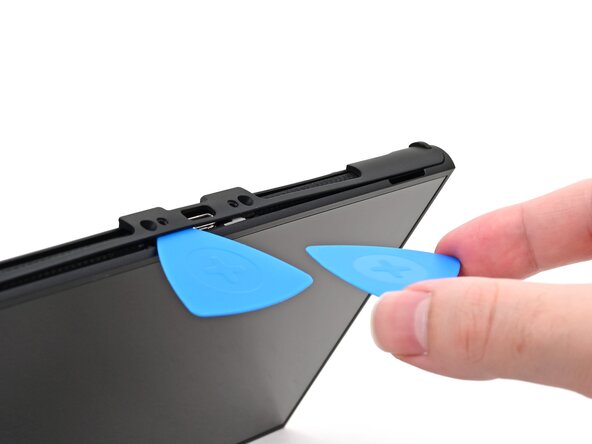
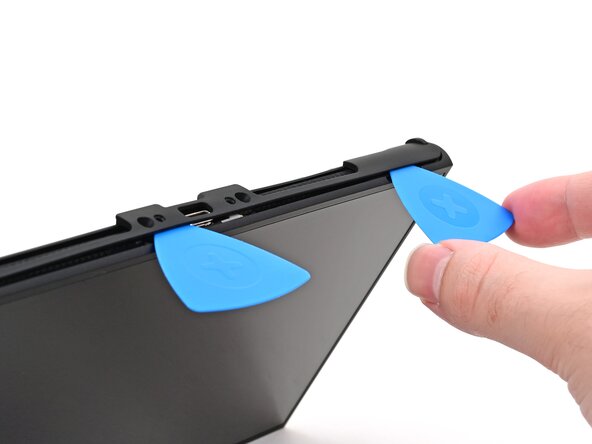
Insert an opening pick into the gap between the back cover and speaker cutout on the bottom edge of the console.
-
-
-
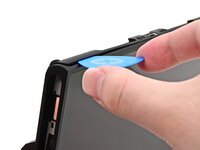
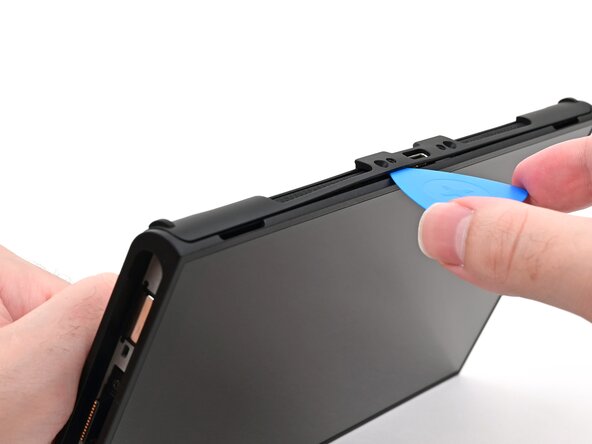
Slide the opening pick towards the USB-C port until it's underneath the screw hole next to the port.
-
-
-
Insert a second opening pick underneath the screw hole on the opposite side of the USB-C port, and slide it to the corner of the console.
-
-
-
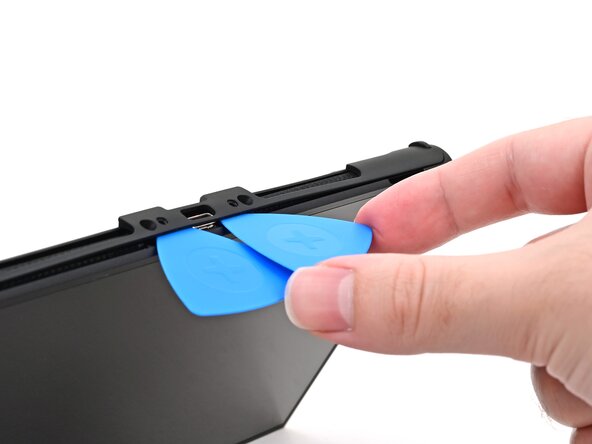
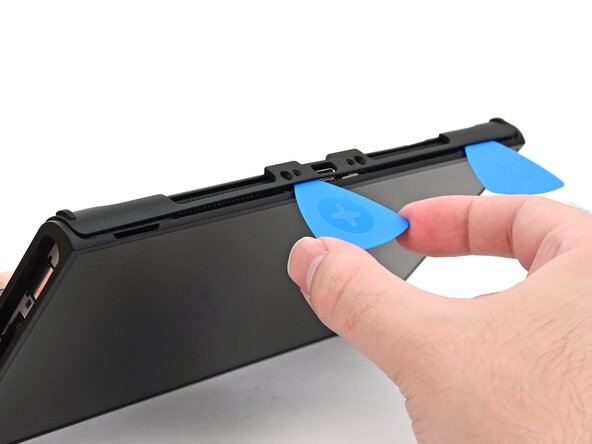
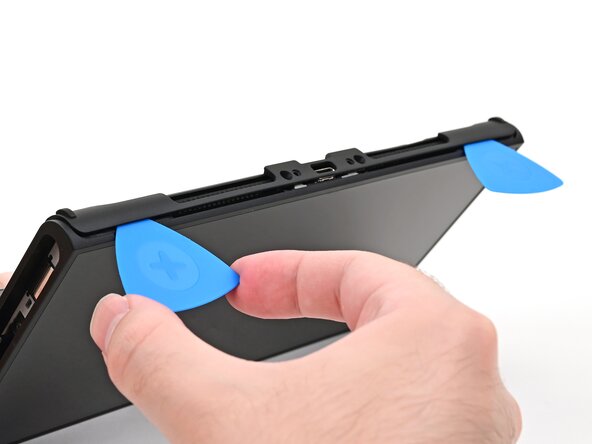
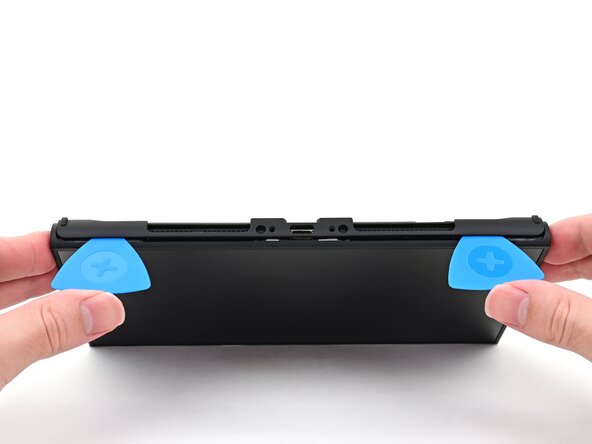
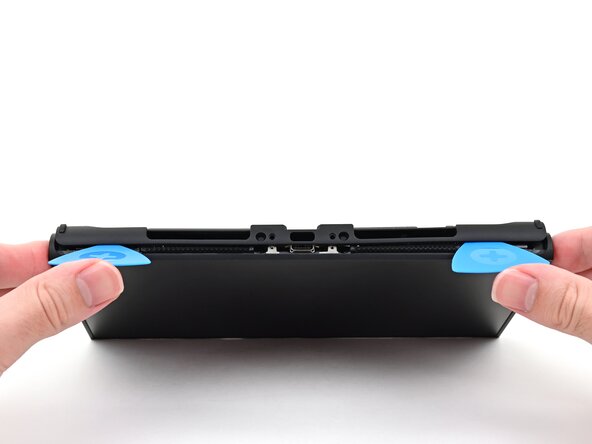
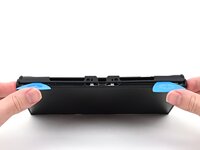
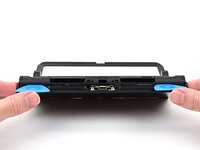
Hold the console with two hands. Rest your thumbs on the opening picks.
-
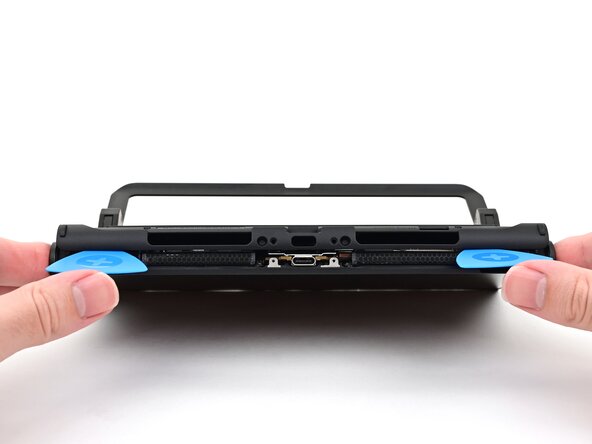
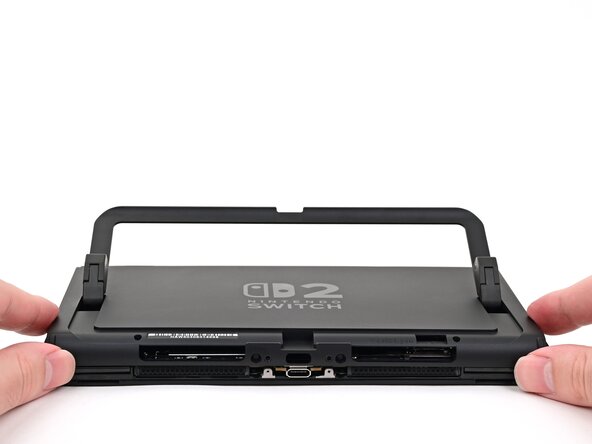
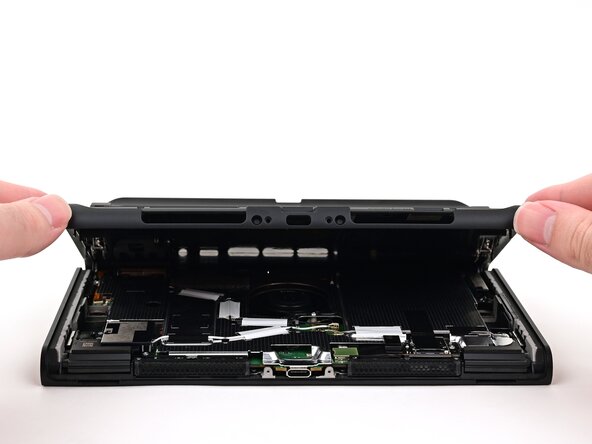
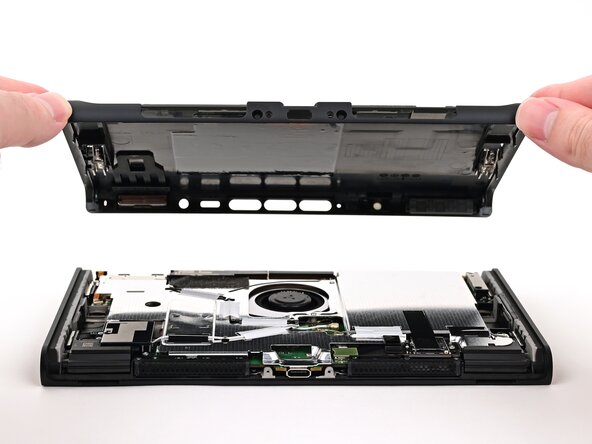
Push up on the opening picks to lift the back cover until it pops up above the USB-C port.
-
-

To reassemble your device, follow these instructions in reverse order.

