Free Shipping on Domestic Orders $75+

Motorola i90c Midframe Replacement

What you need

    1. Motorola i90c Midframe Replacement, Battery: step 1, image 1 of 3 Motorola i90c Midframe Replacement, Battery: step 1, image 2 of 3 Motorola i90c Midframe Replacement, Battery: step 1, image 3 of 3
      • Slide the notch downward while pulling the back cover off to remove it.

      Ask FixBot

      Add Comment

    2. Motorola i90c Midframe Replacement: step 2, image 1 of 3 Motorola i90c Midframe Replacement: step 2, image 2 of 3 Motorola i90c Midframe Replacement: step 2, image 3 of 3
      • Use your fingers to push the battery upward from the bottom.

      • Lift upwards to remove the battery.

      Ask FixBot

      Add Comment

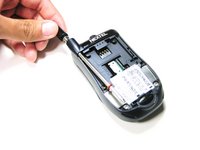
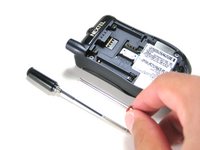
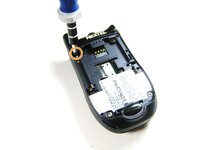
    1. Motorola i90c Midframe Replacement, Antenna: step 3, image 1 of 2 Motorola i90c Midframe Replacement, Antenna: step 3, image 2 of 2
      • Unscrew the antenna in a counter-clockwise fashion.

      • Remove the aluminum cover.

      Ask FixBot

      Add Comment

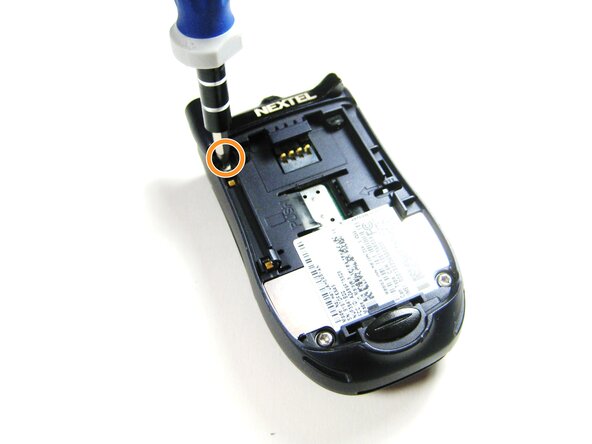
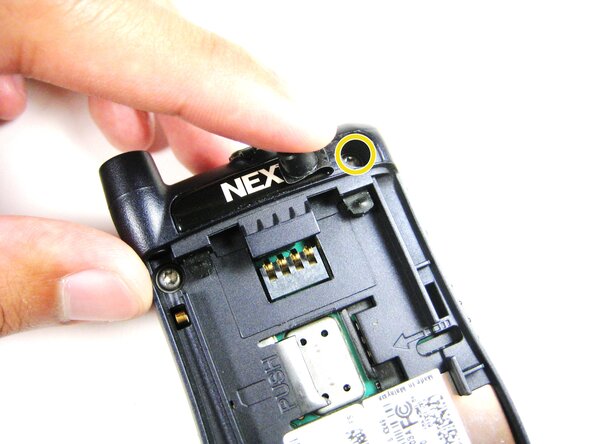
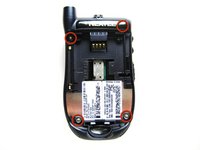
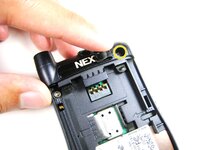
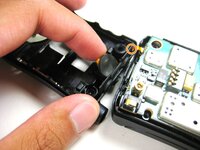
    1. Motorola i90c Midframe Replacement, Midframe: step 4, image 1 of 3 Motorola i90c Midframe Replacement, Midframe: step 4, image 2 of 3 Motorola i90c Midframe Replacement, Midframe: step 4, image 3 of 3
      • Unscrew the 3 screws shown.

      • Lift the right part of the Nextel logo

      • Remove the screw underneath.

      Ask FixBot

      Add Comment

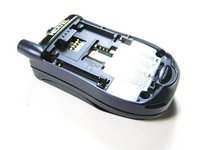
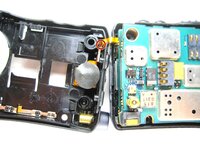
    2. Motorola i90c Midframe Replacement: step 5, image 1 of 2 Motorola i90c Midframe Replacement: step 5, image 2 of 2
      • Forcing the cover off could damage the ribbon cable, so be careful when doing so.

      • Gently lift the back cover off.

      Ask FixBot

      Add Comment

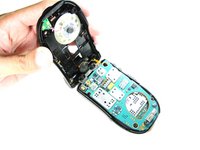
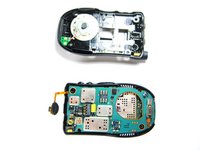
    3. Motorola i90c Midframe Replacement: step 6, image 1 of 3 Motorola i90c Midframe Replacement: step 6, image 2 of 3 Motorola i90c Midframe Replacement: step 6, image 3 of 3
      • Find the connection between the headphone jack and logic board.

      • Begin separating the two pieces, slowly and carefully.

      Ask FixBot

      Add Comment

Conclusion

To reassemble your device, follow these instructions in reverse order. Take your e-waste to an R2 or e-Stewards certified recycler.

Cancel: I did not complete this guide.

Grant Glazebrook

Member since: 04/14/10

7 Reputation

2 Guides authored

Team

Cal Poly, Team 29-61, Johann Spring 2010 Member of Cal Poly, Team 29-61, Johann Spring 2010

CPSU-JOHANN-S10S29G61

4 Members

66 Guides authored

0 Guide Comments

Add Comment

View Statistics:

Past 24 Hours: 1

Past 7 Days: 5

Past 30 Days: 31

All Time: 1,698