Free Shipping on Domestic Orders $75+

Motherboard Removal

Views: 155

View statistics:

Past 24 Hours:
0
Past 7 Days:
7
Past 30 Days:
21
All Time:
155
Comments: 0

No one has left comments on this guide. Will you be first?

Go to guide comments
Completed: 0

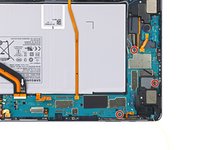
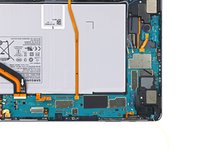
No one has marked this guide "completed." Will you be the first?

Favorites: 0

No one has favorited (and subscribed to) this guide. Will you be the first?

Time Required: 1 - 2 hours
Difficulty: Moderate
Motherboard Removal
Prerequisite Only This is a prerequisite-only guide! This guide is part of another procedure and isn’t meant to be used alone.

Introduction

Go to step 1 ↓

This is a prerequisite-only guide! This guide is part of another procedure and is not meant to be used alone.

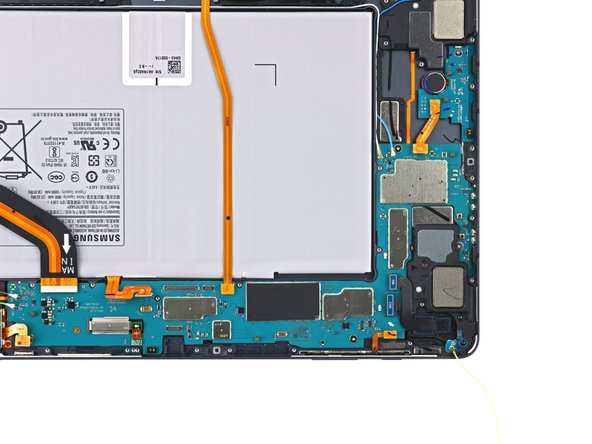
Use this guide to replace the motherboard in your Samsung Galaxy Tab S7+

For your safety, discharge the battery below 25% before disassembling your tablet. This reduces the risk of fire if the battery is accidentally damaged during the repair. If your battery is swollen, take appropriate precautions.

There is a significant chance that you may break the unreinforced and fragile display panel during this procedure. Be sure to apply plenty of heat and be extremely careful during the prying stage.

You'll need replacement adhesive in order to complete this repair.

What you need

Parts

Tools

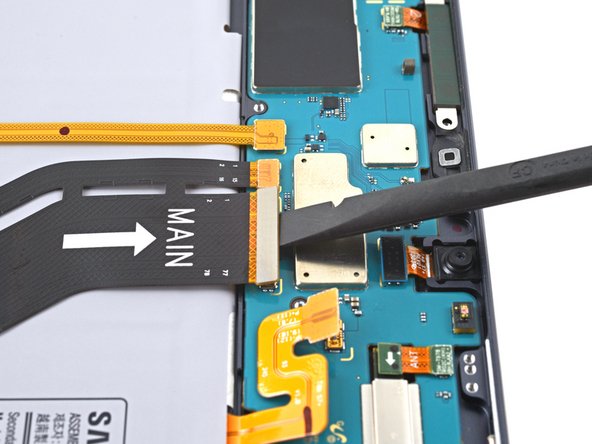
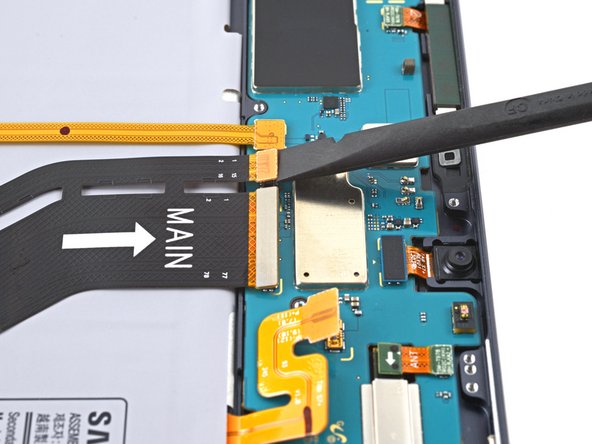
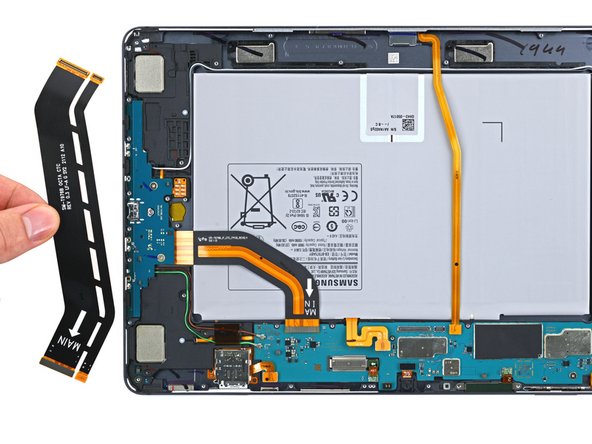
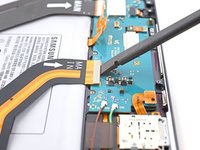
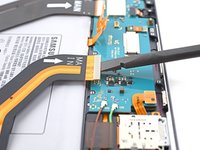
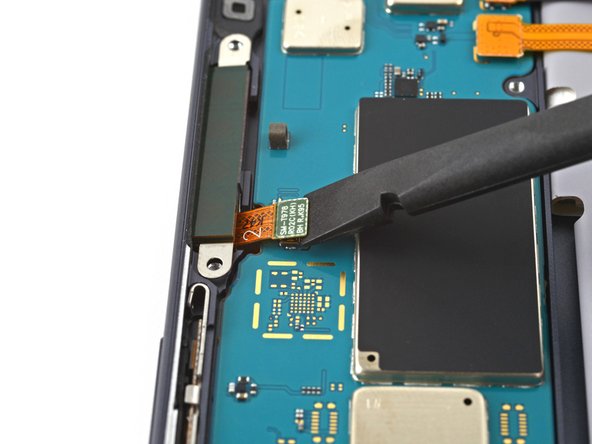
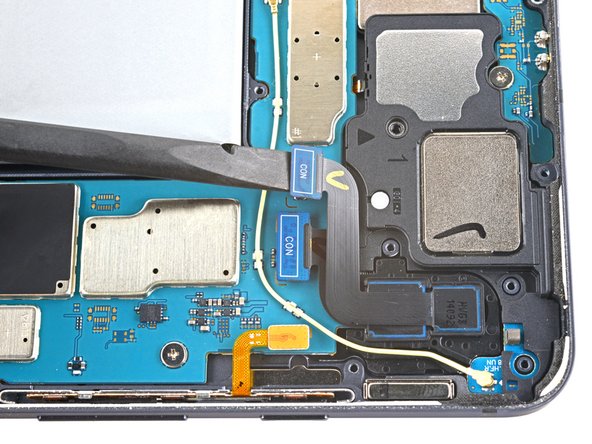
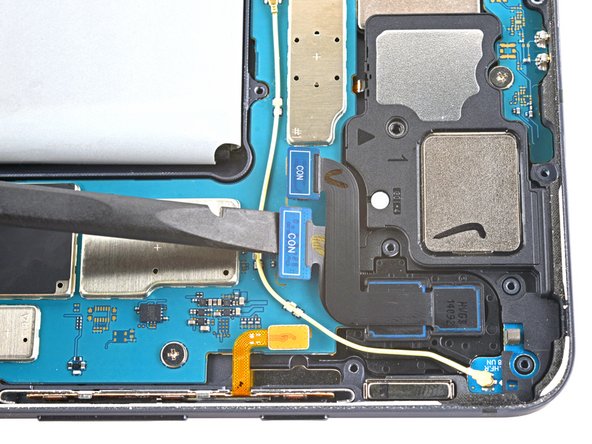
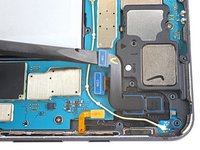
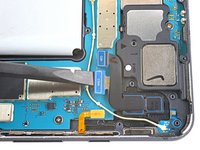
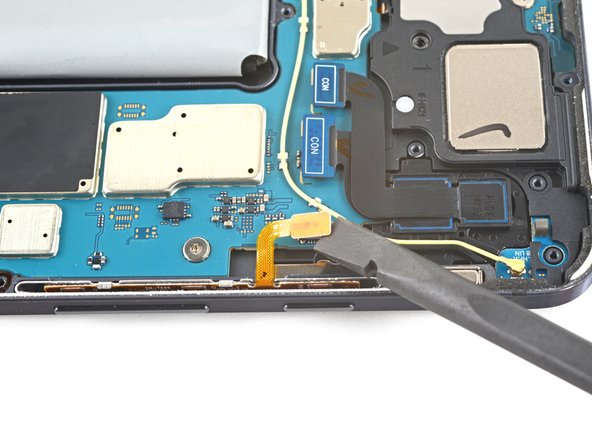
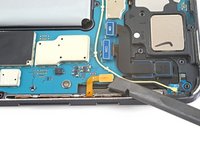
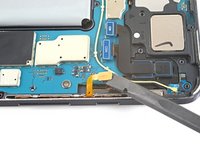
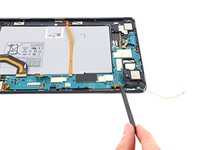
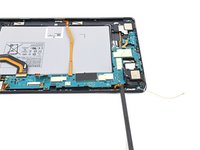
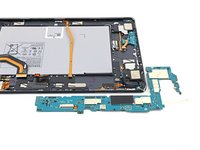
    1. Motherboard Removal, Disconnect the display cable: step 1, image 1 of 3 Motherboard Removal, Disconnect the display cable: step 1, image 2 of 3 Motherboard Removal, Disconnect the display cable: step 1, image 3 of 3
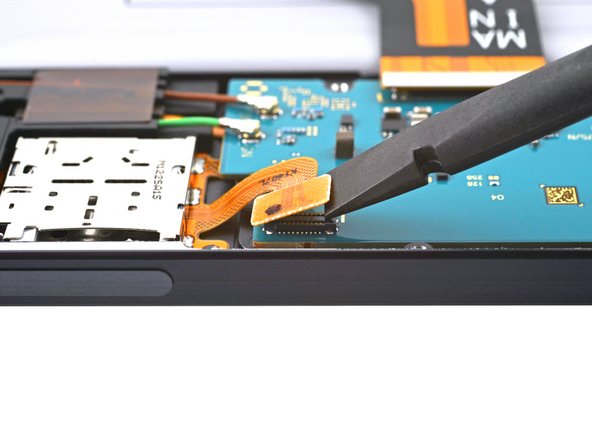
      • Use the flat end of a spudger to pry up and disconnect the display cable's press connector secured to the motherboard.

      • Repeat for the fingerprint sensor cable attached to display cable.

      Ask FixBot

      Add Comment

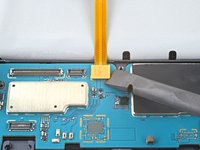
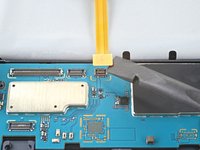
    2. Motherboard Removal, Remove the display cable: step 2, image 1 of 2 Motherboard Removal, Remove the display cable: step 2, image 2 of 2
      • Use your fingers to remove the display cable.

      Ask FixBot

      Add Comment

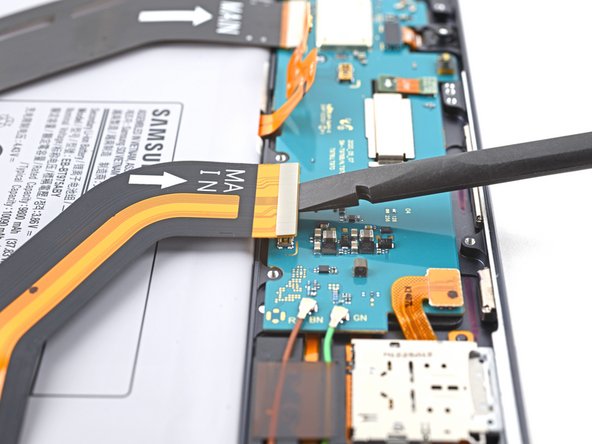
    3. Motherboard Removal, Disconnect the daughterboard interconnect cable: step 3, image 1 of 2 Motherboard Removal, Disconnect the daughterboard interconnect cable: step 3, image 2 of 2
      • Use the flat end of a spudger to pry up and disconnect the daughterboard interconnect cable's press connector secured to the motherboard.

      Ask FixBot

      Add Comment

    4. Motherboard Removal, Disconnect the keyboard dock port cable: step 4, image 1 of 2 Motherboard Removal, Disconnect the keyboard dock port cable: step 4, image 2 of 2
      • Use the flat end of a spudger to pry up and disconnect the keyboard dock port cable's press connector secured to the motherboard.

      Ask FixBot

      Add Comment

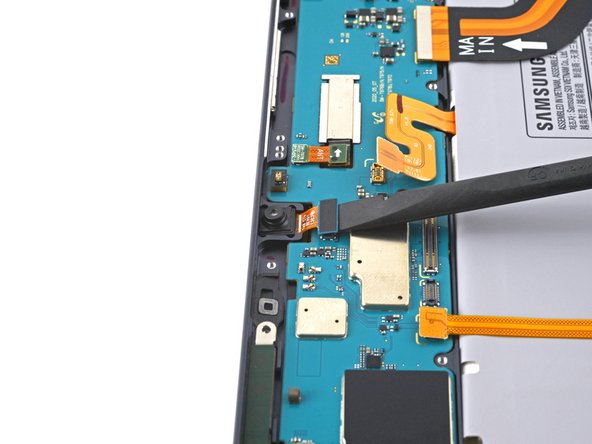
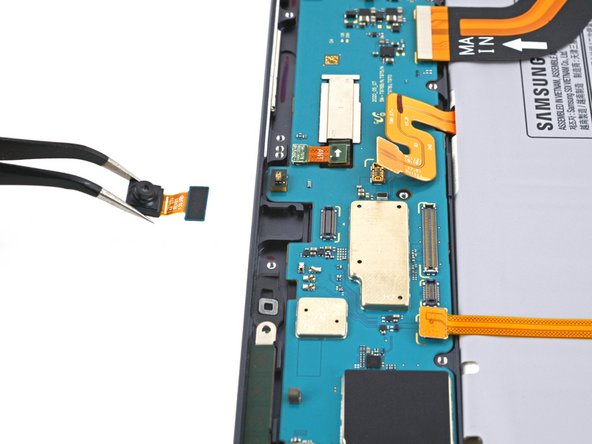
    5. Motherboard Removal, Remove the front camera: step 5, image 1 of 3 Motherboard Removal, Remove the front camera: step 5, image 2 of 3 Motherboard Removal, Remove the front camera: step 5, image 3 of 3
      Tool used on this step:
      Tweezers
      $4.99
      Buy
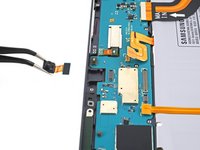
      • Use the flat end of a spudger to pry up and disconnect the front camera's press connector secured to the motherboard.

      • Use tweezers, or your fingers, to remove the front camera.

      Ask FixBot

      Add Comment

    6. Motherboard Removal, Disconnect the microSD card reader: step 6, image 1 of 2 Motherboard Removal, Disconnect the microSD card reader: step 6, image 2 of 2
      • Use the flat end of a spudger to pry up and disconnect the microSD card reader's press connector secured to the motherboard.

      Ask FixBot

      Add Comment

    7. Motherboard Removal, Disconnect the 5G antenna: step 7, image 1 of 2 Motherboard Removal, Disconnect the 5G antenna: step 7, image 2 of 2
      • Use the flat end of a spudger to pry up and disconnect the 5G antenna's press connector secured to the motherboard.

      Ask FixBot

      Add Comment

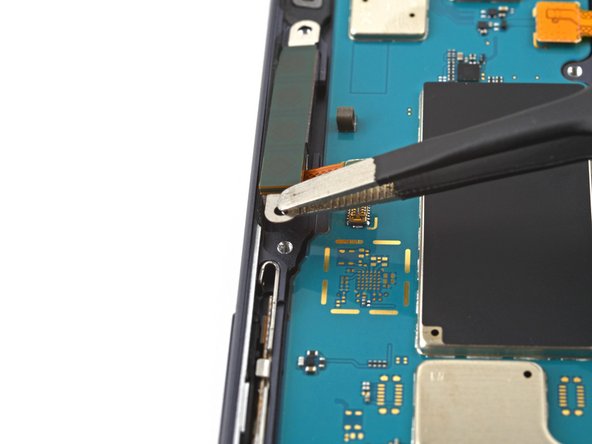
    8. Motherboard Removal, Remove the 5G antenna: step 8, image 1 of 3 Motherboard Removal, Remove the 5G antenna: step 8, image 2 of 3 Motherboard Removal, Remove the 5G antenna: step 8, image 3 of 3
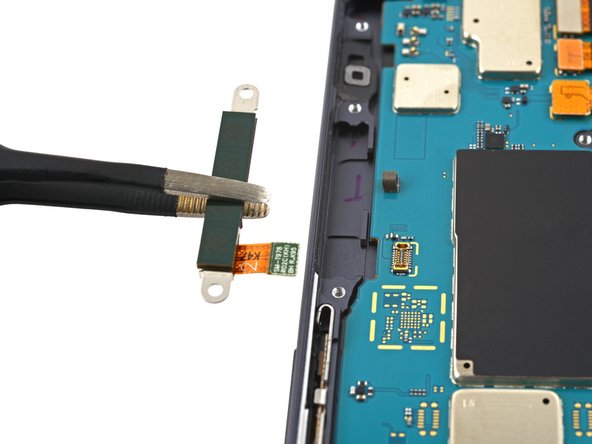
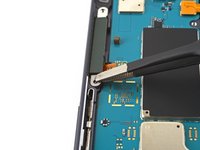
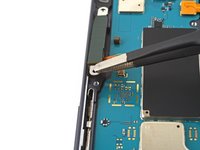
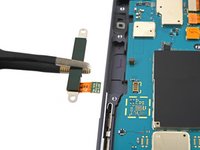
      • Use tweezers to pull the antenna out of the frame by its bracket.

      • Remove the 5G antenna.

      Ask FixBot

      Add Comment

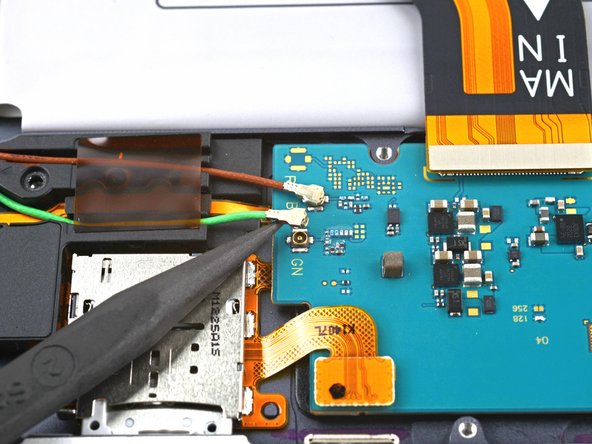
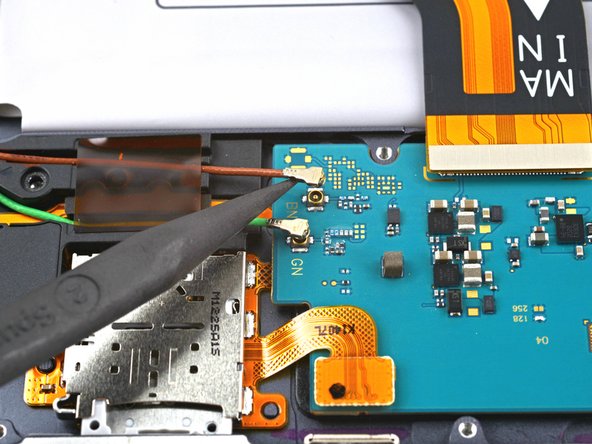
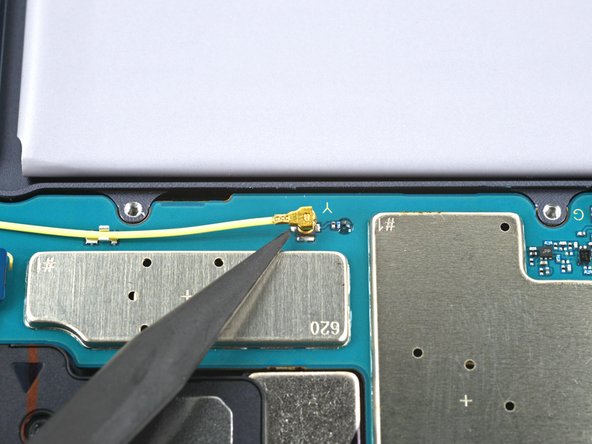
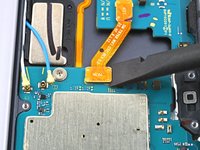
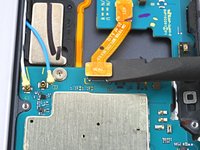
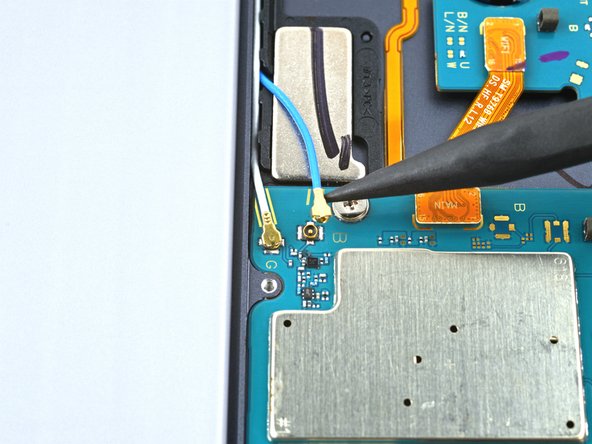
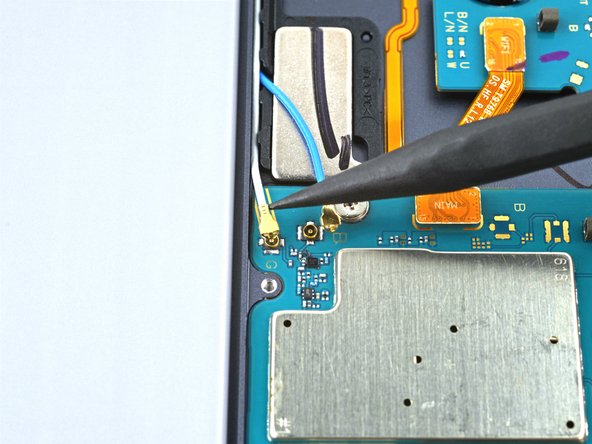
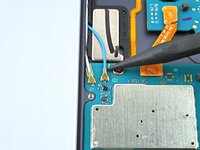
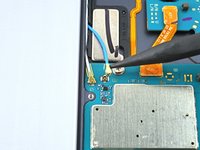
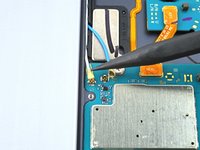
    9. Motherboard Removal, Disconnect the left coaxial cables: step 9, image 1 of 3 Motherboard Removal, Disconnect the left coaxial cables: step 9, image 2 of 3 Motherboard Removal, Disconnect the left coaxial cables: step 9, image 3 of 3
      • Use the point of a spudger to carefully pry up and disconnect the green coaxial cable from the left side of the motherboard.

      • Repeat this process for the red coaxial cable.

      Ask FixBot

      Add Comment

    10. Motherboard Removal, Disconnect the rear camera: step 10, image 1 of 3 Motherboard Removal, Disconnect the rear camera: step 10, image 2 of 3 Motherboard Removal, Disconnect the rear camera: step 10, image 3 of 3
      • Use the flat end of a spudger to pry up and disconnect the rear camera's two press connectors secured to the motherboard.

      Ask FixBot

      Add Comment

    11. Motherboard Removal, Disconnect the power button cable: step 11, image 1 of 2 Motherboard Removal, Disconnect the power button cable: step 11, image 2 of 2
      • Use the flat end of a spudger to pry up and disconnect the power button cable's press connector secured to the motherboard.

      Ask FixBot

      Add Comment

    12. Motherboard Removal, Disconnect the bottom-right coaxial cable: step 12, image 1 of 2 Motherboard Removal, Disconnect the bottom-right coaxial cable: step 12, image 2 of 2
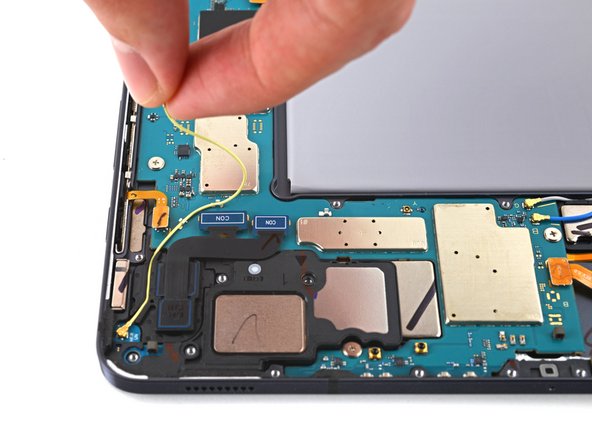
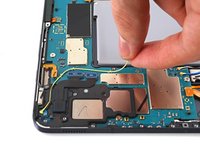
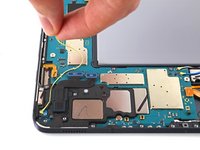
      • Use the point of a spudger to carefully pry up and disconnect the bottom-right loudspeaker's yellow coaxial cable from the motherboard.

      • Take care not to puncture or bend the battery with your tool—a punctured or bent battery may leak dangerous chemicals or cause a fire.

      • During reassembly, these can be tricky to reconnect. One at a time, hold each connector in place over its socket and press down with the flat end of a spudger. The connector should snap into place.

      Ask FixBot

      Add Comment

    13. Motherboard Removal, Reposition the bottom-right coaxial cable: step 13, image 1 of 2 Motherboard Removal, Reposition the bottom-right coaxial cable: step 13, image 2 of 2
      • Pull the coaxial cable away from the frame, making sure the cable is completely unthreaded from the motherboard.

      Ask FixBot

      Add Comment

    14. Motherboard Removal, Disconnect the interconnect cable: step 14, image 1 of 2 Motherboard Removal, Disconnect the interconnect cable: step 14, image 2 of 2
      • Use the flat end of a spudger to pry up and disconnect the interconnect cable's press connector secured to the motherboard.

      Ask FixBot

      Add Comment

    15. Motherboard Removal, Disconnect the top-right coaxial cables: step 15, image 1 of 3 Motherboard Removal, Disconnect the top-right coaxial cables: step 15, image 2 of 3 Motherboard Removal, Disconnect the top-right coaxial cables: step 15, image 3 of 3
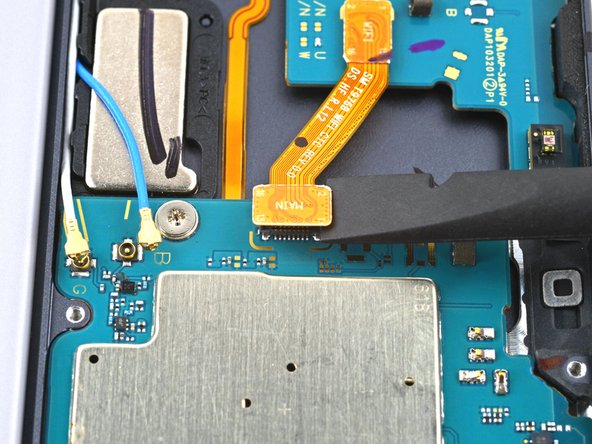
      • Use the point of a spudger to carefully pry up and disconnect the top-right loudspeaker's blue coaxial cable from the motherboard.

      • Repeat this process for the white coaxial cable.

      Ask FixBot

      Add Comment

    16. Motherboard Removal, Unfasten the motherboard: step 16, image 1 of 2 Motherboard Removal, Unfasten the motherboard: step 16, image 2 of 2
      • Use a Phillips #00 screwdriver to remove the three 2 mm screws securing the motherboard to the frame.

      Ask FixBot

      Add Comment

    17. Motherboard Removal, Remove the motherboard: step 17, image 1 of 3 Motherboard Removal, Remove the motherboard: step 17, image 2 of 3 Motherboard Removal, Remove the motherboard: step 17, image 3 of 3
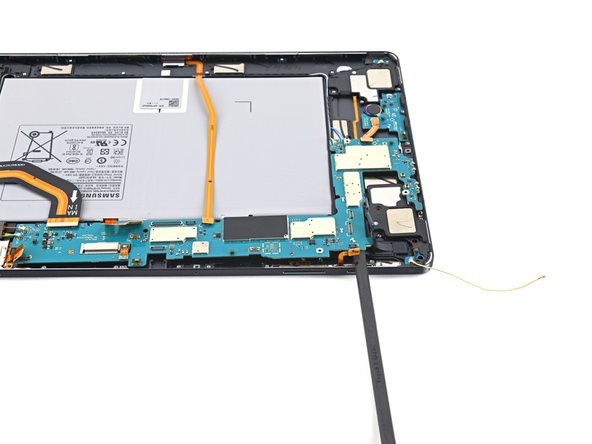
      • Insert a spudger into a gap between the motherboard and the frame.

      • Pry up with the spudger to release the motherboard from its clips.

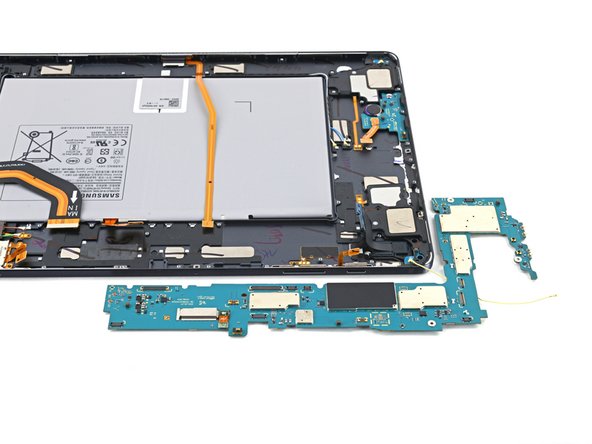
      • Remove the motherboard.

      • During reassembly, refasten the motherboard screws first to properly align it into place, then reconnect the cables.

      Ask FixBot

      Add Comment

Conclusion

To reassemble your device, follow these instructions in reverse order.

Compare your new replacement part to the original part—you may need to transfer remaining components or remove adhesive backings from the new part before you install it.

Repair didn’t go as planned? Try some basic troubleshooting, or ask our Samsung Galaxy Tab S7+ Answers community for help.

Cancel: I did not complete this guide.

Alex Diaz-Kokaisl

Member since: 01/16/22

250,765 Reputation

1,200 Guides authored

Team

Guide Team Member of Guide Team

Staff

10 Members

62,132 Guides authored

0 Guide Comments

Add Comment

View Statistics:

Past 24 Hours: 0

Past 7 Days: 7

Past 30 Days: 21

All Time: 155