Free Shipping on Domestic Orders $75+

Motherboard Disconnection (Screen)

Prerequisite Only
This is a prerequisite-only guide! This guide is part of another procedure and isn’t meant to be used alone.

What you need

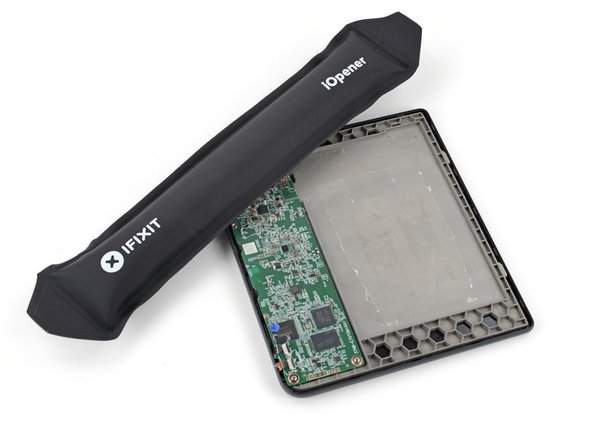
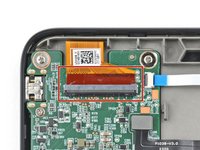
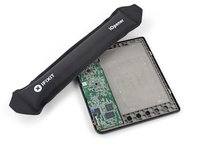
    1. Motherboard Disconnection (Screen), Soften the digitizer cables coating: step 1, image 1 of 2 Motherboard Disconnection (Screen), Soften the digitizer cables coating: step 1, image 2 of 2
      • Heat an iOpener and lay it on the digitizer cable ZIF connectors for 90 seconds to soften the coating.

      • Alternatively, you can use a hair dryer or a heat gun for 30 seconds.

      Ask FixBot

      Add Comment

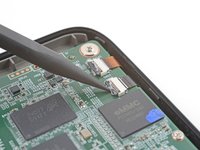
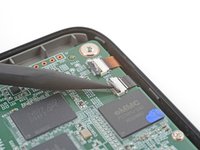
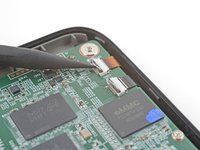
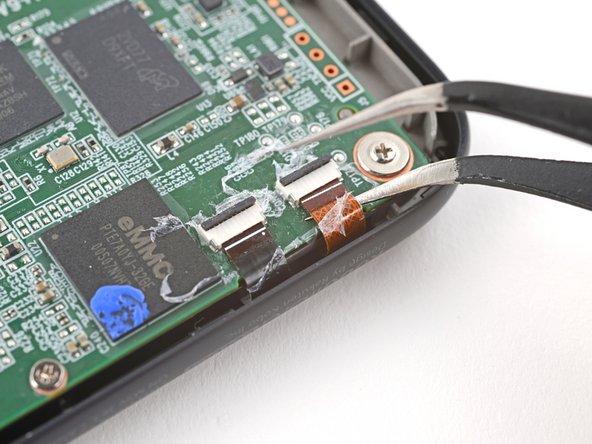
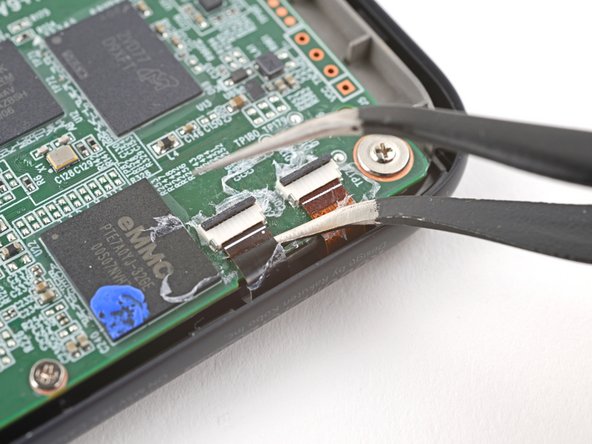
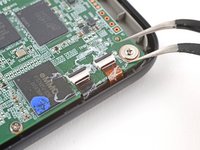
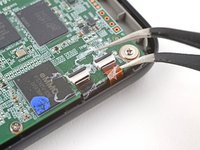
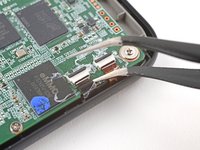
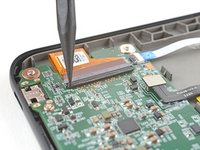
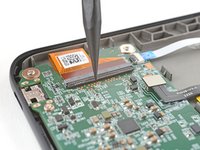
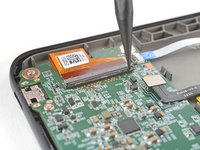
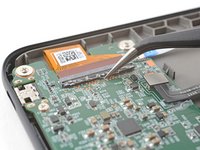
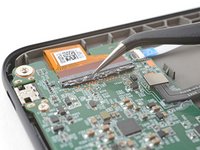
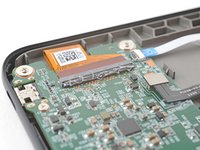
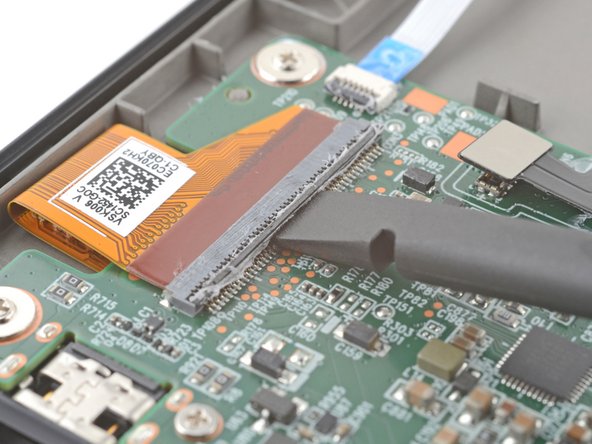
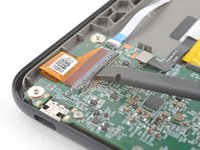
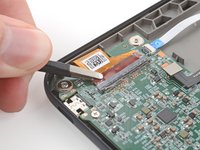
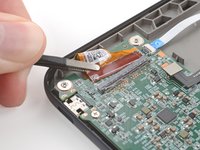
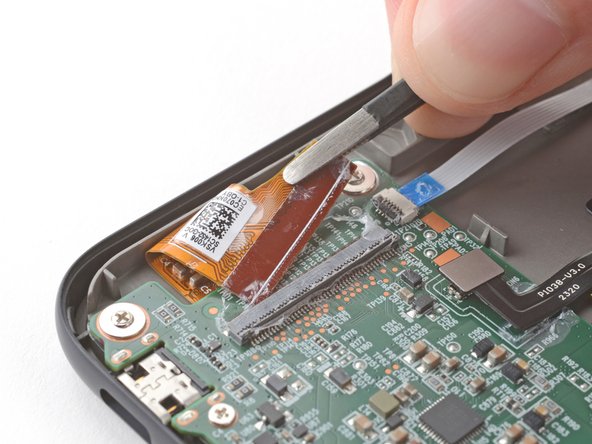
    2. Motherboard Disconnection (Screen), Remove the coating: step 2, image 1 of 3 Motherboard Disconnection (Screen), Remove the coating: step 2, image 2 of 3 Motherboard Disconnection (Screen), Remove the coating: step 2, image 3 of 3
      Tool used on this step:
      Tweezers
      $4.99
      Buy
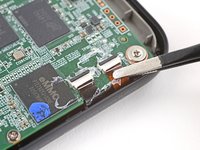
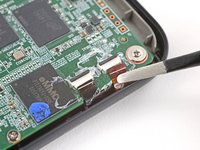
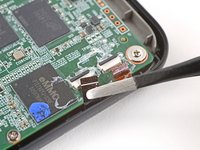
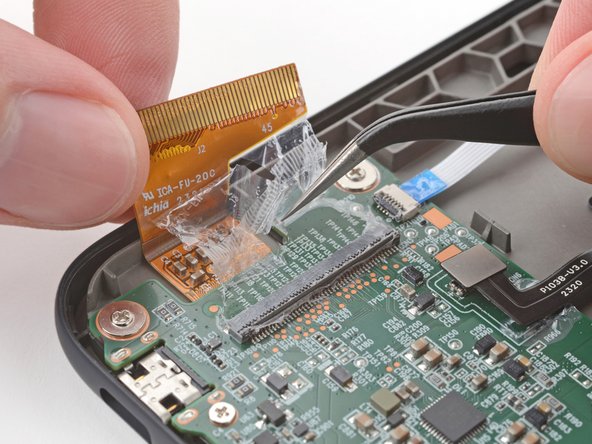
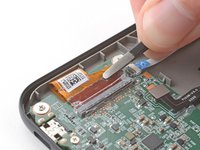
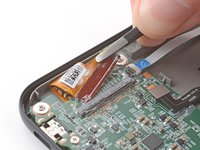
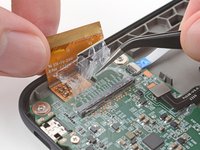
      • Use the tip of a spudger to scrape the coating along the ZIF connectors' black locking tabs—enough so you can grab clumps of it with pointed tweezers.

      • Use pointed tweezers to peel off the coating around the black locking tabs and their hinges on the ZIF connector.

      • If the coating becomes too brittle and hard to peel off, reheat the connectors and try again.

      • This is a meticulous process! Failure to remove enough of the coating could damage the locking tab during disconnection, so take your time!

      Ask FixBot

      Add Comment

    3. Motherboard Disconnection (Screen), Disconnect the digitizer cables: step 3, image 1 of 3 Motherboard Disconnection (Screen), Disconnect the digitizer cables: step 3, image 2 of 3 Motherboard Disconnection (Screen), Disconnect the digitizer cables: step 3, image 3 of 3
      • Use the point of a spudger to lift up the locking tabs on the ZIF connectors.

      • The locking tabs should be nearly vertical when unlocked. If not, remove more coating until the tabs can move freely.

      Ask FixBot

      Add Comment

    4. Motherboard Disconnection (Screen), Reheat the digitizer cables: step 4, image 1 of 1
      • Apply a heated iOpener to the digitizer cable ZIF connectors for 90 seconds to soften the coating.

      • Alternatively, you can use a hair dryer or a heat gun for 30 seconds.

      Ask FixBot

      Add Comment

    5. Motherboard Disconnection (Screen): step 5, image 1 of 3 Motherboard Disconnection (Screen): step 5, image 2 of 3 Motherboard Disconnection (Screen): step 5, image 3 of 3
      • Slide one arm of a pair of pointed tweezers underneath the cables to separate the coating securing them to the motherboard.

      • You only need to separate enough coating so you can grip the cables with blunt nose tweezers.

      Ask FixBot

      Add Comment

    6. Motherboard Disconnection (Screen): step 6, image 1 of 3 Motherboard Disconnection (Screen): step 6, image 2 of 3 Motherboard Disconnection (Screen): step 6, image 3 of 3
      • Because of the awkward angle, this step requires some patience to avoid tearing the cables. Work slowly and apply heat regularly.

      • Use blunt nose tweezers to pull the cables away from their ZIF connectors slowly and steadily at a level angle to separate the coating.

      • Gripping the tweezers closer to the tip can help get a tighter hold on the cables.

      • Keep pulling on the cables until they're completely disconnected.

      • During reassembly:

      • Inspect the ends of the cables and the ZIF connectors for any remaining coating that could prevent a good connection.

      • Peel off the coating, heating the cable and the ZIF connectors when the coating becomes too brittle.

      • It doesn't have to look pretty! You just need to remove enough coating to have the cables sit properly in their connectors.

      Ask FixBot

      Add Comment

    7. Motherboard Disconnection (Screen), Soften the display cable coating: step 7, image 1 of 2 Motherboard Disconnection (Screen), Soften the display cable coating: step 7, image 2 of 2
      • Apply a heated iOpener to the display cable ZIF connector for 90 seconds to soften the coating.

      • Alternatively, you can use a hair dryer or a heat gun for 30 seconds.

      Ask FixBot

      Add Comment

    8. Motherboard Disconnection (Screen), Remove the coating: step 8, image 1 of 3 Motherboard Disconnection (Screen), Remove the coating: step 8, image 2 of 3 Motherboard Disconnection (Screen), Remove the coating: step 8, image 3 of 3
      • The display cable ZIF connector is larger and requires a different procedure to disconnect properly.

      • Use the tip of a spudger to scrape the coating along the ZIF connector's black locking tab—enough so you can grab clumps of it with pointed tweezers.

      Ask FixBot

      Add Comment

    9. Motherboard Disconnection (Screen): step 9, image 1 of 3 Motherboard Disconnection (Screen): step 9, image 2 of 3 Motherboard Disconnection (Screen): step 9, image 3 of 3
      • Use pointed tweezers to peel off the coating around the locking tab and its hinge on the ZIF connector.

      • If the coating becomes too brittle and hard to peel off, reheat the connector and try again.

      • This is a meticulous process! Failure to remove enough of the coating could damage the locking tab during disconnection, so take your time!

      Ask FixBot

      Add Comment

    10. Motherboard Disconnection (Screen): step 10, image 1 of 2 Motherboard Disconnection (Screen): step 10, image 2 of 2
      • Use the flat end of a spudger to gently pry along the length of the locking tab to separate any remaining coating.

      • Don't pry hard at the corners of the locking tab to avoid snapping it.

      Ask FixBot

      Add Comment

    11. Motherboard Disconnection (Screen), Disconnect the display cable: step 11, image 1 of 2 Motherboard Disconnection (Screen), Disconnect the display cable: step 11, image 2 of 2
      • Insert the flat end of a spudger under the middle of the locking tab and lift to unlock it.

      • The locking tab should be nearly vertical when unlocked. If not, remove more coating until the tab can move freely.

      Ask FixBot

      Add Comment

    12. Motherboard Disconnection (Screen): step 12, image 1 of 2 Motherboard Disconnection (Screen): step 12, image 2 of 2
      • Use blunt nose tweezers to grip the corner of the display cable closest to the charging port.

      • Pull the cable away from the ZIF connector slowly and steadily at a level angle to separate the coating at the corner.

      • If you're having trouble, try rocking the cable side-to-side while pulling.

      • Gripping the tweezers closer to the tip can help with getting a tighter hold on the cable.

      Ask FixBot

      Add Comment

    13. Motherboard Disconnection (Screen): step 13, image 1 of 3 Motherboard Disconnection (Screen): step 13, image 2 of 3 Motherboard Disconnection (Screen): step 13, image 3 of 3
      • Repeat the previous step for the other corner until the entire cable is disconnected.

      • Lift up the cable and peel off any remaining coating holding it to the motherboard.

      • During reassembly:

      • Inspect the ends of the cable and the ZIF connectors for any remaining coating that could prevent a good connection.

      • Peel off the coating, heating the cable and the ZIF connector when the coating becomes too brittle.

      • It doesn't have to look pretty! You just need to remove enough coating to have the cable sit properly in the connector.

      Ask FixBot

      Add Comment

Conclusion

To reassemble your device, follow these instructions in reverse order.

Cancel: I did not complete this guide.

Alex Diaz-Kokaisl

Member since: 01/16/22

250,132 Reputation

1,203 Guides authored

Team

Guide Team Member of Guide Team

Staff

10 Members

61,630 Guides authored

0 Guide Comments

Add Comment

View Statistics:

Past 24 Hours: 0

Past 7 Days: 6

Past 30 Days: 20

All Time: 238