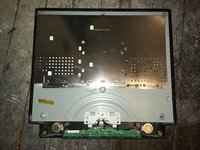
Mitsubishi Diamondpoint NXM76LCD Display Replacement

What you need

  1. Mitsubishi Diamondpoint NXM76LCD  Display  Replacement, Removing the stand.: step 1, image 1 of 3 Mitsubishi Diamondpoint NXM76LCD  Display  Replacement, Removing the stand.: step 1, image 2 of 3 Mitsubishi Diamondpoint NXM76LCD  Display  Replacement, Removing the stand.: step 1, image 3 of 3
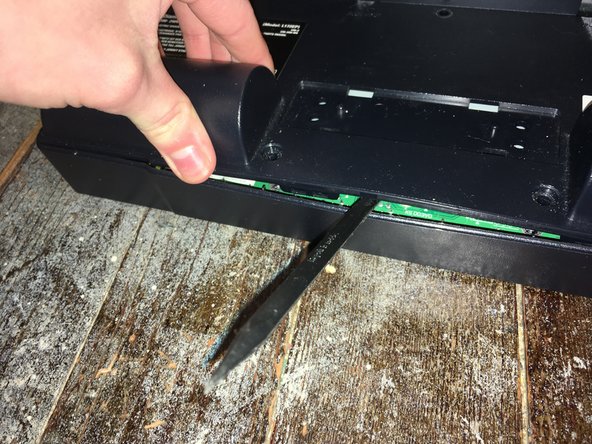
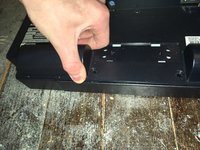
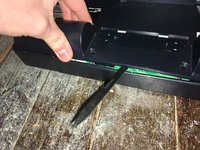
    • Lift the black cover off.

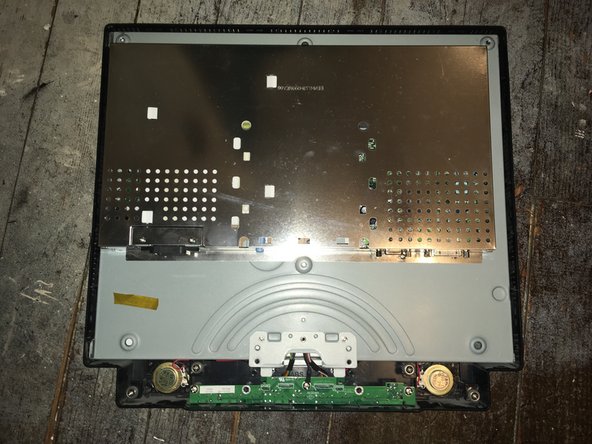
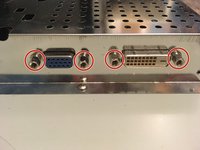
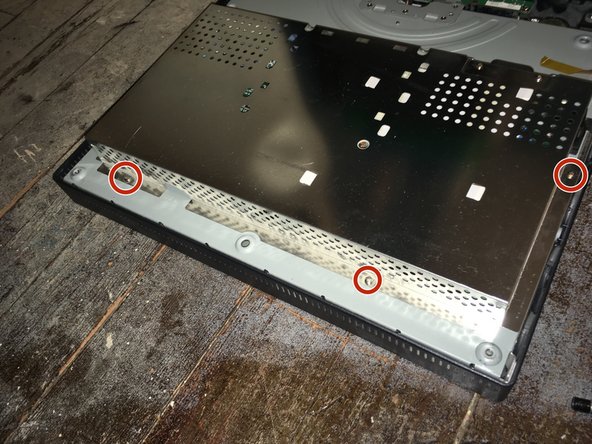
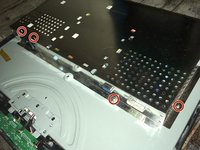
    • Remove all 4 Phillips #2 screws.

  2. Mitsubishi Diamondpoint NXM76LCD  Display  Replacement, Remove the 5 screws: step 2, image 1 of 1
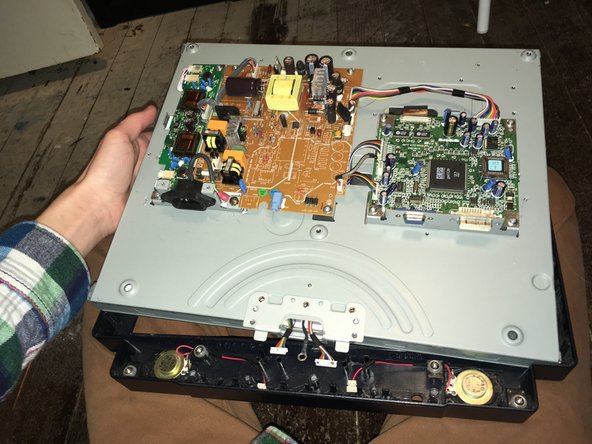
    • Remove the two 24mm Phillips #2 screws.

    • Remove the three 8mm Phillips #2 screws.

  3. Mitsubishi Diamondpoint NXM76LCD  Display  Replacement, Remove the back panel: step 3, image 1 of 3 Mitsubishi Diamondpoint NXM76LCD  Display  Replacement, Remove the back panel: step 3, image 2 of 3 Mitsubishi Diamondpoint NXM76LCD  Display  Replacement, Remove the back panel: step 3, image 3 of 3
    • Lift the back and pry the back off.

    • The panel is held in with clips on the side. It needs a lot of force the take it off.

  4. Mitsubishi Diamondpoint NXM76LCD  Display  Replacement, Remove the four screws: step 4, image 1 of 2 Mitsubishi Diamondpoint NXM76LCD  Display  Replacement, Remove the four screws: step 4, image 2 of 2
    • Remove the four 5mm nut screws.

  5. Mitsubishi Diamondpoint NXM76LCD  Display  Replacement, Remove the 5 screws: step 5, image 1 of 2 Mitsubishi Diamondpoint NXM76LCD  Display  Replacement, Remove the 5 screws: step 5, image 2 of 2
    • Remove the seven Phillips #1 screws.

  6. Mitsubishi Diamondpoint NXM76LCD  Display  Replacement, Remove the front panel: step 6, image 1 of 2 Mitsubishi Diamondpoint NXM76LCD  Display  Replacement, Remove the front panel: step 6, image 2 of 2
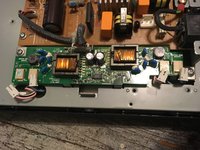
    • Remove the three Phillips #2 screws.

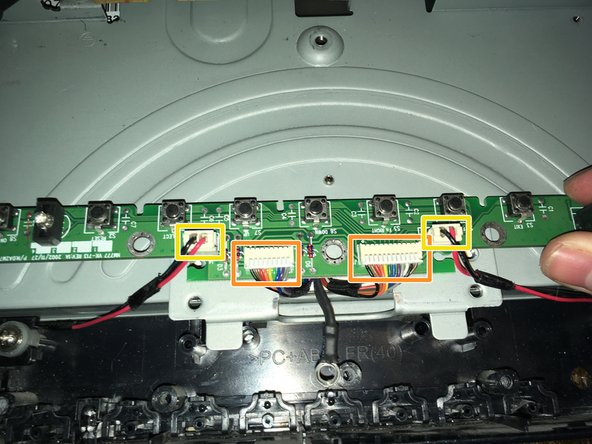
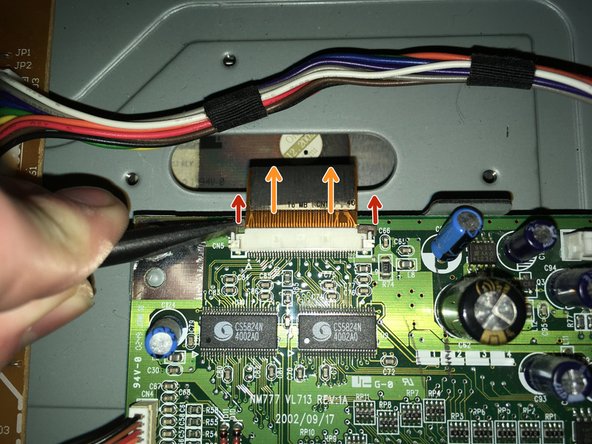
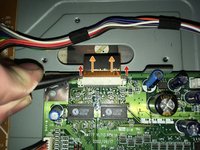
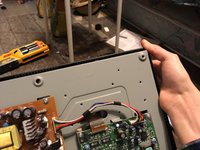
    • Remove the two data/power cables.

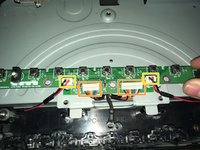
    • Remove the two speaker cables.

  7. Mitsubishi Diamondpoint NXM76LCD  Display  Replacement, Remove the display cable: step 7, image 1 of 3 Mitsubishi Diamondpoint NXM76LCD  Display  Replacement, Remove the display cable: step 7, image 2 of 3 Mitsubishi Diamondpoint NXM76LCD  Display  Replacement, Remove the display cable: step 7, image 3 of 3
    • Pull the two tabs.

    • Pull the connector off.

  8. Mitsubishi Diamondpoint NXM76LCD  Display  Replacement, Remove the power switch: step 8, image 1 of 2 Mitsubishi Diamondpoint NXM76LCD  Display  Replacement, Remove the power switch: step 8, image 2 of 2
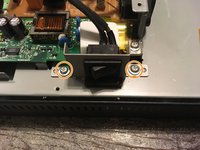
    • Remove the switch cable off.

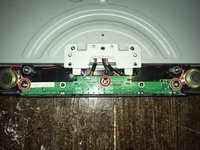
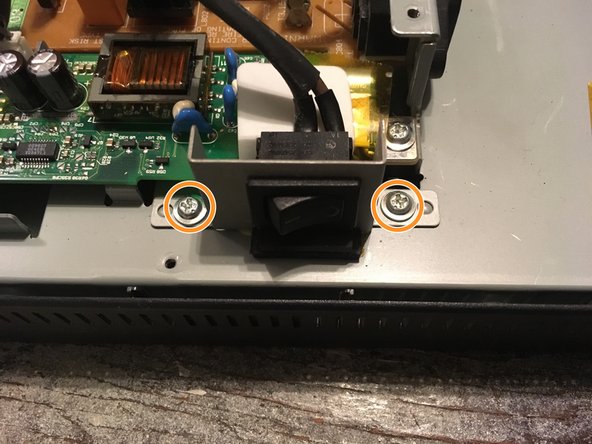
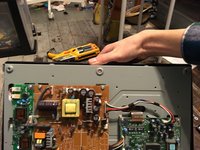
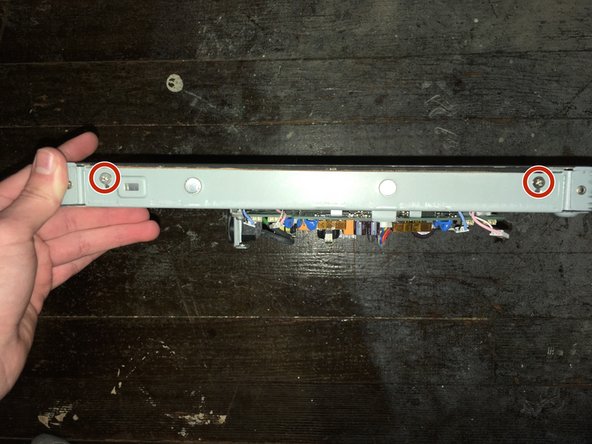
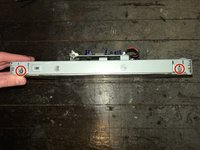
    • Remove the two Phillips #2 screws.

  9. Mitsubishi Diamondpoint NXM76LCD  Display  Replacement, Remove the display power: step 9, image 1 of 2 Mitsubishi Diamondpoint NXM76LCD  Display  Replacement, Remove the display power: step 9, image 2 of 2
    • Remove the four display power cables.

    • These cables are interchangeable.

  10. Mitsubishi Diamondpoint NXM76LCD  Display  Replacement, Lift the display out: step 10, image 1 of 3 Mitsubishi Diamondpoint NXM76LCD  Display  Replacement, Lift the display out: step 10, image 2 of 3 Mitsubishi Diamondpoint NXM76LCD  Display  Replacement, Lift the display out: step 10, image 3 of 3
    • Lift the display out.

  11. Mitsubishi Diamondpoint NXM76LCD  Display  Replacement, Remove the four screws: step 11, image 1 of 2 Mitsubishi Diamondpoint NXM76LCD  Display  Replacement, Remove the four screws: step 11, image 2 of 2
    • Remove the four Phillips #2 screws.

    • These screws release the display from its enclosure. Hold the screen when removing these screws.

  12. Mitsubishi Diamondpoint NXM76LCD  Display  Replacement: step 12, image 1 of 2 Mitsubishi Diamondpoint NXM76LCD  Display  Replacement: step 12, image 2 of 2
    • Remember to plug in all the cables on the display.

Conclusion

To reassemble your device, follow these instructions in reverse order.

2 other people completed this guide.

Padraic Hoselton

Member since: 08/22/17

4,339 Reputation

12 Guides authored

0 Guide Comments

Add Comment

View Statistics:

Past 24 Hours: 0

Past 7 Days: 1

Past 30 Days: 7

All Time: 317