Introduction
If one or both motors in the Mad Catz Dual Force 2 Pro Controller have stopped functioning, this guide will help you replace the vibration motors. It can also be used if you want to upgrade the motors or simply remove them if vibration is not desired.
The motors within the Mad Catz Dual Force 2 Pro controller provide haptic feedback, providing a more immersive experience when playing games that support a rumble feature.
Before beginning the guide, make sure to test the controller’s vibration by playing a game which supports the rumble feature to ensure the motors are the issue.
Step 5 requires that the motors are lifted and desoldered from the circuit board. After removal, you will need to solder the new motors on.
Before beginning, make sure to unplug the controller from any console to avoid damage.
What you need
-
-
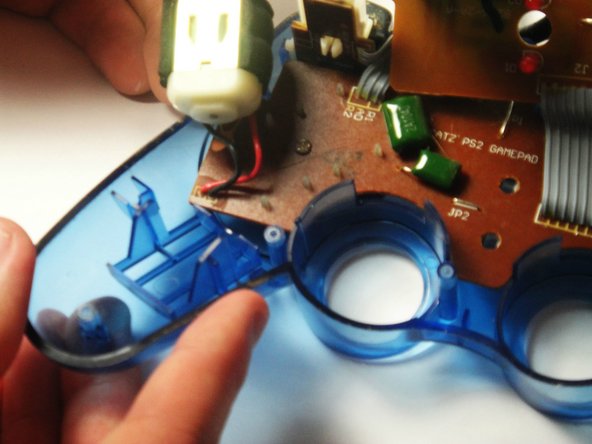
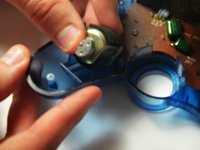
Use a soldering iron to de-solder both vibration motor wires from the motherboard.
-


To put your device back together, just follow these steps in reverse order. Take your e-waste to an R2 or e-Stewards certified recycler.
Team

USF Tampa, Team 7-2, Remmell Winter 2015 Member of USF Tampa, Team 7-2, Remmell Winter 2015
USFT-REMMELL-W15S7G2
4 Members
10 Guides authored