Introduction
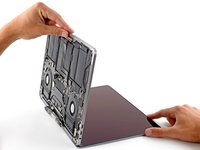
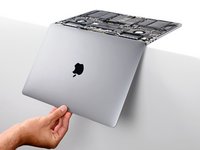
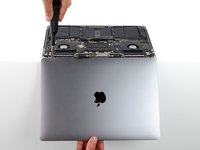
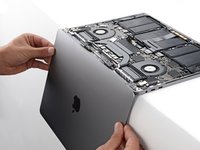
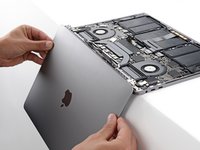
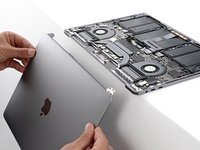
Use this guide to replace the entire display assembly on your MacBook Pro, in order to fix a cracked or faulty screen. This assembly also includes the integrated ribbon cables that sometimes fail as part of the “FlexGate” defect on earlier models, so replacing it will also resolve the “stage lights” effect and other issues resulting from ribbon cable damage.
For your safety, drain your MacBook Pro's battery below 25% charge before you begin.
What you need
-
-
Power on your Mac and launch Terminal.
-
Copy and paste the following command (or type it exactly) into Terminal:
-
sudo nvram AutoBoot=%00
-
Press [return]. If prompted, enter your administrator password and press [return] again. Note: Your return key may also be labeled ⏎ or "enter."
-
sudo nvram AutoBoot=%03
-
-
Tool used on this step:Magnetic Project Mat$19.95
-
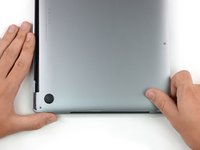
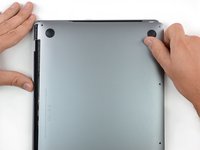
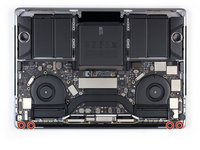
Use a P5 Pentalobe driver to remove the six screws securing the lower case:
-
Two 6.2 mm screws
-
Four 3.4 mm screws
-
-
-
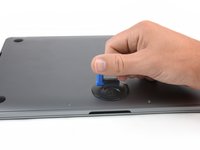
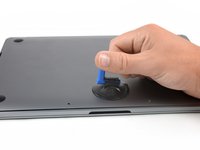
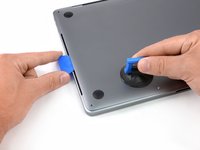
Apply a suction handle to the lower case near the front-center area of the MacBook Pro.
-
Lift the suction handle to create a slight gap between the lower case and the chassis.
-
-
-
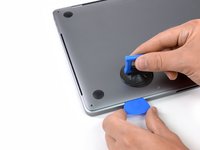
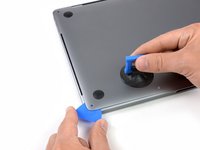
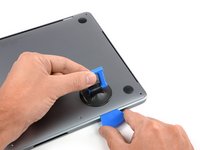
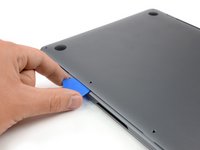
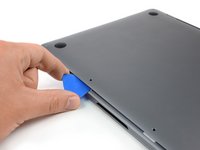
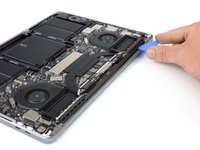
Insert one corner of an opening pick into the space between the lower case and the chassis.
-
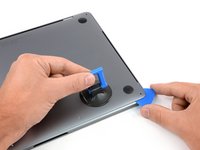
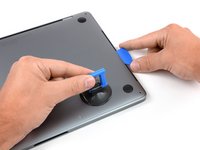
Slide the opening pick around the nearest corner and halfway up the side of the case.
-
-
-
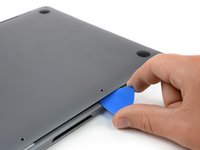
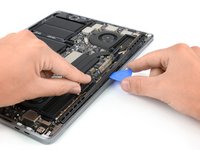
Insert your opening pick once again under the front edge of the lower case, near one of the two centermost screw holes.
-
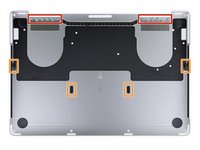
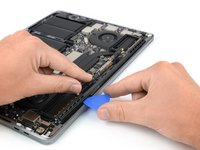
Give the pick a firm twist to pop free the third clip securing the lower case to the chassis.
-
Repeat this procedure near the other of the two centermost screw holes, popping the fourth clip free.
-
-
-
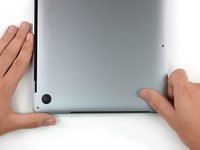
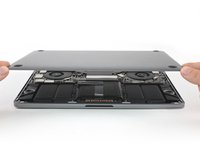
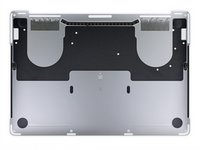
Remove the lower case.
-
Set it in place and align the sliding clips near the display hinge. Press down and slide the cover toward the hinge. It should stop sliding as the clips engage.
-
When the sliding clips are fully engaged and the lower case looks correctly aligned, press down firmly on the lower case to engage the four hidden clips underneath. You should feel and hear them snap into place.
-
-
-
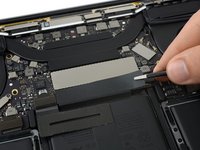
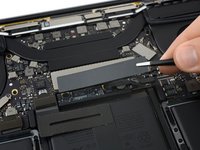
Carefully peel up the large piece of tape covering the battery connector, on the edge of the logic board nearest the battery.
-
Remove the tape.
-
-
-
-
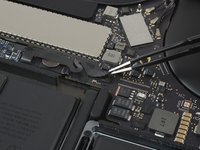
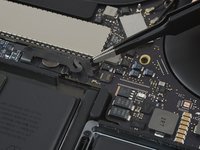
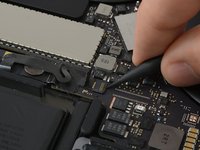
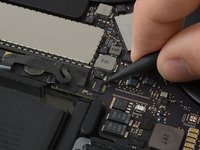
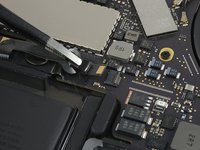
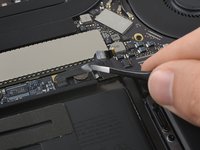
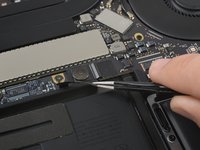
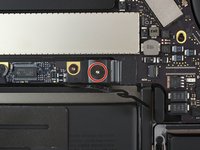
Use a spudger to gently lift the battery power connector, disconnecting the battery.
-
Lift the connector high enough so that it stays separated from its socket. If it accidentally makes contact during the course of your repair, it could damage your MacBook Pro.
-
-
-
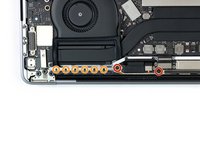
Remove the four 1.9 mm T3 Torx screws securing the plastic covers on top of the display hinges.
-
Remove both plastic hinge covers.
-
-
-
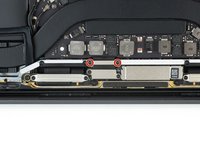
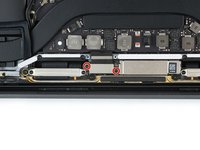
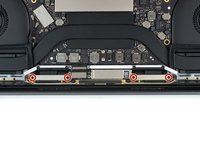
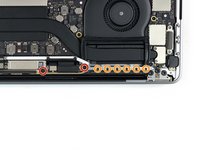
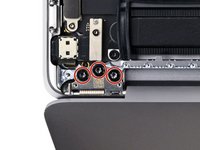
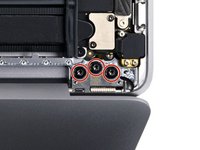
Remove the four 3.9 mm T3 Torx screws securing the two display cable cover springs.
-
-
Tool used on this step:Tweezers$4.99
-
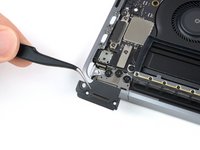
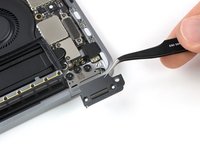
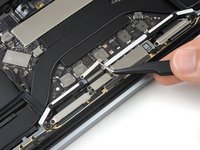
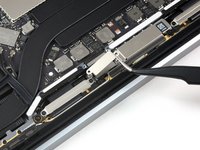
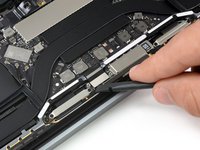
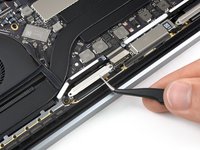
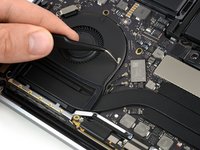
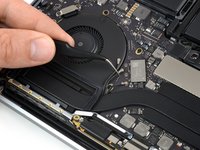
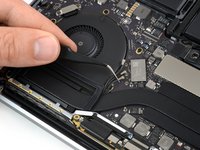
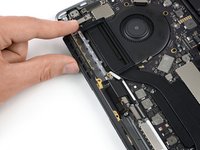
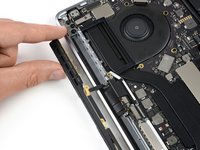
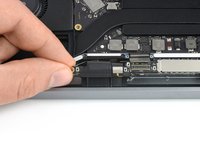
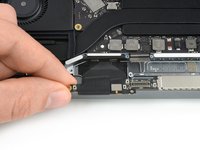
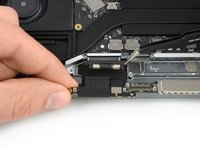
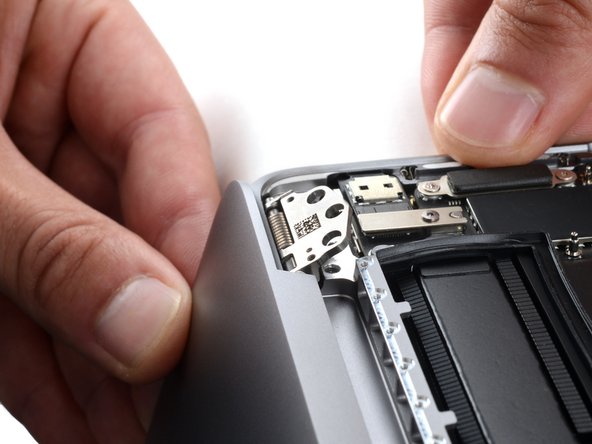
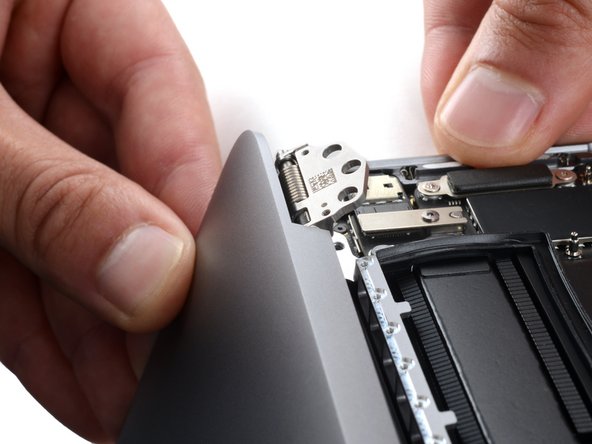
Grab the left side of the display cable assembly and pull it towards the bottom end of the MacBook and away from the cover spring.
-
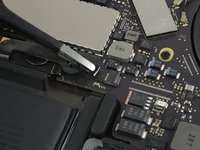
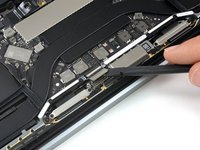
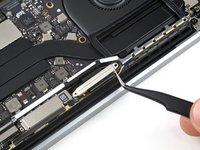
Use a pair of tweezers to pull the cover spring of the display cable out of its recess.
-
Repeat this step with the right cover spring of the display cable assembly.
-
-
-
Fully open your MacBook and gently place it keyboard-side-down on a table so the screen hangs over the edge.
-
-
-
Support the screen with one hand and use your free hand to remove the six T8 Torx screws securing the hinges.
-
-
-
Firmly secure the main body of your MacBook with one hand.
-
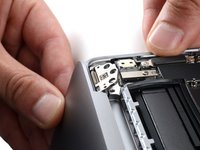
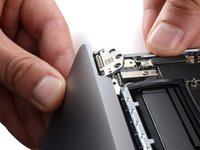
With your free hand, push the left side of the screen up and towards the bottom of your laptop to free the left hinge.
-
-
-
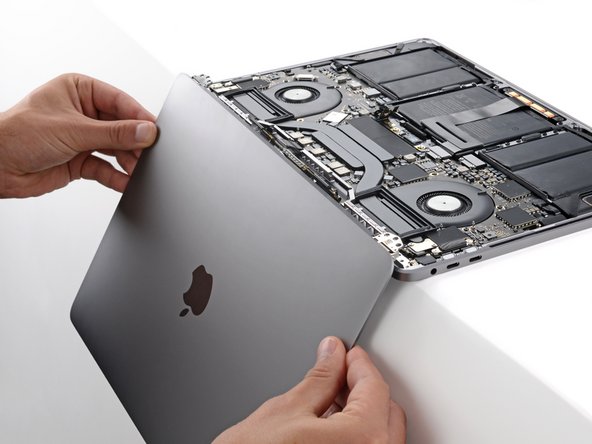
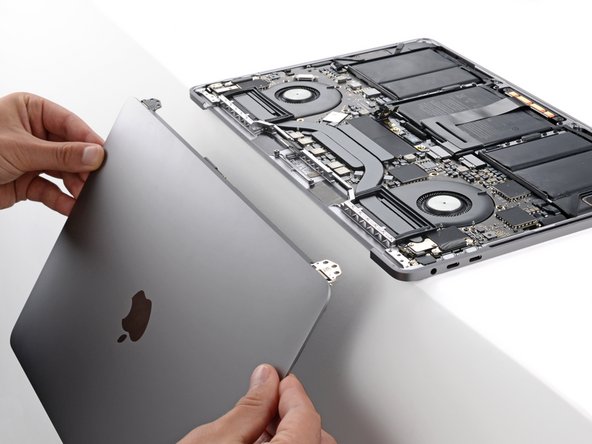
Free the right hinge and remove the screen.
-
Make sure the screen hinges are fully open and guide them into their recesses in the frame.
-
Partially tighten the six hinge screws.
-
Close your laptop and make sure the screen is properly aligned. If it clicks or snaps, readjust the alignment.
-
Fully tighten the hinge screws.
-
Compare your new replacement part to the original part—you may need to transfer remaining components or remove adhesive backings from the new part before installing.
To reassemble your device, follow the above steps in reverse order.
Take your e-waste to an R2 or e-Stewards certified recycler.
Repair didn’t go as planned? Try some basic troubleshooting or search our Answers community for help.
Cancel: I did not complete this guide.
94 other people completed this guide.
34 Guide Comments
What is the ribbon cable that you must remove before disconnecting the battery do?
your mom.
all joking aside, its the communication between the logic board and the battery controller (cycle count, battery health etc)
What is the exact P2 bit you need to remove the 12 screws holding the antenna bar? I ordered a P2 bit on Amazon that says it’s 0.8mm P2 bit and it’s too big. Not sure if they shipped me the wrong one or what. Been trying to find out exactly what bit to use and no luck so far.
What about the display ribbon cable ?
I have a bad cable and don’t want to spend 400 on display assy when the cable is available on this site for 25


