Free Shipping on Domestic Orders $75+

MacBook Pro 13" Retina Display Late 2012 Display Assembly Replacement

Views: 301

View statistics:

Past 24 Hours:
1
Past 7 Days:
11
Past 30 Days:
19
All Time:
301
Comments: 0

No one has left comments on this guide. Will you be first?

Go to guide comments
Completed: 0

No one has marked this guide "completed." Will you be the first?

Favorites: 0

No one has favorited (and subscribed to) this guide. Will you be the first?

Time Required: No estimate
Difficulty: Moderate
MacBook Pro 13" Retina Display Late 2012 Display Assembly Replacement
Prerequisite Only This is a prerequisite-only guide! This guide is part of another procedure and isn’t meant to be used alone.

Introduction

Go to step 1 ↓

Prereq for upper case.

What you need

Tools

    1. MacBook Pro 13" Retina Display Late 2012 Display Assembly Replacement, Display Assembly: step 1, image 1 of 2 MacBook Pro 13" Retina Display Late 2012 Display Assembly Replacement, Display Assembly: step 1, image 2 of 2
      Tool used on this step:
      Tweezers
      $4.99
      Buy
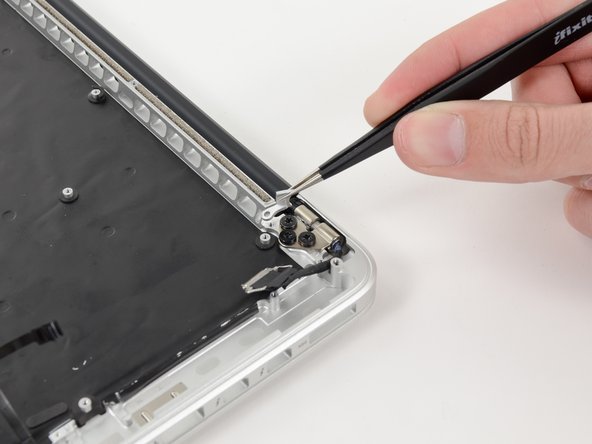
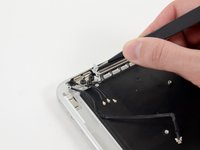
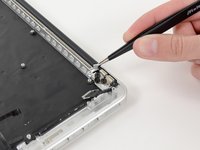
      • Use a pair of tweezers to lift the rubber hinge covers up off the right and left display hinges.

      Ask FixBot

      Add Comment

    2. MacBook Pro 13" Retina Display Late 2012 Display Assembly Replacement: step 2, image 1 of 2 MacBook Pro 13" Retina Display Late 2012 Display Assembly Replacement: step 2, image 2 of 2
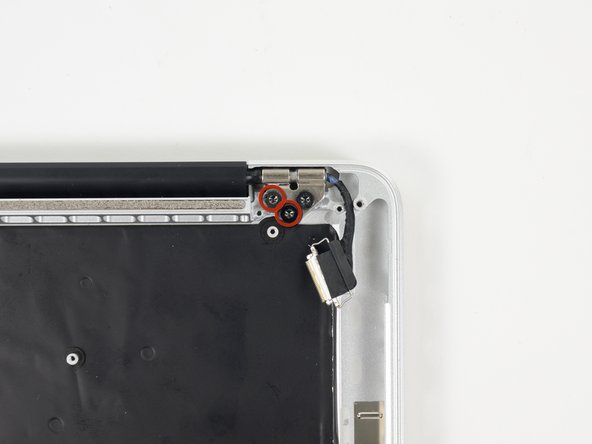
      • Remove the 3.2 mm T5 Torx screws (one on each side) securing the aluminum hinge brackets to the upper case.

      Ask FixBot

      Add Comment

    3. MacBook Pro 13" Retina Display Late 2012 Display Assembly Replacement: step 3, image 1 of 2 MacBook Pro 13" Retina Display Late 2012 Display Assembly Replacement: step 3, image 2 of 2
      • Use a pair of tweezers to lift aluminum hinge brackets off the right and left display hinges.

      Ask FixBot

      Add Comment

    4. MacBook Pro 13" Retina Display Late 2012 Display Assembly Replacement: step 4, image 1 of 2 MacBook Pro 13" Retina Display Late 2012 Display Assembly Replacement: step 4, image 2 of 2
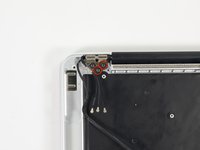
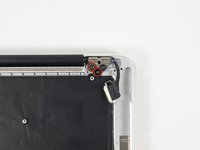
      • Remove the four inner 5.3 mm T8 Torx screws (two on each side) securing the display to the upper case.

      Ask FixBot

      Add Comment

    5. MacBook Pro 13" Retina Display Late 2012 Display Assembly Replacement: step 5, image 1 of 2 MacBook Pro 13" Retina Display Late 2012 Display Assembly Replacement: step 5, image 2 of 2
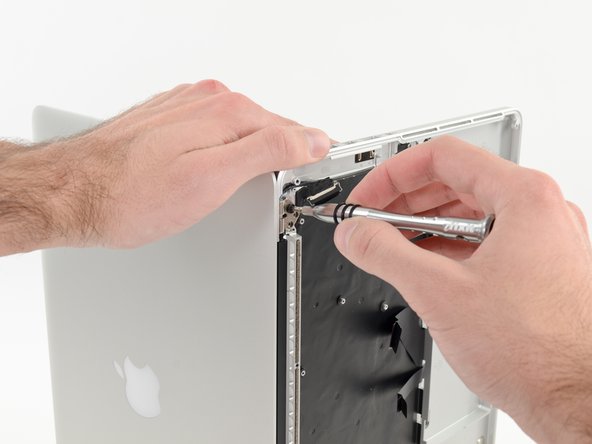
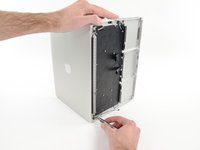
      • Open the MacBook Pro approximately 110 degrees, and place it sideways on the table, as shown.

      • While holding the display and upper case together with your left hand, remove the remaining T8 Torx screw from the lower display bracket.

      • Be sure to hold the display and upper case together with your left hand. Failure to do so may cause the freed display/upper case to fall, potentially damaging each component.

      • Remove the last remaining T8 Torx screw securing the display to the upper case.

      Ask FixBot

      Add Comment

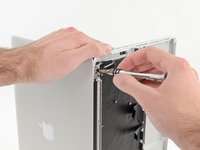
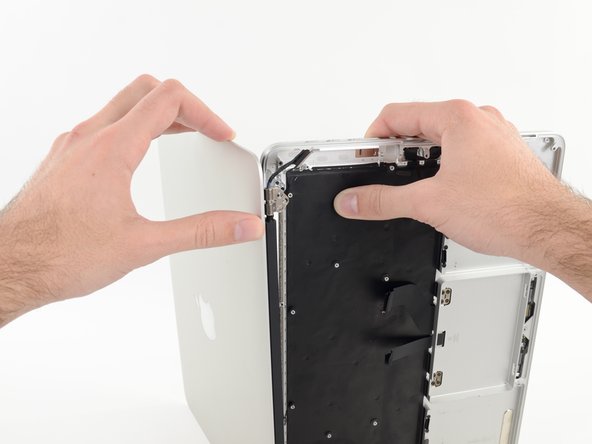
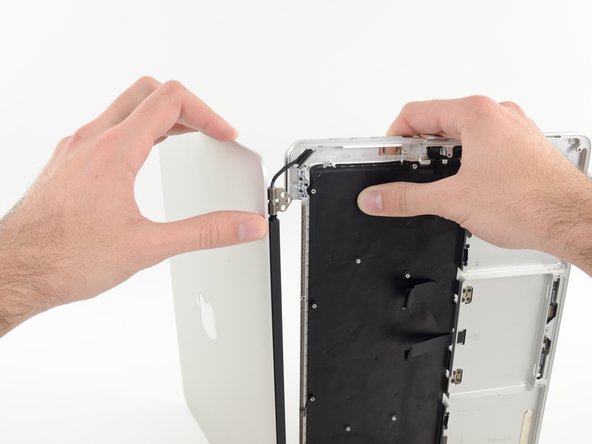
    6. MacBook Pro 13" Retina Display Late 2012 Display Assembly Replacement: step 6, image 1 of 3 MacBook Pro 13" Retina Display Late 2012 Display Assembly Replacement: step 6, image 2 of 3 MacBook Pro 13" Retina Display Late 2012 Display Assembly Replacement: step 6, image 3 of 3
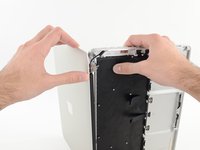
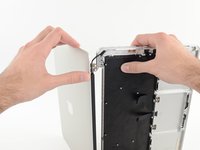
      • Grip both halves of the device, one in each hand.

      • Gently push forward on the bottom half of the device to detach it from the display assembly.

      • Carefully set each component aside, making sure to set down the lower half keyboard-side down.

      Ask FixBot

      Add Comment

Conclusion

To reassemble your device, follow these instructions in reverse order.

Cancel: I did not complete this guide.

0 Guide Comments

Add Comment

View Statistics:

Past 24 Hours: 1

Past 7 Days: 11

Past 30 Days: 19

All Time: 301