Introduction
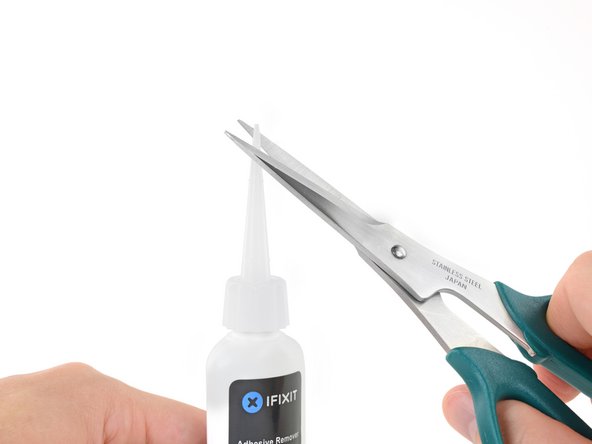
Use this guide to safely remove the glued-in battery from your MacBook Pro with the help of an iFixit battery replacement kit. The adhesive remover in your kit will dissolve the adhesive securing the battery, allowing you to remove it with ease. The battery is made up of six distinct cells, four of which are adhered to the upper case.
iFixit adhesive remover is highly flammable. Perform this procedure in a well-ventilated area. Do not smoke or work near an open flame during this procedure.
To minimize risk of damage, turn on your MacBook and allow the battery to fully discharge before starting this procedure. A charged lithium-ion battery can create a dangerous and uncontrollable fire if accidentally punctured. If your battery is swollen, take extra precautions.
Note: The solvent used to dissolve the battery adhesive can damage certain plastics, such as the MacBook Pro's plastic speaker enclosures. Take care when applying the solvent.
If you're using the old-style iFixit adhesive remover with separate bottle and syringe (no longer sold), click here for a slightly modified set of instructions.
What you need
-
-
Remove the following ten screws securing the lower case to the upper case:
-
Two 2.3 mm P5 Pentalobe screws
-
Eight 3.0 mm P5 Pentalobe screws
-
-
-
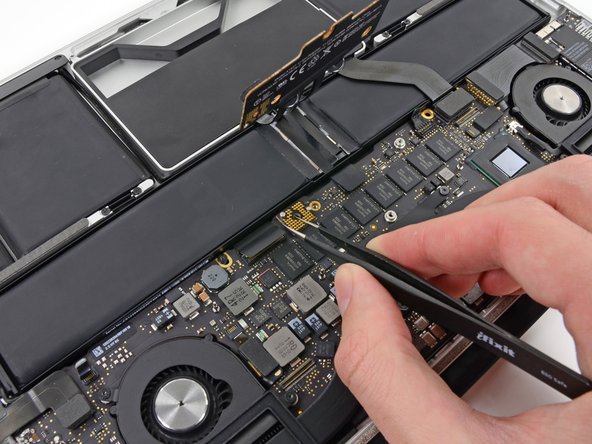
Grasp the Interposer with tweezers.
-
Lift the Interposer off the logic board and remove it.
-
-
-
Use the flat end of a spudger to pry the right side of the I/O board data cable connector up off its socket on the I/O board.
-
-
-
-
Use the flat end of a spudger to pry the SSD cable connector up from its socket on the logic board.
-
Move the SSD cable connector out of the way.
-
-
-
Use the flat end of a spudger to pry the headphone jack cable connector straight up off its socket on the logic board.
-
-
-
Use your thumb or finger to bend the plastic spring bar on the SSD tray, freeing the two clips at the front side of the device.
-
While holding the spring bar depressed, tilt the SSD assembly up out of its cavity.
-
-
-
Remove three 2.2 mm T5 Torx screws from each side of the battery (six screws total).
-
-
-
Now that your MacBook Pro is fully prepped, it's time to prep yourself.
-
Wear eye protection when handling and applying the adhesive remover. (Eye protection is included in your kit.)
-
Do not wear contact lenses without eye protection.
-
Protective gloves are also included in your kit. If you are concerned about skin irritation, put your gloves on now.
-
-
-
Insert the flat edge of a spudger or plastic card underneath the leftmost battery cell.
-
Run your tool along the bottom perimeter of the battery cell and lift to begin separating the adhesive.
-
-
-
Repeat the above steps to separate the adjacent battery cell from its adhesive:
-
Apply a few drops of liquid adhesive remover under the battery cell.
-
Wait 2-3 minutes for the adhesive remover to penetrate and soften the adhesive.
-
Carefully wedge a spudger or plastic card inwards, being careful to not damage the battery, and separate the battery cell from the adhesive securing it to your MacBook Pro.
-
-
-
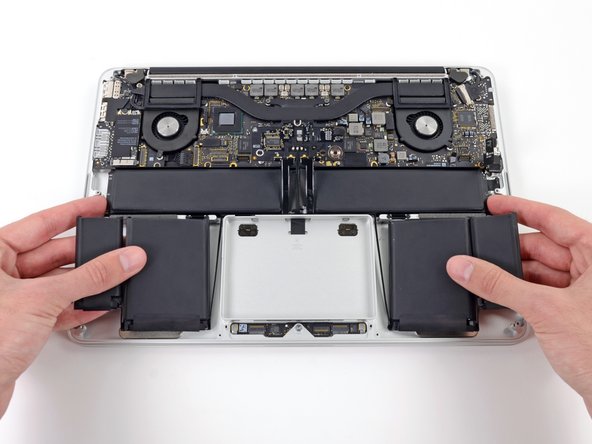
Lift the battery as a whole up out of the upper case, and remove the battery.
-
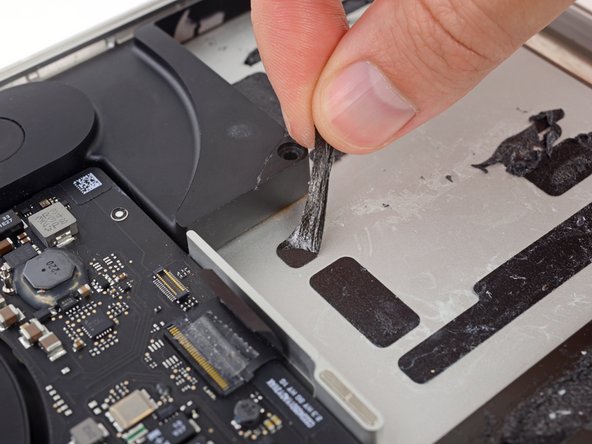
With a little luck, you can slowly pull out each strip of adhesive with your fingers.
-
Otherwise, soak each section of adhesive with a bit of adhesive remover for 2-3 minutes, and then scrape it out with an opening pick or one of the other tools in your kit. This can take quite a bit of work, so be patient.
-
Mop up any remaining adhesive remover and give your MacBook Pro a few minutes to air dry.
-
Calibrate your newly installed battery: charge it to 100%, and keep charging it for at least 2 more hours. Unplug and use it normally to drain the battery. When you see the low battery warning, save your work, and keep your laptop on until it goes to sleep due to low battery. Wait at least 5 hours, then charge your laptop uninterrupted to 100%.
-
To reassemble your device, follow these instructions in reverse order.
To reassemble your device, follow these instructions in reverse order.
Cancel: I did not complete this guide.
104 other people completed this guide.
48 Comments
Followed this guide step by step. Very comprehensive and accurate. I would never have dared disconnect the speakers if this guide didn't show me how.
One point though. The lower left and right speaker screws had some metallic sponge on top of them. I wouldn't have known there were screws underneath.
Excellent guide. I'm a repair technician who works on both PCs and Macs. This was my first rMBP battery replacement and I wasn't sure what to expect. For those experienced with electronics repairs, I'd say this is a relatively easy repair with the exception of releasing the adhesive which holds the battery cells to the case. I was eventually able to do it with a spudger and some elbow grease, but I was worried at times that I was going to puncture the battery. Apple really needs to dial back the strength of adhesive they use for these applications. They are clearly making it as difficult as possible for the average user to attempt, which IMO may end up costing them well informed and thoughtful customers. This setup is similar to the iPhone 6 battery (which I actually did puncture with a spudger the first time I removed one) albeit more involved to remove. In the case of the iPhone, a few minutes on the hot plate loosens it right up but this isn't really feasible in the case of the rMBP.
I recommend to skip step 14 ( pry the left speaker cable connector up off from its socket on the logic board). The risk of damaging the socket is very high. There is even a warning in this guide (Be sure you are prying up on the connector, not the socket itself!).
Proceed from 13 to 15 and 16 to remove the right speaker. Still with the connector in place you can put the speaker a bit aside and have enough room to remove the battery packs in the steps later.
Same for left speaker and its connector cable (step 18).
Hint by @roelofk with old credit card is very helpful.
Excellent description and excellent pictures. Thx


