Introduction
Follow this guide to remove or replace the right speaker on a Late 2020 (M1) 13-inch MacBook Pro.
What you need
-
-
If your MacBook is running Big Sur v11.1 or later, disabling Auto Boot may not work. You can proceed normally, but make sure to disconnect the battery as soon as you're inside.
-
Use a P5 Pentalobe driver to remove the six screws securing the lower case:
-
Two 6.8 mm screws
-
Two 5.3 mm screws
-
Two 3.4 mm screws
-
-
-
Insert your opening pick once again under the front edge of the lower case, near one of the two centermost screw holes.
-
Give the pick a firm twist to pop free the third clip securing the lower case to the chassis.
-
Repeat this procedure near the other of the two centermost screw holes, popping the fourth clip free.
-
-
-
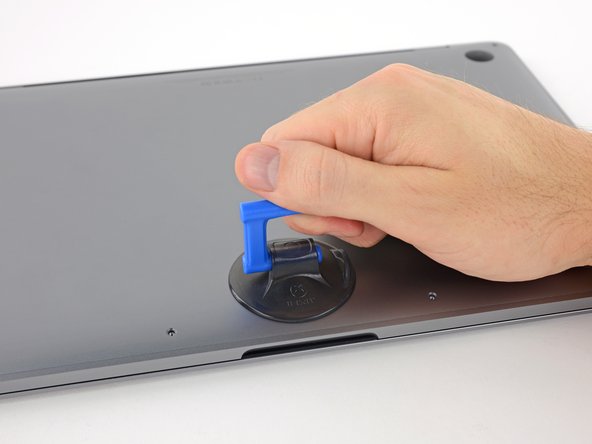
Remove the lower case.
-
Set it in place and align the sliding clips near the display hinge. Press down and slide the cover toward the hinge. It should stop sliding as the clips engage.
-
When the sliding clips are fully engaged and the lower case looks correctly aligned, press down firmly on the lower case to engage the four hidden clips underneath. You should feel and hear them snap into place.
-
-
-
-
Carefully peel up the large piece of tape covering the battery connector, on the edge of the logic board nearest the battery.
-
Remove the tape.
-
-
-
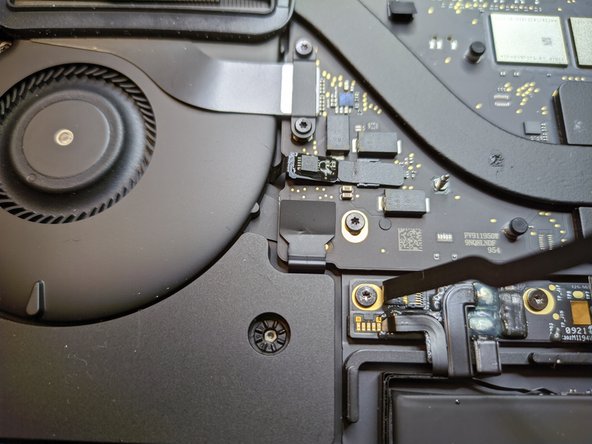
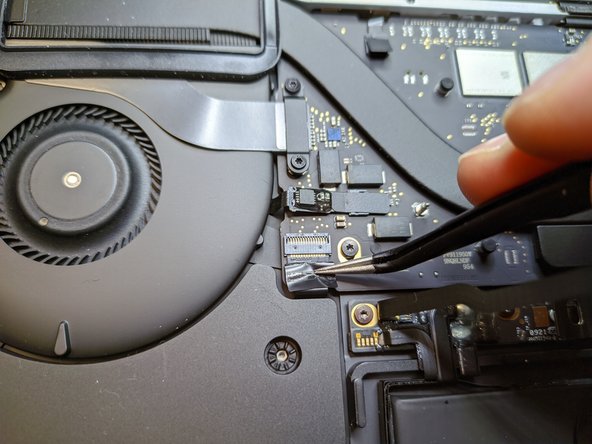
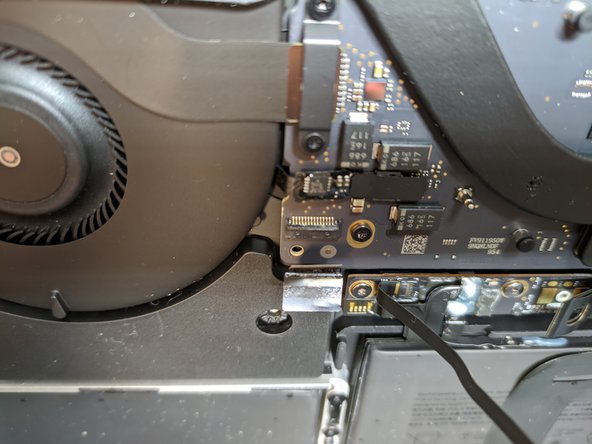
Lift the adhesive covering the right speaker connector using a pair of tweezers to pull it towards you.
-
-
-
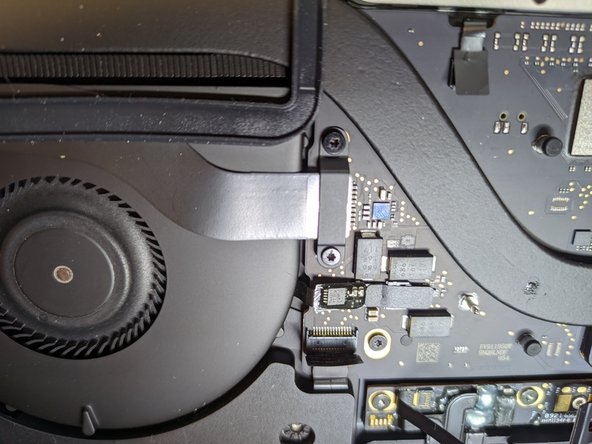
Remove the three 2.85mm T5 Torx screws holding the right speaker in place.
-
-
-
Slide the flat side of the spudger under the right speaker, next to the battery board.
-
Push the spudger down to lift the right speaker out of its socket.
-
Remove the right speaker from its housing.
-


Compare your replacement part with the original one - some components may need to be relocated, or adhesive guards removed from the new part before installing.
To reassemble your device, follow the instructions in reverse order.
Take your e-waste to an R2 or e-Stewards certified recycler.
Did the repair not go as planned? Try reaching out to our Answers community for help with troubleshooting.
Cancel: I did not complete this guide.
3 other people completed this guide.
Special thanks to these translators:
100%


These translators are helping us fix the world! Want to contribute?
Start translating ›