Introduction
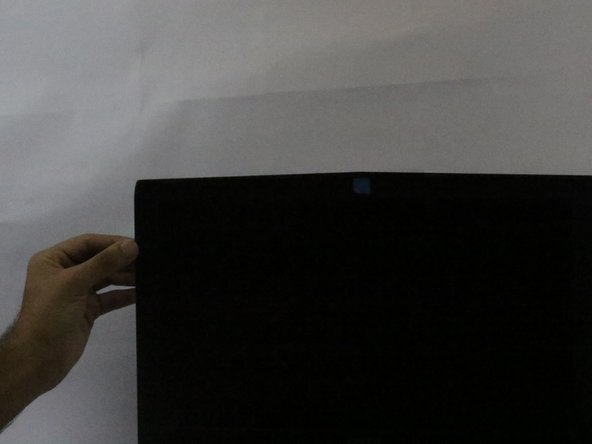
The MSI Apache Pro 004 comes equipped with a 30 fps 720p camera. Due to age, usage, or damage, the camera may need to be replaced.
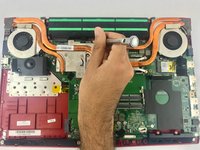
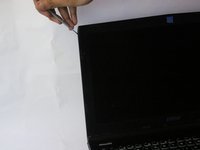
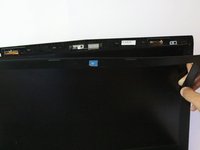
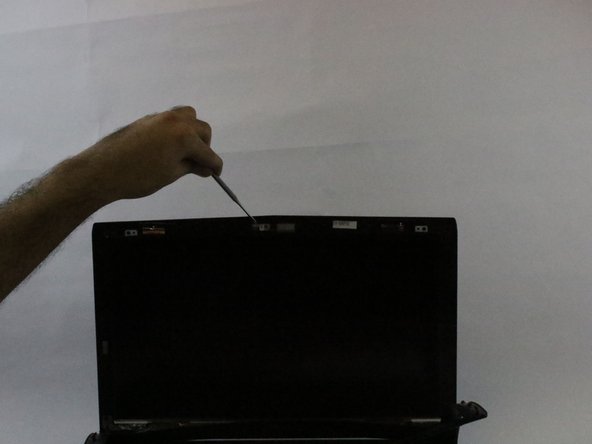
The camera is a modular component so replacing it is much easier to replace.
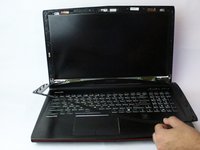
This guide will help you replace the webcam in your MSI Apache Pro 004 laptop.
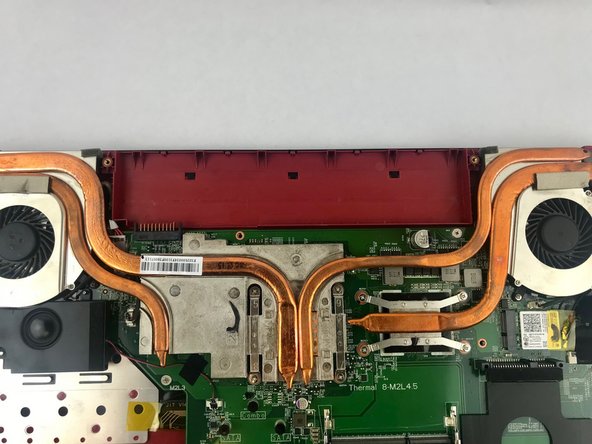
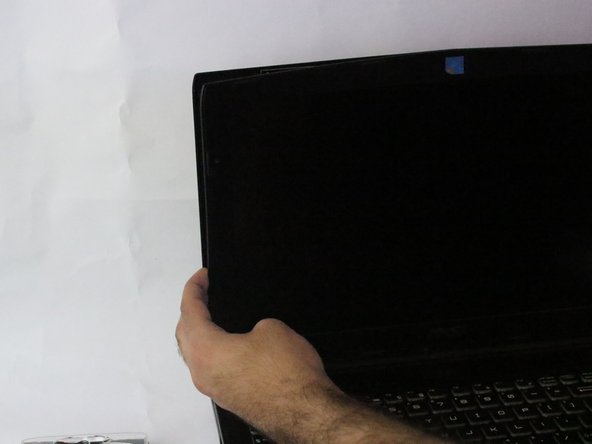
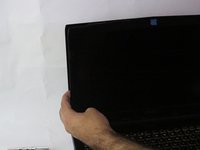
Before you begin this repair, make sure to power off your laptop and unplug it from the charging adaptor.
What you need


To reassemble your device, follow these instructions in reverse order. Take your e-waste to an R2 or e-Stewards certified recycler.
Team

USF Tampa, Team S15-G5, Boczar Spring 2018 Member of USF Tampa, Team S15-G5, Boczar Spring 2018
USFT-BOCZAR-S18S15G5
4 Members
5 Guides authored