Free Shipping on Domestic Orders $75+

Lorex LHV210800 Button Panel Replacement

What you need

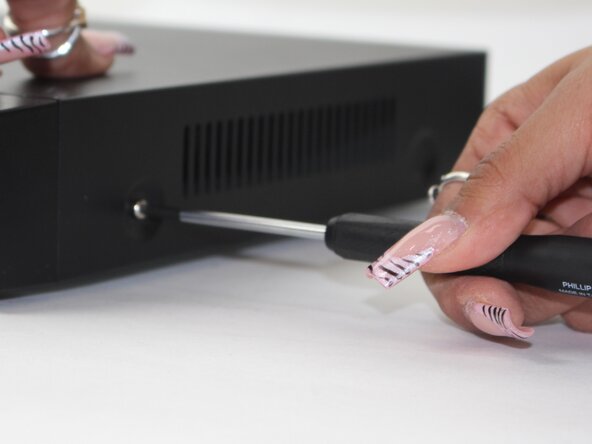
    1. Lorex LHV210800 Button Panel Replacement, Upper Case: step 1, image 1 of 3 Lorex LHV210800 Button Panel Replacement, Upper Case: step 1, image 2 of 3 Lorex LHV210800 Button Panel Replacement, Upper Case: step 1, image 3 of 3
      • Before beginning, disconnect the DVR from power and unplug all peripheries.

      • Remove each of the two 1 cm screws on the right and left sides of the DVR with a Phillips screwdriver.

      Ask FixBot

      Add Comment

    2. Lorex LHV210800 Button Panel Replacement: step 2, image 1 of 2 Lorex LHV210800 Button Panel Replacement: step 2, image 2 of 2
      • Remove the four 1 cm Phillips screws on the rear panel.

      • Do not unscrew the screw connected to the lower case.

      Ask FixBot

      Add Comment

    3. Lorex LHV210800 Button Panel Replacement: step 3, image 1 of 1
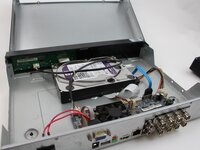
      • Lift up and remove the top cover.

      Ask FixBot

      Add Comment

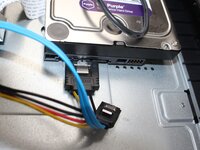
    1. Lorex LHV210800 Button Panel Replacement, Button Panel: step 4, image 1 of 2 Lorex LHV210800 Button Panel Replacement, Button Panel: step 4, image 2 of 2
      • Unplug the two cables from the HDD.

      • These plugs will have a BLUE and R/B/B/Y color scheme.

      Ask FixBot

      Add Comment

    2. Lorex LHV210800 Button Panel Replacement: step 5, image 1 of 1
      • Flip the DVR over so the underside is facing up.

      • Remove the 1 cm Phillips screws on the lower case.

      Ask FixBot

      Add Comment

    3. Lorex LHV210800 Button Panel Replacement: step 6, image 1 of 1
      • Lift the HDD up and out of the chassis.

      Ask FixBot

      Add Comment

    4. Lorex LHV210800 Button Panel Replacement: step 7, image 1 of 1
      • Remove the five Phillips screws that secure the button panel.

      Ask FixBot

      Add Comment

    5. Lorex LHV210800 Button Panel Replacement: step 8, image 1 of 1
      • Depress the white clip that secures the button panel connector.

      • Disconnect the white button panel connector.

      Ask FixBot

      Add Comment

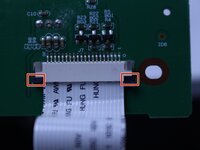
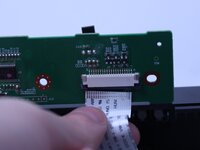
    6. Lorex LHV210800 Button Panel Replacement: step 9, image 1 of 2 Lorex LHV210800 Button Panel Replacement: step 9, image 2 of 2
      • Release the retaining tabs that secure the button panel ribbon cable.

      • Disconnect the ribbon cable.

      • Remove the button panel.

      Ask FixBot

      Add Comment

Conclusion

To reassemble your device, follow the above steps in reverse order.
Take your e-waste to an R2 or e-Stewards certified recycler.
Repair didn’t go as planned? Try some basic troubleshooting or ask our Answers community for help.

Cancel: I did not complete this guide.

Maxwell Cash

Member since: 02/19/25

387 Reputation

3 Guides authored

2 Guide Comments

In the details section, there is no time estimation. It took our group 13 minutes to disassemble the dvr and put it back together.

Joshua Anderson - Reply Share

In the details section it does not list the tools needed.

Anthony - Reply Share

Add Comment

View Statistics:

Past 24 Hours: 1

Past 7 Days: 10

Past 30 Days: 58

All Time: 515