Shop the Holiday Gift Guide
Free Shipping on Domestic Orders $75+

Logitech MX Master Mouse Feet Replacement

Views: 8.4K

View statistics:

Past 24 Hours:
6
Past 7 Days:
55
Past 30 Days:
256
All Time:
8,450
Comments: 0

No one has left comments on this guide. Will you be first?

Go to guide comments
Completed: 2

2 people have marked this guide "completed." Will you be next?

Favorites: 0

No one has favorited (and subscribed to) this guide. Will you be the first?

Time Required: 10 - 20 minutes
Difficulty: Easy
OEM Guide

iFixit collaborated with the manufacturer to make this guide.

Logitech MX Master Mouse Feet Replacement

Introduction

Go to step 1 ↓

Use this guide to replace worn-out or damaged feet (also known as skates, glides, slides, or pads) on your Logitech MX Master mouse.

While it’s possible to cleanly remove the feet, you may need replacements if one rips or separates from its adhesive pad.

What you need

Fix Kit

This kit contains all the parts and tools needed to complete this guide.

Parts

Tools

    1. Logitech MX Master Mouse Feet Replacement, Soften the mouse feet adhesive: step 1, image 1 of 2 Logitech MX Master Mouse Feet Replacement, Soften the mouse feet adhesive: step 1, image 2 of 2
      • Flip the mouse's power switch into the OFF position, unplug any cables, and flip it over so the feet are facing up.

      • The unique shape of some mice can prevent them from laying flat. If you need to, lay your mouse on a soft towel to prevent wobble.

      • If you're planning to reuse your existing mouse feet, note that the adhesive needs to be thoroughly heated for them to be cleanly removed.

      • Apply a heated iOpener to the left and right mouse feet for about one minute each.

      • Alternatively, you can use a hair dryer to soften the mouse feet adhesive.

      • When using a hair dryer, don't heat the feet for more than a couple seconds at a time—anything hotter than just warm to the touch risks melting or warping the plastic lower case.

      • The information sticker adhesive may soften during this step, but you don't need to remove it.

      Ask FixBot

      Add Comment

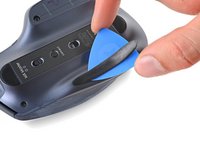
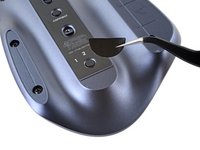
    2. Logitech MX Master Mouse Feet Replacement, Separate the left foot adhesive: step 2, image 1 of 3 Logitech MX Master Mouse Feet Replacement, Separate the left foot adhesive: step 2, image 2 of 3 Logitech MX Master Mouse Feet Replacement, Separate the left foot adhesive: step 2, image 3 of 3
      • Insert an opening pick between the left foot and the lower case.

      • Go slowly, and make sure the pick slides underneath both the foot and its adhesive pad. These layers separate easily.

      • If you plan on reusing your mouse feet, be careful not to crease them or separate them from their adhesive pads.

      • Slide your pick under the foot to separate its adhesive until you can grab it with your fingers.

      Ask FixBot

      Add Comment

    3. Logitech MX Master Mouse Feet Replacement, Remove the left mouse foot: step 3, image 1 of 2 Logitech MX Master Mouse Feet Replacement, Remove the left mouse foot: step 3, image 2 of 2
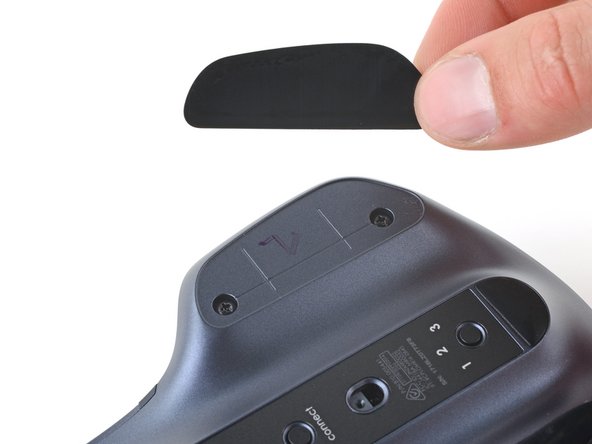
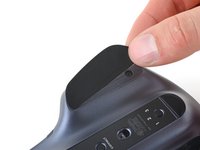
      • Peel up and remove the left mouse foot.

      Ask FixBot

      Add Comment

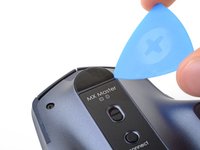
    4. Logitech MX Master Mouse Feet Replacement, Remove the right mouse foot: step 4, image 1 of 3 Logitech MX Master Mouse Feet Replacement, Remove the right mouse foot: step 4, image 2 of 3 Logitech MX Master Mouse Feet Replacement, Remove the right mouse foot: step 4, image 3 of 3
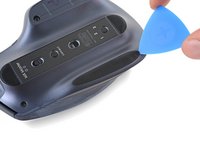
      • Insert and slide your opening pick under the right foot to separate its adhesive.

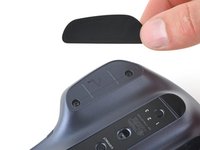
      • Remove the right mouse foot.

      Ask FixBot

      Add Comment

    1. Logitech MX Master Mouse Feet Replacement, Soften the remaining mouse feet adhesive: step 5, image 1 of 1
      • Apply a heated iOpener across the top and bottom mouse feet for one minute.

      • Alternatively, you can use a hair dryer to soften the mouse feet adhesive.

      • When using a hair dryer, don't heat the feet for more than a couple seconds at a time—anything hotter than just warm to the touch risks melting or warping the plastic lower case.

      Ask FixBot

      Add Comment

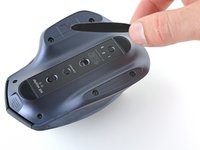
    2. Logitech MX Master Mouse Feet Replacement, Separate the top foot adhesive: step 6, image 1 of 3 Logitech MX Master Mouse Feet Replacement, Separate the top foot adhesive: step 6, image 2 of 3 Logitech MX Master Mouse Feet Replacement, Separate the top foot adhesive: step 6, image 3 of 3
      • Insert an opening pick between the top foot and the lower case.

      • Slide your pick under the foot to separate its adhesive until you can grab it with your fingers.

      Ask FixBot

      Add Comment

    3. Logitech MX Master Mouse Feet Replacement, Remove the top mouse foot: step 7, image 1 of 2 Logitech MX Master Mouse Feet Replacement, Remove the top mouse foot: step 7, image 2 of 2
      Tool used on this step:
      Tweezers
      $4.99
      Buy
      • Use your fingers or a pair of tweezers to remove the top mouse foot.

      Ask FixBot

      Add Comment

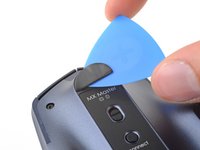
    4. Logitech MX Master Mouse Feet Replacement, Remove the bottom mouse foot: step 8, image 1 of 3 Logitech MX Master Mouse Feet Replacement, Remove the bottom mouse foot: step 8, image 2 of 3 Logitech MX Master Mouse Feet Replacement, Remove the bottom mouse foot: step 8, image 3 of 3
      • Insert and slide your opening pick under the bottom mouse foot to separate its adhesive.

      • Remove the bottom mouse foot.

      Ask FixBot

      Add Comment

    5. Logitech MX Master Mouse Feet Replacement, Reassembly information: step 9, image 1 of 3 Logitech MX Master Mouse Feet Replacement, Reassembly information: step 9, image 2 of 3 Logitech MX Master Mouse Feet Replacement, Reassembly information: step 9, image 3 of 3
      • For installing new mouse feet or reusing your old ones:

      • Use a pair of tweezers or a spudger to remove any large chunks of leftover adhesive.

      • Thoroughly clean the bottom of the mouse with isopropyl alcohol and a lint-free or microfiber cloth. Allow the surface to dry completely.

      • Peel your new mouse feet away from their adhesive liners and press them firmly into place.

      Ask FixBot

      Add Comment

Conclusion

Compare your new replacement part to the original part—you may need to transfer remaining components or remove adhesive backings from the new part before you install it.

To reassemble your device, follow these instructions in reverse order.

Cancel: I did not complete this guide.

2 other people completed this guide.

Author

with

Clay Eickemeyer

Member since: 09/19/22

109,458 Reputation

471 Guides authored

Team

Guide Team Member of Guide Team

Staff

10 Members

62,189 Guides authored

0 Guide Comments

Add Comment

View Statistics:

Past 24 Hours: 6

Past 7 Days: 55

Past 30 Days: 256

All Time: 8,450