Introduction
Use this guide to replace worn-out or damaged feet (aka skates, glides, slides, or pads) on your Logitech MX Anywhere 3.
What you need
-
-
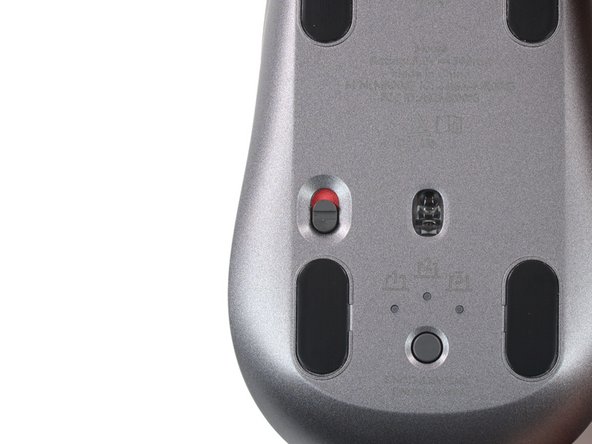
Slide the mouse's power switch to the OFF position and unplug any cables.
-
Flip the mouse over so the feet are facing up.
 Ask FixBot
-
-
-
Heat an iOpener and lay it on the mouse feet for about two minutes to soften the adhesive.
-
-
-
-
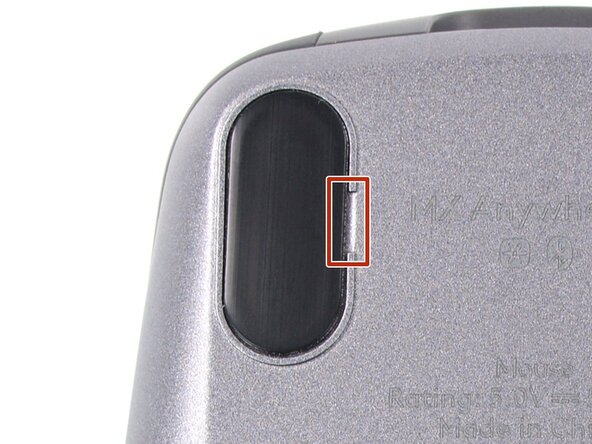
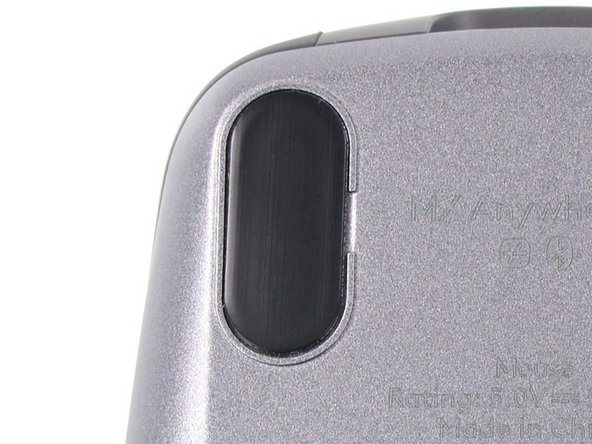
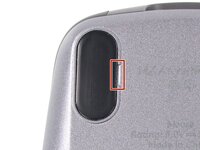
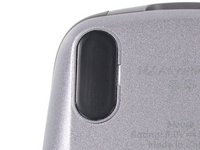
There are small gaps in the rims surrounding each foot. This is where to insert your tool when peeling up the feet.
-
-
-
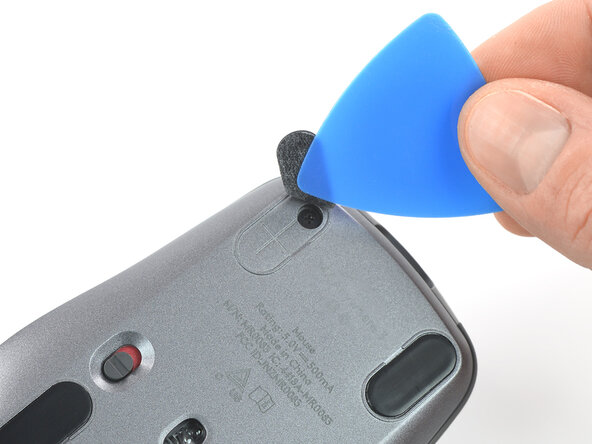
Push the tip of an opening pick (or spudger) underneath the mouse foot, into the gap in the rim.
-
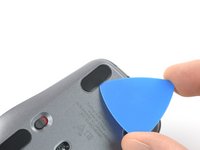
Slide your pick under the foot and lift to remove it.
-
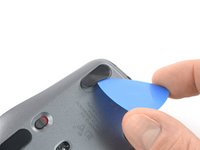
Repeat the process to remove the three remaining mouse feet. If you're having trouble sliding the tool under a foot, reheat it and try again.
-
Use a pair of tweezers or a spudger to remove any large chunks of leftover adhesive. Thoroughly clean the bottom of the mouse with isopropyl alcohol and a lint-free of microfiber cloth. Allow the surface to dry completely.
-
Peel your new mouse feet off their adhesive liners and press them firmly into place.
-


Congratulations on completing your repair!
Repair didn’t go as planned? Try some basic troubleshooting, or ask our Answers community for help.
Cancel: I did not complete this guide.
One other person completed this guide.

Team

Tobias Isakeit - Repairability Engineer Member of Tobias Isakeit - Repairability Engineer
Business
1 Member
1,164 Guides authored
1 Guide Comment
After I reassembled my MX Anywhere 3 mouse, when I turn on the switch, the LED at the back of the mouse wheel only blinks red. I have already tried charging it, but the red LED keeps blinking whether it is charging (with the power switch turned on or off) or not charging (with the power switch turned on). Additionally, the LED on the Bluetooth switch, which has 3 options to connect up to 3 devices, no longer turns on. Does anyone can help me?