This translation was generated by a machine and has not been reviewed by a person yet. Speak this language? Review it.
Introduction
The steps are pretty much identical to the G502 Hero guide (see https://de.ifixit.com/Anleitung/Logitech...), it is just that a different replacement battery is recommended.
What you need
-
-
-
Before you begin, flip the power switch into the OFF position.
 Ask FixBot
-
-
-
Heat an iOpener and apply it to the mouse feet for one minute.
-
-
-
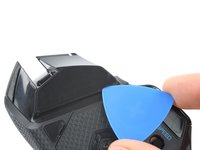
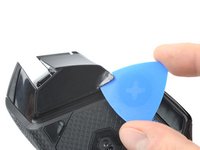
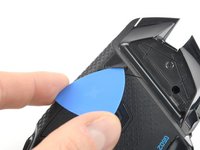
Insert the tip of an opening pick underneath the front foot at the gap in its recess.
-
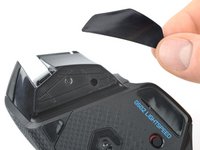
When possible, grab with your fingers and slowly pull to peel it off completely.
-
-
-
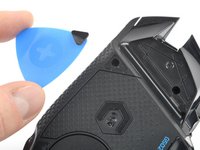
Insert the tip of an opening pick underneath the tiny front right foot at the gap in its recess.
-
-
-
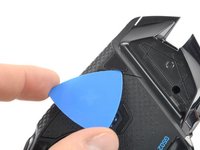
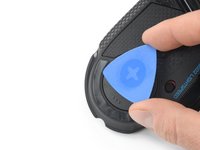
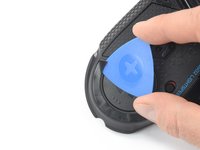
Insert the tip of an opening pick underneath the rear foot starting at the gap in its recess.
-
When possible, grab with your fingers and slowly pull to peel it off completely.
-
Use a spudger to carefully scrape up and remove any remaining adhesive bits.
-
Use isopropyl alcohol and a microfiber cloth to thoroughly clean all adhesive residue from the foot recesses. Allow the surface to completely dry.
-
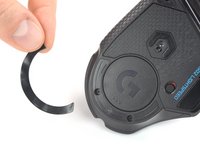
Remove the feet from their backing and firmly press them into place.
-
-
-
-
-
-
Use your fingers to remove the weight hatch by pulling the bottom part of the thumb rest straight down.
-
-
-
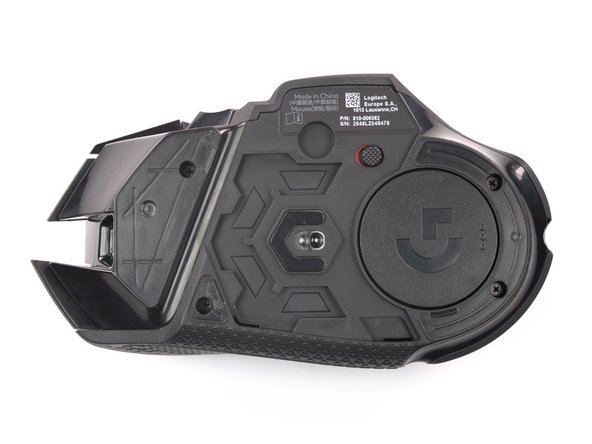
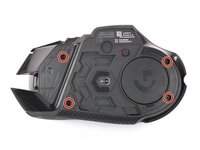
Remove the four 5.4 mm long Phillips screws at the underside of the mouse.
-
-
-
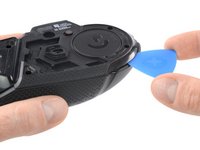
Insert an opening pick between the bottom plate and the upper shell starting at the rear of the mouse.
-
Slide the opening pick along the gap between the two halves towards the outer flank of the mouse.
-
Twist the opening pick to disengage the clips holding both halves together.
-
-
-
Again insert the tip of an opening pick between the bottom plate and the top shell starting at the rear.
-
Slide the pick along the gap between the two halves towards the thumb rest.
-
Twist the opening pick to unhinge the remaining clips.
-
-
-
Flip the mouse over on its (removed) feet and hinge the top shell open towards the right side.
-
-
-
Hold the battery cable close to the connector and carefully "walk it out" by pulling parallel to the motherboard rocking the connector side to side.
-
You can also use a pair of angled tweezers to grip the connector head and pull it straight out of its socket.
-
-
-
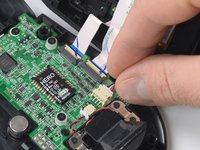
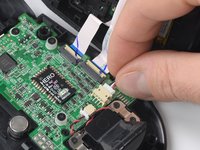
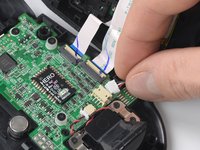
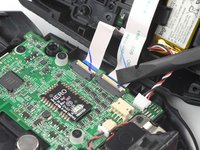
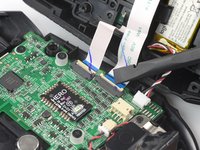
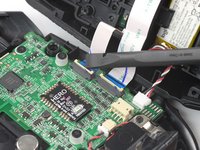
Use a spudger or your fingernail to flip up the small, hinged locking flap of both ZIF connectors to disconnect and free the interconnect cables.
-
-
-
-
-
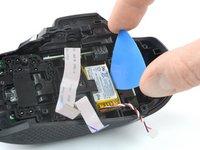
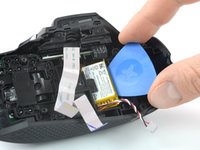
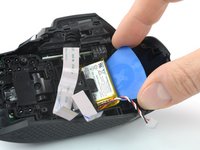
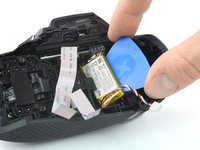
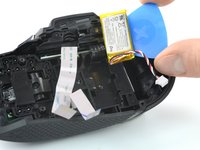
Insert the tip of an opening pick between the battery and its plastic tub.
-
Use an opening pick to pry the battery up slightly to loosen the adhesive underneath.
-
-
-
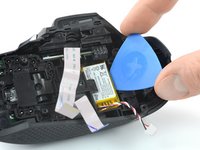
Push the opening pick all the way under the battery.
-
-
-
Slowly pull the opening pick towards the rear of the mouse to slide the battery out from under the plastic tab and out of its tub.
-
-








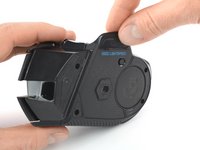
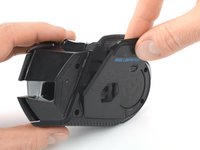
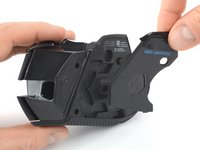



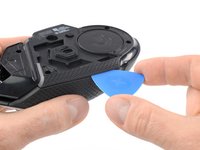
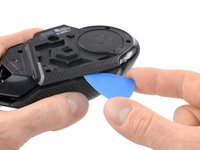


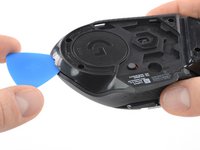
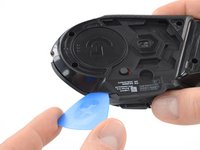
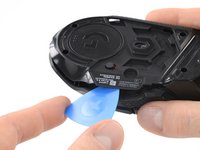


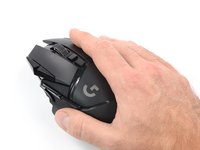
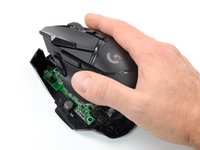
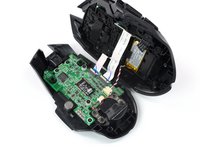










Work through the steps in reverse order to reassemble your device.

