Introduction
Replacing the left joystick for the Logitech G Cloud is difficult and can be accomplished in eight steps. You will need a wedge tool, Phillips #00 screwdriver, and a spudger. Carefully read the instructions before starting to disassemble the Logitech G Cloud. You may hear loud popping noises when you remove the interior plating. Once the screws are removed, the joystick should be simple to pop out.
What you need
-
-
-
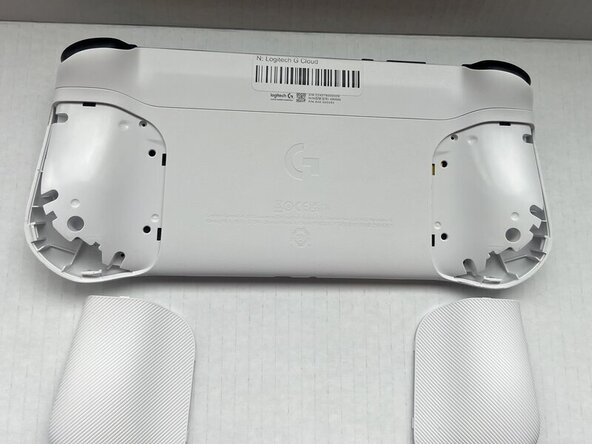
Power the device off and turn it over so the screen is face down.
-
Insert an opening pick into the seam between the back plate and left handguard.
-
Pry around the entire perimeter until the handguard fully releases.
-
Remove the handguard.
-
Repeat the previous three bullets on the right handguard.
 Ask FixBot
-
-
-
Use a Phillips #00 screwdriver to remove all eight 10 mm screws from the rear case located under where the handguards were.
-
-
-
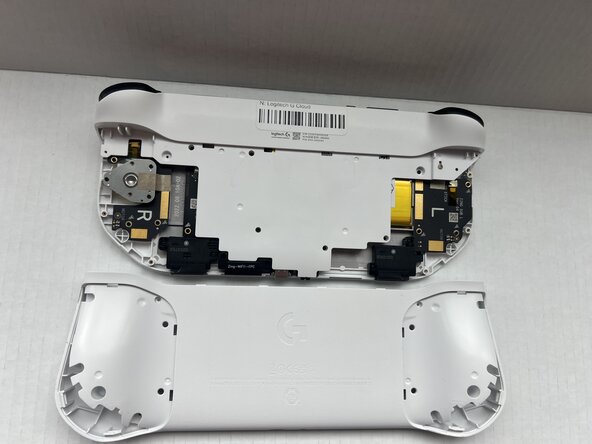
Insert an opening pick into the seam between the midframe and rear case.
-
Gently pry the rear case upwards to separate it from the midframe.
-
-
-
-
Use a Phillips #00 screwdriver to remove all seven 10 mm screws that secure the midframe.
-
-
-
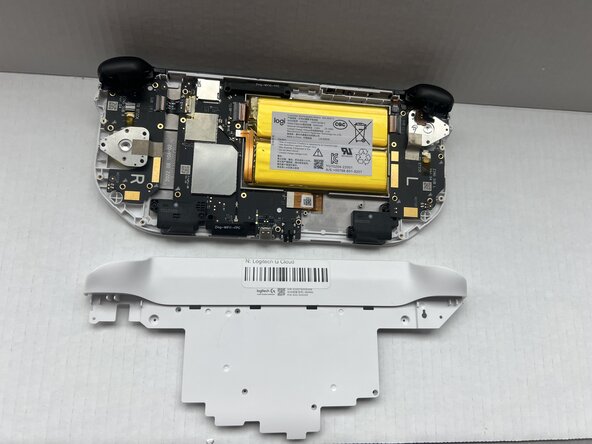
Insert an opening pick into the seam between the midframe and front case at the top of the device to separate the interior plating.
-
Gently pry out the midframe by lifting an opening pick.
-
-
-
-
-
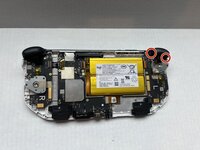
Use a Phillips #00 screwdriver to remove the two 10 mm screws that secure the L2 trigger.
-
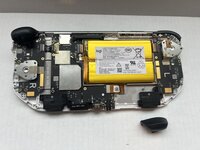
Pop the L2 trigger out with your fingers.
-
-
-
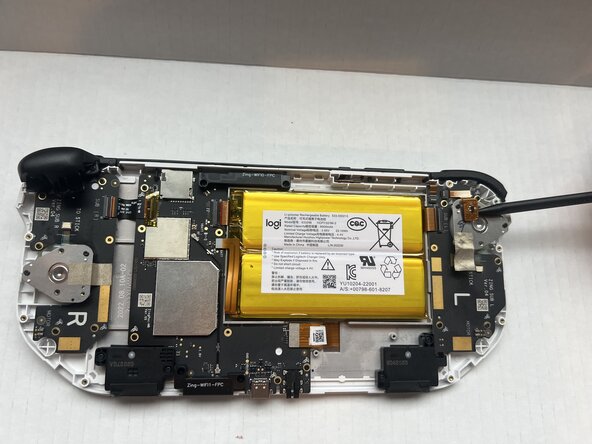
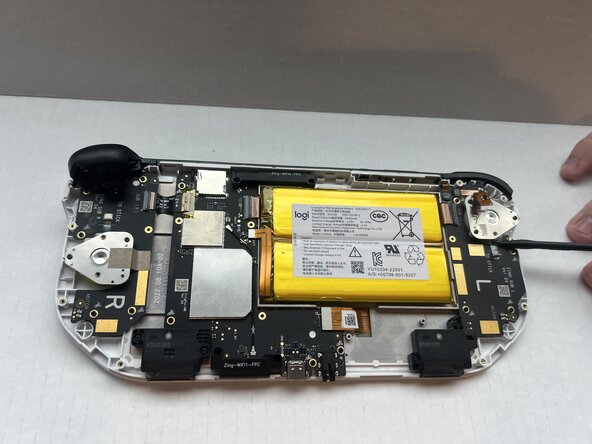
Use a spudger to lift upwards and disconnect the metallic sticker from the console.
-
Insert the flat end of a spudger under the joystick press connector and lift upwards to disconnect it.
-
Use a spudger to remove the L2 trigger sensor from the joystick plate; it should stay attached to the console.
-
-
-
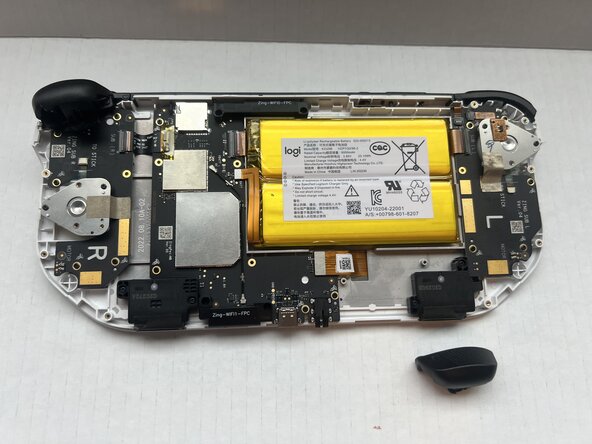
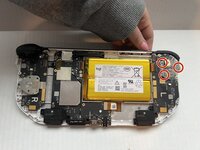
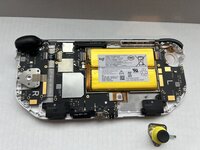
Use a Phillips #00 screwdriver to remove all three 10 mm screws that secure the joystick assembly.
-
Pop the joystick out with your fingers.
-
-







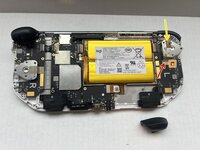
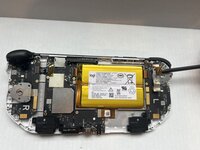
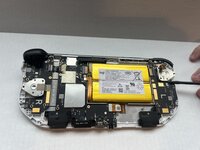

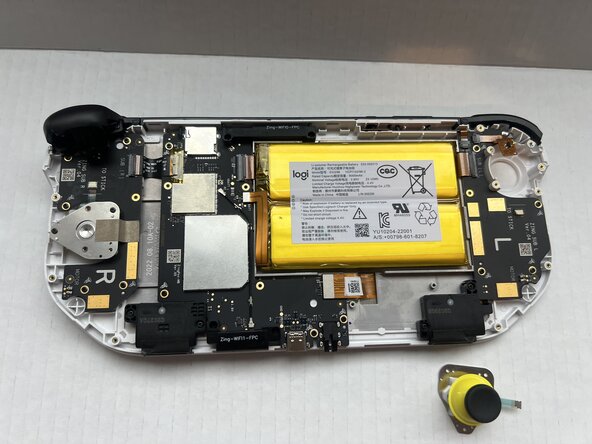
To reassemble your device, follow the above steps in reverse order.
Take your e-waste to an R2 or e-Stewards certified recycler.
Repair didn’t go as planned? Try some basic troubleshooting or ask our Answers community for help.

Team

Western Carolina University, Team 1-1, Virtue Spring 2025 Member of Western Carolina University, Team 1-1, Virtue Spring 2025
WCU-VIRTUE-S25S1G1
4 Members
72 Guides authored
