
Lighting - Budget

Last updated on Jan 24, 2024
Views: 145
View statistics:
- Past 24 Hours:
- 0
- Past 7 Days:
- 11
- Past 30 Days:
- 19
- All Time:
- 145
Comments: 0
No one has left comments on this guide. Will you be first?
Go to guide commentsCompleted: 0 1
No one has marked this guide "completed." Will you be the first?
1 person has marked this guide "completed." It's you — great job!
Favorites: 0 1
No one has favorited (and subscribed to) this guide. Will you be the first?
1 person has favorited (and subscribed to) this guide — and that's you!
Introduction
Go to step 1 ↓This guide is a prerequisite for the guide: [invalid guide link]. It is not intended to be used as a standalone guide as it is used when integrating steps where I need standardized instructions. It will make
-
-
-
CFL (AVOID): Avoid using CFLs, even on clearance. They are not as bright as LEDs, take time to warm up and contain mercury (disposal is hard). They also tend to fail young due to cheap ballasts and components that do not get along with heat.
-
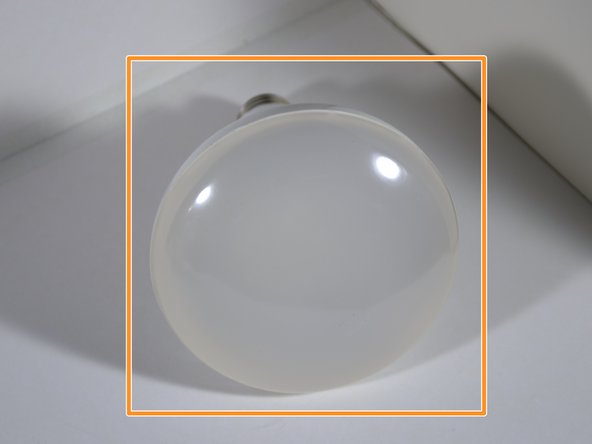
BR30/40: These produce a focused beam of light which can result in better photos compared to omnidirectional bulbs. These bulbs must be used in a specific direction by design.
-
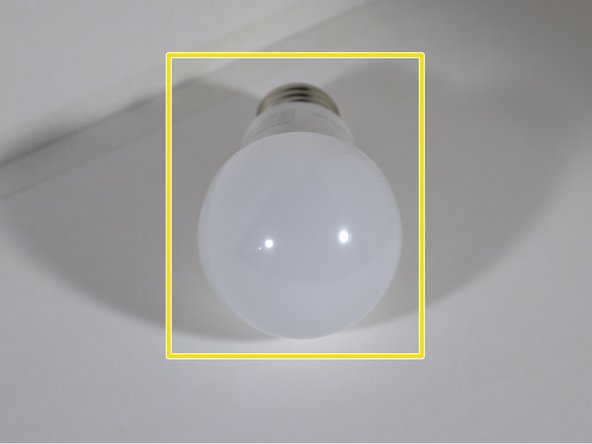
A19: While these work the light can be somewhat unbalanced or scattered without redirection. You must use a minimum of 100W for good photo lighting.
-
Multi-panel workshop lighting: These produce significantly more light than floodlights, but can only be used where weight is not an issue and well spaced to avoid overexposure.
 Ask FixBot
-
-
-
Side lighting
-
Tripod or light stands: If you can find a pair of quality tripods, these can often be used as makeshift light stands. High-end tripods are not required, but nice to have.
-
Standing lamp: Space may be an issue with lamps that have a base, but if you can make this work a broken lamp (with the cord and socket removed) can be used.
-
Edge cases
-
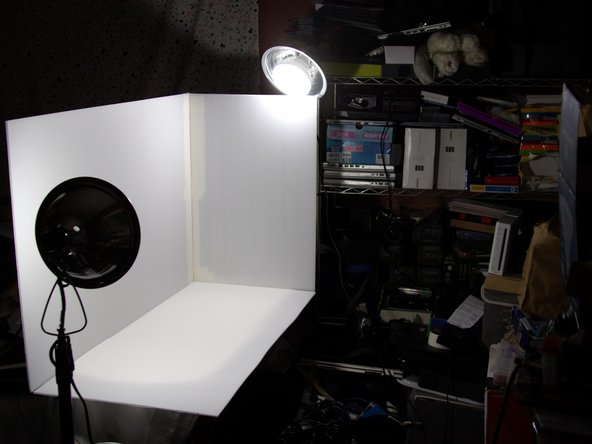
Over the top: This method requires specific setup conditions not always feasible without a dedicated workspace. However, this method can allow the use of one bright LED instead of 2 when it works (must use 1,500-2,000+ lumens).
-
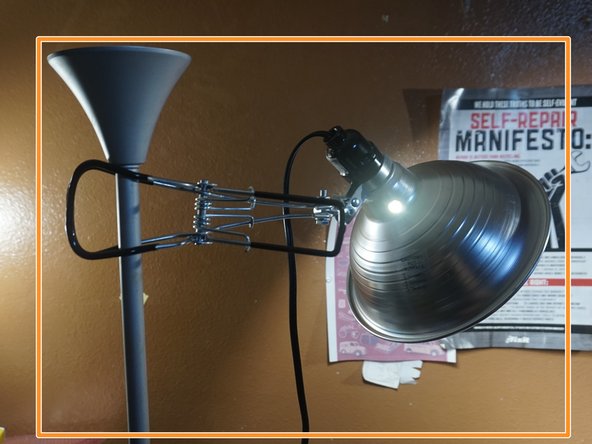
Side clamping: This works in a pinch, but should be considered a last resort. Light placement may be restricted which can show in the final photo. Look into better options first.
-
-
-





To reassemble your device, follow these instructions in reverse order.


