
Lenovo Yoga 900-13ISK Display Opening Prerequisite

Prerequisite Only
This guide is only intended to be used as a prerequisite for other guides. It's incomplete by itself.

What you need

  1. Lenovo Yoga 900-13ISK Display Opening Prerequisite, Display Opening Prereq: step 1, image 1 of 1
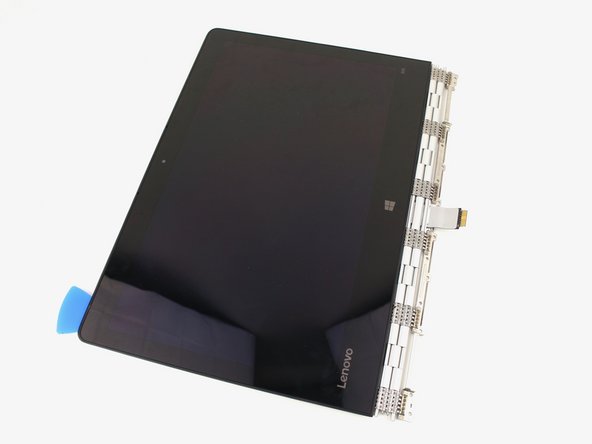
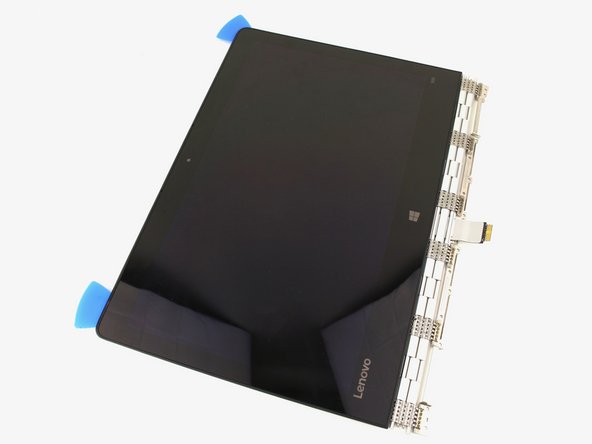
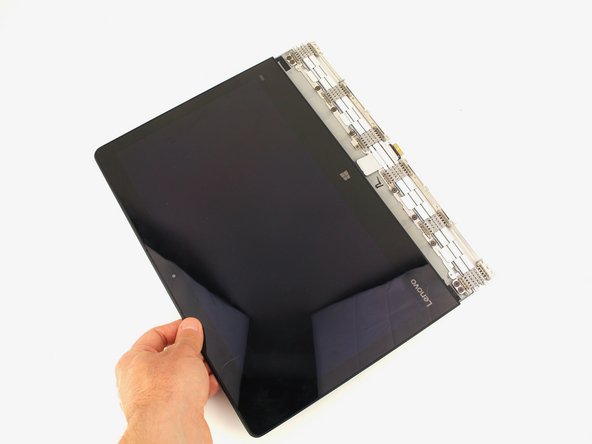
    • Apply heat along the bottom and left edges of the screen, either with a heat gun or iOpener.
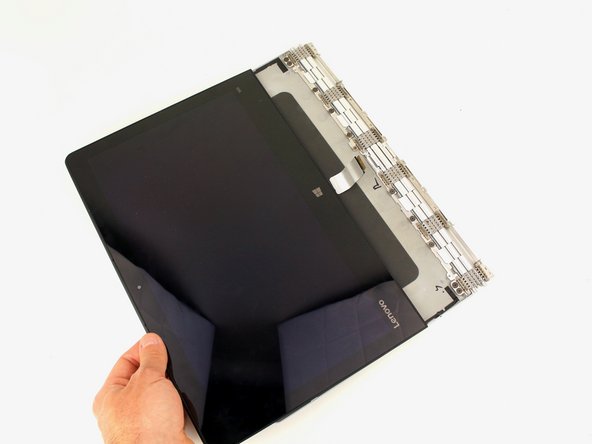
    • Check out our iOpener Instructions if you need help!

  2. Lenovo Yoga 900-13ISK Display Opening Prerequisite: step 2, image 1 of 2 Lenovo Yoga 900-13ISK Display Opening Prerequisite: step 2, image 2 of 2
    • Insert an opening pick into the corner of the screen and slide it around slightly to create an opening.

  3. Lenovo Yoga 900-13ISK Display Opening Prerequisite: step 3, image 1 of 3 Lenovo Yoga 900-13ISK Display Opening Prerequisite: step 3, image 2 of 3 Lenovo Yoga 900-13ISK Display Opening Prerequisite: step 3, image 3 of 3
    • Insert a second opening pick and slide it along the side of the display, cutting away the adhesive.

  4. Lenovo Yoga 900-13ISK Display Opening Prerequisite: step 4, image 1 of 1
    • Use a heat gun or iOpener to apply heat to the top and side edge that have not yet been opened.

  5. Lenovo Yoga 900-13ISK Display Opening Prerequisite: step 5, image 1 of 3 Lenovo Yoga 900-13ISK Display Opening Prerequisite: step 5, image 2 of 3 Lenovo Yoga 900-13ISK Display Opening Prerequisite: step 5, image 3 of 3
    • Continue cutting away the adhesive on the top and side edges of the display.

  6. Lenovo Yoga 900-13ISK Display Opening Prerequisite: step 6, image 1 of 3 Lenovo Yoga 900-13ISK Display Opening Prerequisite: step 6, image 2 of 3 Lenovo Yoga 900-13ISK Display Opening Prerequisite: step 6, image 3 of 3
    • Open the display casing along the top edge.

  7. Lenovo Yoga 900-13ISK Display Opening Prerequisite: step 7, image 1 of 3 Lenovo Yoga 900-13ISK Display Opening Prerequisite: step 7, image 2 of 3 Lenovo Yoga 900-13ISK Display Opening Prerequisite: step 7, image 3 of 3
    • Pull the display cable out from the hinge mechanism.

Conclusion

To reassemble your device, follow these instructions in reverse order.

Austin Blakely

Member since: 03/11/19

19,631 Reputation

53 Guides authored

Team

iFixit Member of iFixit

Staff

135 Members

17,259 Guides authored

0 Comments

Add Comment

View Statistics:

Past 24 Hours: 0

Past 7 Days: 1

Past 30 Days: 1

All Time: 8