Free Shipping on Domestic Orders $75+

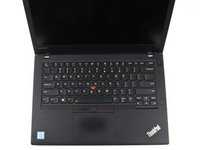
Lenovo ThinkPad T470 Internal Components Replacement

Views: 324

View statistics:

Past 24 Hours:
0
Past 7 Days:
3
Past 30 Days:
26
All Time:
324
Comments: 4

4 comments on steps.

Completed: 0

No one has marked this guide "completed." Will you be the first?

Favorites: 0

No one has favorited (and subscribed to) this guide. Will you be the first?

Time Required: 1 hour
Difficulty: Moderate
Lenovo ThinkPad T470 Internal Components Replacement
Prerequisite Only This is a prerequisite-only guide! This guide is part of another procedure and isn’t meant to be used alone.

Introduction

Go to step 1 ↓

Prerequisite Only

What you need

Tools

    1. Lenovo ThinkPad T470 Internal Components Replacement, External Battery: step 1, image 1 of 3 Lenovo ThinkPad T470 Internal Components Replacement, External Battery: step 1, image 2 of 3 Lenovo ThinkPad T470 Internal Components Replacement, External Battery: step 1, image 3 of 3
      • Before you begin this guide, make sure to disable the internal battery, power down your device, and disconnect from any external power sources.

      • Place the laptop so that the bottom is facing upwards.

      • Slide the latch on the left side of the battery to the left until it clicks in place.

      Ask FixBot

      Add Comment

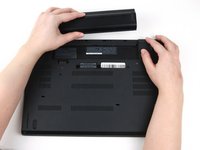
    2. Lenovo ThinkPad T470 Internal Components Replacement: step 2, image 1 of 3 Lenovo ThinkPad T470 Internal Components Replacement: step 2, image 2 of 3 Lenovo ThinkPad T470 Internal Components Replacement: step 2, image 3 of 3
      • Slide the latch on the right side of the battery to the right and hold it in place with your thumb.

      • Use your other hand to slide the battery towards the back of the laptop.

      • Lift the battery up and away from the laptop.

      Ask FixBot

      Add Comment

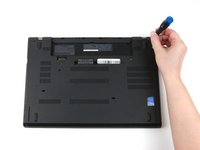
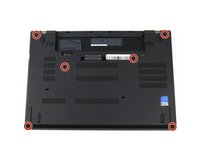
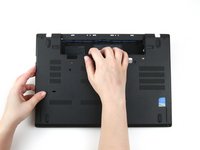
    1. Lenovo ThinkPad T470 Internal Components Replacement, Internal Components: step 3, image 1 of 2 Lenovo ThinkPad T470 Internal Components Replacement, Internal Components: step 3, image 2 of 2
      • Use a Phillips #1 screwdriver to loosen the six captive screws on the bottom cover of the laptop.

      Ask FixBot

      Add Comment

    2. Lenovo ThinkPad T470 Internal Components Replacement: step 4, image 1 of 2 Lenovo ThinkPad T470 Internal Components Replacement: step 4, image 2 of 2
      • Place the laptop so that the top is facing upwards.

      • Open the lid of the laptop.

      Ask FixBot

      Add Comment

    3. Lenovo ThinkPad T470 Internal Components Replacement: step 5, image 1 of 2 Lenovo ThinkPad T470 Internal Components Replacement: step 5, image 2 of 2
      • Place your fingers on the bottom edge of the keyboard.

      • Use a small amount of pressure to push the keyboard towards the screen.

      Ask FixBot

      Add Comment

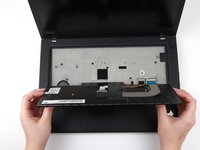
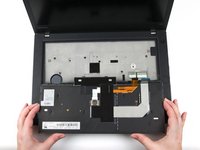
    4. Lenovo ThinkPad T470 Internal Components Replacement: step 6, image 1 of 3 Lenovo ThinkPad T470 Internal Components Replacement: step 6, image 2 of 3 Lenovo ThinkPad T470 Internal Components Replacement: step 6, image 3 of 3
      • Grab the bottom edge of the keyboard with your hands, and flip the keyboard upside-down, so it rests on the bottom of the laptop.

      • Potential for device damage: The keyboard is still attached to the rest of the laptop, so be gentle when flipping it over.

      Ask FixBot

      Add Comment

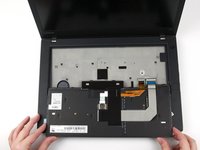
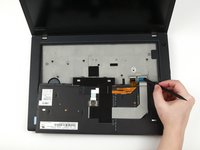
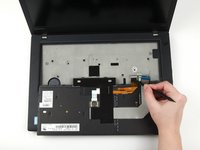
    5. Lenovo ThinkPad T470 Internal Components Replacement: step 7, image 1 of 2 Lenovo ThinkPad T470 Internal Components Replacement: step 7, image 2 of 2
      • Use the flat end of a spudger to flip up the locking flaps securing each of the two ribbon cables.

      Ask FixBot

      Add Comment

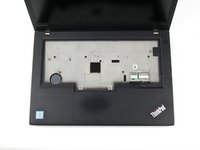
    6. Lenovo ThinkPad T470 Internal Components Replacement: step 8, image 1 of 2 Lenovo ThinkPad T470 Internal Components Replacement: step 8, image 2 of 2
      • Use your hands to lift the keyboard up and away from the laptop.

      Ask FixBot

      Add Comment

    7. Lenovo ThinkPad T470 Internal Components Replacement: step 9, image 1 of 1
      • Close the laptop's lid and flip the laptop over so that the bottom is facing upwards.

      Ask FixBot

      Add Comment

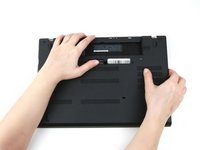
    8. Lenovo ThinkPad T470 Internal Components Replacement: step 10, image 1 of 3 Lenovo ThinkPad T470 Internal Components Replacement: step 10, image 2 of 3 Lenovo ThinkPad T470 Internal Components Replacement: step 10, image 3 of 3
      • Use your hands to pull up on the back cover and release the plastic clips starting on the bottom side of the battery compartment.

      • Potential for device damage: Be sure to detach the plastic clips in this area first. You risk cracking the bottom cover if you attempt to detach it from around the edges of the laptop first.

      • Use your hands to pull up on the right side of the bottom cover to release the plastic clips.

      • Use your hands to pull up on the left side of the bottom cover to release the plastic clips.

      Ask FixBot

      Add Comment

    9. Lenovo ThinkPad T470 Internal Components Replacement: step 11, image 1 of 1
      • Remove the bottom cover from the laptop.

      Ask FixBot

      Add Comment

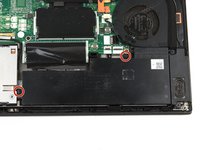
    10. Lenovo ThinkPad T470 Internal Components Replacement: step 12, image 1 of 2 Lenovo ThinkPad T470 Internal Components Replacement: step 12, image 2 of 2
      • Use a Phillips #1 screwdriver to remove two 5 mm screws from the internal battery.

      Ask FixBot

      Add Comment

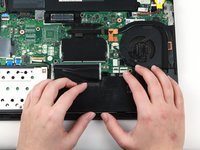
    11. Lenovo ThinkPad T470 Internal Components Replacement: step 13, image 1 of 3 Lenovo ThinkPad T470 Internal Components Replacement: step 13, image 2 of 3 Lenovo ThinkPad T470 Internal Components Replacement: step 13, image 3 of 3
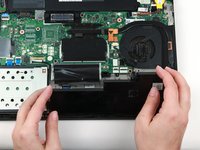
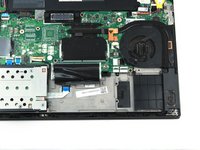
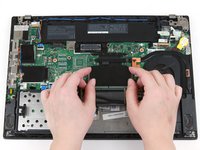
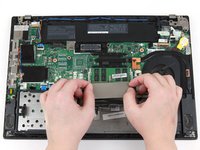
      • Use your hands to lift the battery up and away from the laptop.

      Ask FixBot

      Add Comment

    12. Lenovo ThinkPad T470 Internal Components Replacement: step 14, image 1 of 2 Lenovo ThinkPad T470 Internal Components Replacement: step 14, image 2 of 2
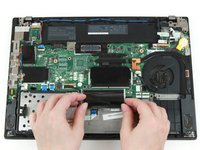
      • Use your fingers to flip the black flap covering the top stick of RAM down.

      Ask FixBot

      Add Comment

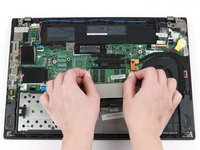
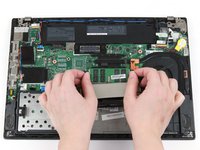
    13. Lenovo ThinkPad T470 Internal Components Replacement: step 15, image 1 of 2 Lenovo ThinkPad T470 Internal Components Replacement: step 15, image 2 of 2
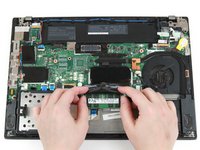
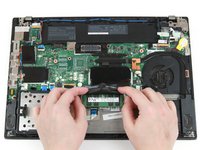
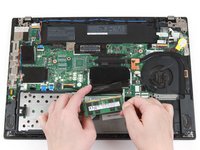
      • Use your thumbs to push the metal clips on either end of the RAM outwards.

      • The RAM will pop up by a few millimeters.

      Ask FixBot

      Add Comment

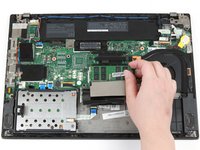
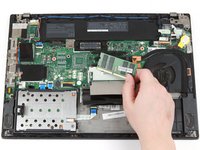
    14. Lenovo ThinkPad T470 Internal Components Replacement: step 16, image 1 of 2 Lenovo ThinkPad T470 Internal Components Replacement: step 16, image 2 of 2
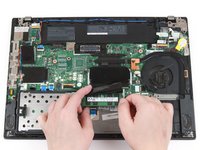
      • Use your fingers to lift the RAM out of its socket and away from the laptop to remove it.

      Ask FixBot

      Add Comment

    15. Lenovo ThinkPad T470 Internal Components Replacement: step 17, image 1 of 3 Lenovo ThinkPad T470 Internal Components Replacement: step 17, image 2 of 3 Lenovo ThinkPad T470 Internal Components Replacement: step 17, image 3 of 3
      • Use your fingers to flip the black flap covering the bottom stick of RAM up.

      • Use your thumbs to push the metal clips on either end of the RAM outwards.

      • The RAM will pop up by a few millimeters.

      Ask FixBot

      Add Comment

    16. Lenovo ThinkPad T470 Internal Components Replacement: step 18, image 1 of 2 Lenovo ThinkPad T470 Internal Components Replacement: step 18, image 2 of 2
      • Use your fingers to lift the RAM out of its socket and away from the laptop to remove it.

      Ask FixBot

      Add Comment

    17. Lenovo ThinkPad T470 Internal Components Replacement: step 19, image 1 of 2 Lenovo ThinkPad T470 Internal Components Replacement: step 19, image 2 of 2
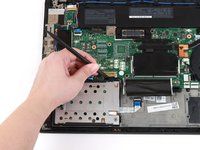
      • Use the flat end of a spudger to flip up the metal clip securing the SSD connector to the motherboard.

      Ask FixBot

      Add Comment

    18. Lenovo ThinkPad T470 Internal Components Replacement: step 20, image 1 of 2 Lenovo ThinkPad T470 Internal Components Replacement: step 20, image 2 of 2
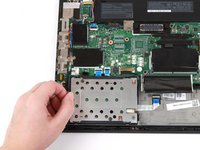
      • Use the flat end of a spudger to separate the connector from its socket.

      Ask FixBot

      Add Comment

    19. Lenovo ThinkPad T470 Internal Components Replacement: step 21, image 1 of 2 Lenovo ThinkPad T470 Internal Components Replacement: step 21, image 2 of 2
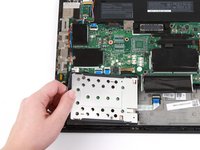
      • Grab the tab on the left side of the hard drive, and pull up to remove it from the laptop.

      Ask FixBot

      Add Comment

    20. Lenovo ThinkPad T470 Internal Components Replacement: step 22, image 1 of 2 Lenovo ThinkPad T470 Internal Components Replacement: step 22, image 2 of 2
      • Use a finger to press the black flap covering the Wi-Fi card down.

      Ask FixBot

      Add Comment

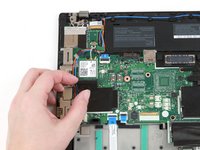
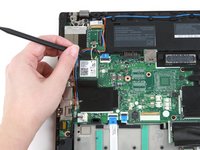
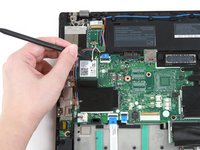
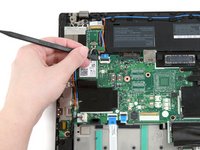
    21. Lenovo ThinkPad T470 Internal Components Replacement: step 23, image 1 of 3 Lenovo ThinkPad T470 Internal Components Replacement: step 23, image 2 of 3 Lenovo ThinkPad T470 Internal Components Replacement: step 23, image 3 of 3
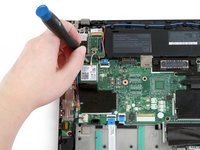
      • Use the flat end of a spudger to disconnect the two coaxial wires from the Wi-Fi card.

      • When reassembling, reattach the gray wire on the left and the black wire on the right.

      Ask FixBot

      Add Comment

    22. Lenovo ThinkPad T470 Internal Components Replacement: step 24, image 1 of 2 Lenovo ThinkPad T470 Internal Components Replacement: step 24, image 2 of 2
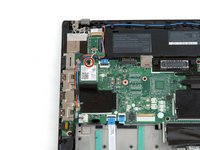
      • Use a Phillips #1 screwdriver to remove the single 4 mm screw from the Wi-Fi card.

      Ask FixBot

      Add Comment

    23. Lenovo ThinkPad T470 Internal Components Replacement: step 25, image 1 of 3 Lenovo ThinkPad T470 Internal Components Replacement: step 25, image 2 of 3 Lenovo ThinkPad T470 Internal Components Replacement: step 25, image 3 of 3
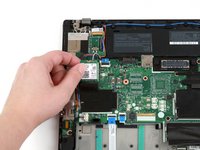
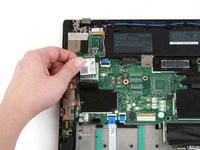
      • Use your fingers to lift the Wi-Fi card up and out of its slot.

      • This laptop does not include a WWAN card, but if yours does, follow the same procedure as Steps 9-12 to remove it.

      Ask FixBot

      Add Comment

    24. Lenovo ThinkPad T470 Internal Components Replacement: step 26, image 1 of 2 Lenovo ThinkPad T470 Internal Components Replacement: step 26, image 2 of 2
      Tool used on this step:
      Tweezers
      $4.99
      Buy
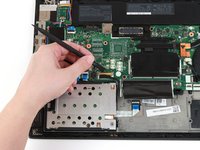
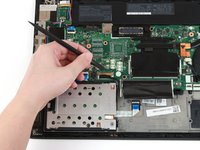
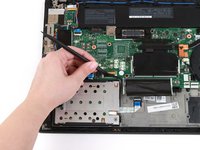
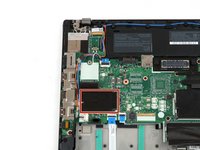
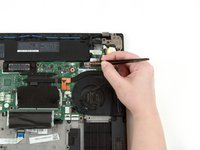
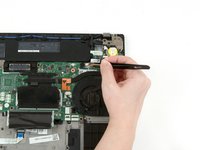
      • Use a pair of blunt nose tweezers to pull the white connector out of its socket.

      Ask FixBot

      Add Comment

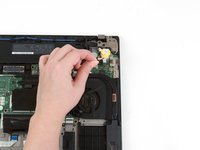
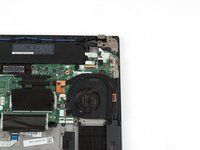
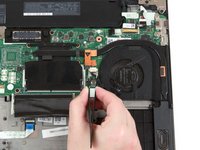
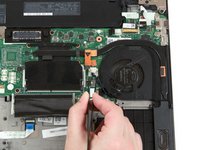
    25. Lenovo ThinkPad T470 Internal Components Replacement: step 27, image 1 of 3 Lenovo ThinkPad T470 Internal Components Replacement: step 27, image 2 of 3 Lenovo ThinkPad T470 Internal Components Replacement: step 27, image 3 of 3
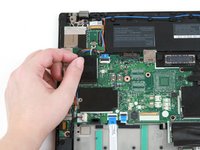
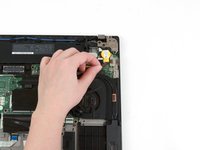
      • Grab the wire attached to the coin cell battery, and lift it up and out of the laptop.

      Ask FixBot

      Add Comment

    26. Lenovo ThinkPad T470 Internal Components Replacement: step 28, image 1 of 2 Lenovo ThinkPad T470 Internal Components Replacement: step 28, image 2 of 2
      • Use a pair of blunt nose tweezers to pull the white fan connector out of its socket on the motherboard.

      Ask FixBot

      Add Comment

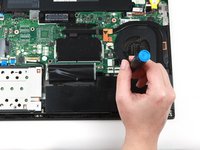
    27. Lenovo ThinkPad T470 Internal Components Replacement: step 29, image 1 of 1
      • Use a Phillips #1 screwdriver to loosen the first pair of captive screws on the fan and heat sink assembly in a crosswise pattern.

      • Use a Phillips #1 screwdriver to loosen the second pair of captive screws on the fan and heat sink assembly in a crosswise pattern.

      Ask FixBot

      Add Comment

    28. Lenovo ThinkPad T470 Internal Components Replacement: step 30, image 1 of 2 Lenovo ThinkPad T470 Internal Components Replacement: step 30, image 2 of 2
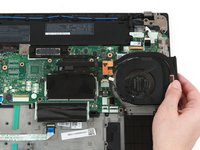
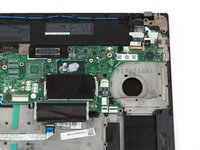
      • Use your hand to pull the fan and heat sink assembly up and away from the laptop.

      • Clean the thermal paste from the heatsink and CPU and reapply fresh paste before reassembling.

      Ask FixBot

      Add Comment

Conclusion

To reassemble your device, follow these instructions in reverse order.

Cancel: I did not complete this guide.

Kristen Gismondi

Member since: 11/12/14

109,567 Reputation

271 Guides authored

Team

iFixit Member of iFixit

Staff

121 Members

72,885 Guides authored

0 Guide Comments

Add Comment

View Statistics:

Past 24 Hours: 0

Past 7 Days: 3

Past 30 Days: 26

All Time: 324