
Lenovo ThinkPad L440 Back Panel Replacement

What you need

  1. Lenovo ThinkPad L440 Back Panel Replacement, Battery: step 1, image 1 of 3 Lenovo ThinkPad L440 Back Panel Replacement, Battery: step 1, image 2 of 3 Lenovo ThinkPad L440 Back Panel Replacement, Battery: step 1, image 3 of 3
    • Open the laptop to access the power button.

    • Hold the power button in the top right until the computer powers off.

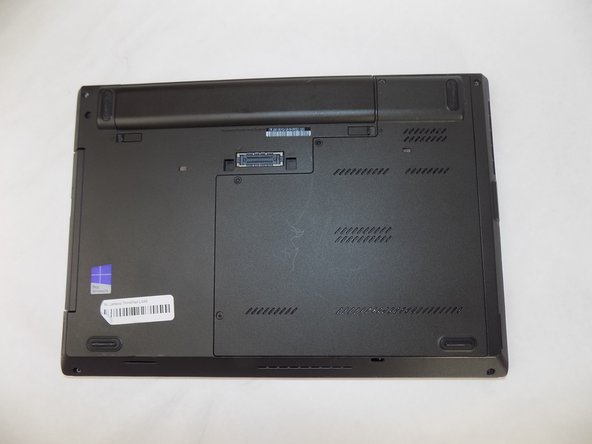
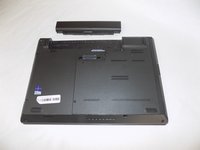
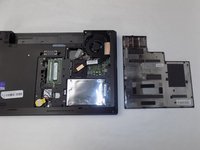
    • Turn the computer over so that the bottom of the computer is facing up

  2. Lenovo ThinkPad L440 Back Panel Replacement: step 2, image 1 of 1
    • On the left side under the raised surface, move the tab to the left towards the unlocked symbol. Repeat this on the right side and move the tab to the right towards the unlocked symbol.

  3. Lenovo ThinkPad L440 Back Panel Replacement: step 3, image 1 of 2 Lenovo ThinkPad L440 Back Panel Replacement: step 3, image 2 of 2
    • From the top of the laptop, slide the raised surface away from the rest of the laptop and out of its slot to remove the battery from the computer.

  4. Lenovo ThinkPad L440 Back Panel Replacement, Back Panel: step 4, image 1 of 2 Lenovo ThinkPad L440 Back Panel Replacement, Back Panel: step 4, image 2 of 2
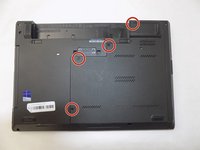
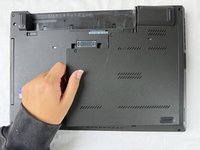
    • Loosen the four retainer screws on the bottom of the laptop using a Phillips #0 screwdriver.

    • These four screws are attached to the panel with washers, so they will spin freely when they are loose and will come off with the panel.

  5. Lenovo ThinkPad L440 Back Panel Replacement: step 5, image 1 of 2 Lenovo ThinkPad L440 Back Panel Replacement: step 5, image 2 of 2
    • With your fingers, lift up the back panel from the left side.

Conclusion

To reassemble your device, follow these instructions in reverse order.

Kristen Gismondi

Member since: 11/12/14

99,517 Reputation

255 Guides authored

Team

iFixit Member of iFixit

Staff

123 Members

23,719 Guides authored

0 Guide Comments

Add Comment

View Statistics:

Past 24 Hours: 1

Past 7 Days: 5

Past 30 Days: 39

All Time: 242