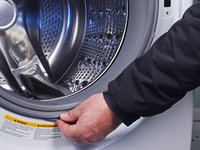
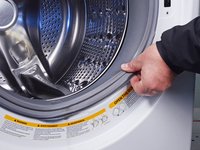
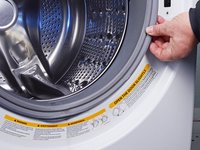
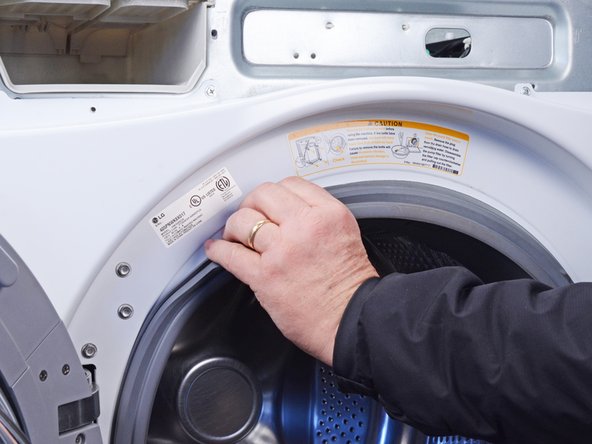
Free Shipping on Domestic Orders $75+

LG WM3050CW Pump Assembly Replacement

What you need

    1. LG WM3050CW Pump Assembly Replacement, Safety Precautions: step 1, image 1 of 2 LG WM3050CW Pump Assembly Replacement, Safety Precautions: step 1, image 2 of 2
      • Before you begin your repair, perform the following:

      • Turn off the main water supply

      • Unplug your washer

      • Disconnect all water connections at the rear of your washer

      Ask FixBot

      Add Comment

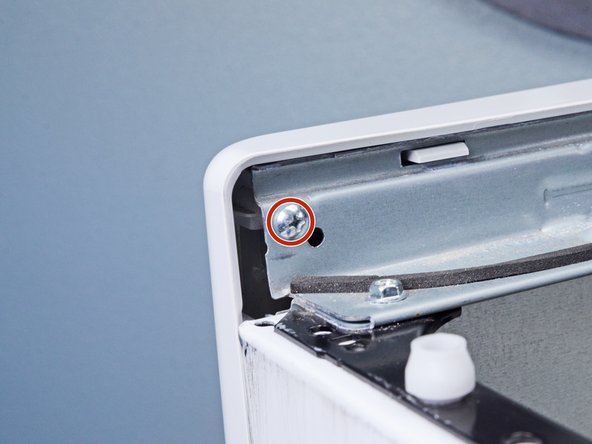
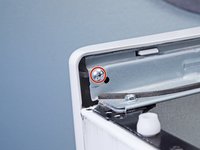
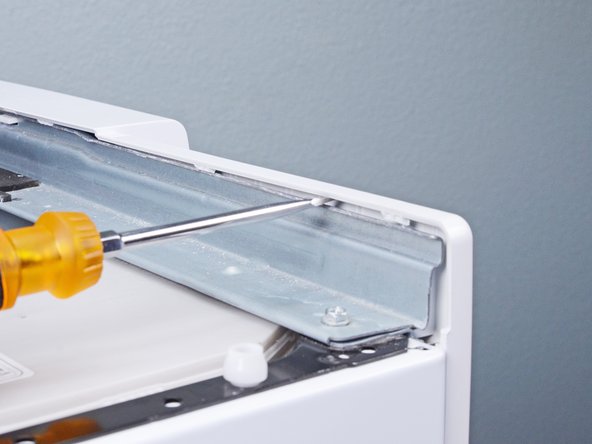
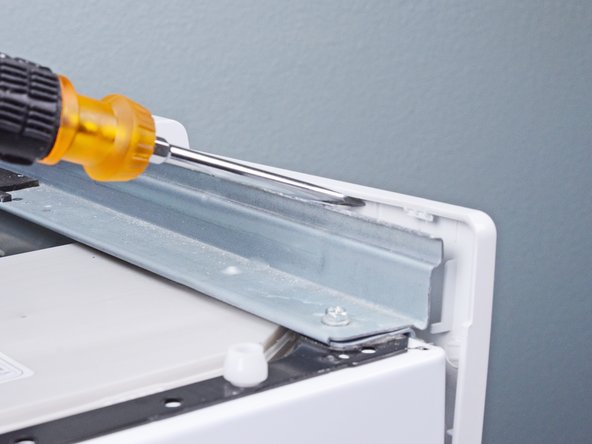
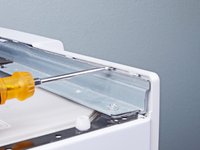
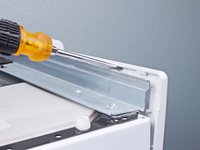
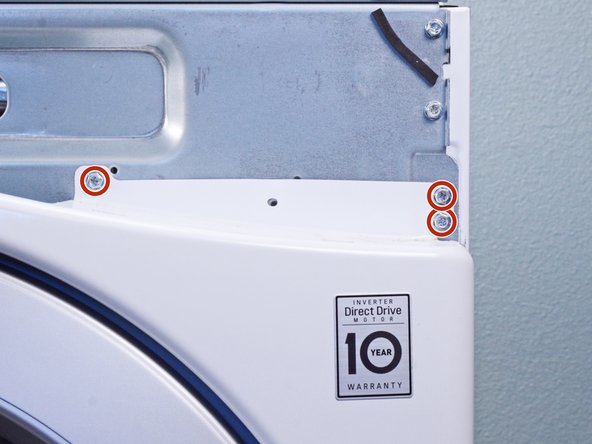
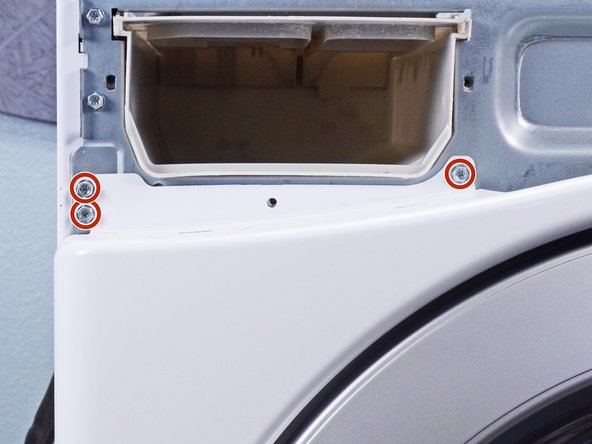
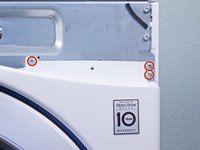
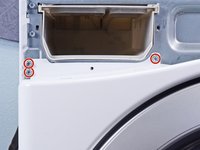
    1. LG WM3050CW Pump Assembly Replacement, Unfasten the top panel: step 2, image 1 of 3 LG WM3050CW Pump Assembly Replacement, Unfasten the top panel: step 2, image 2 of 3 LG WM3050CW Pump Assembly Replacement, Unfasten the top panel: step 2, image 3 of 3
      • Use a Phillips driver to remove the two bottom 16.5 mm-long screws securing the top panel brackets.

      Ask FixBot

      Add Comment

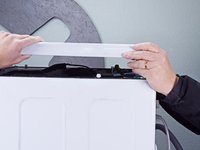
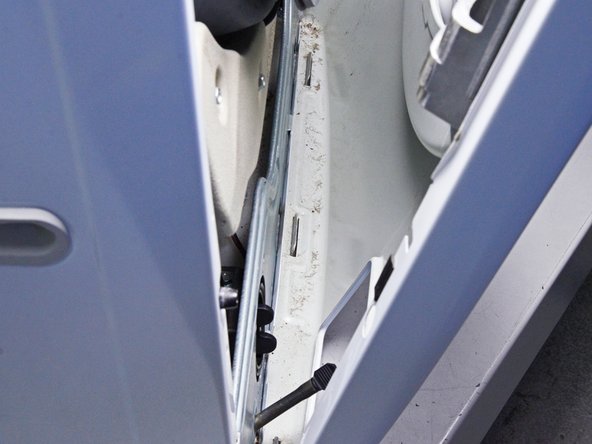
    2. LG WM3050CW Pump Assembly Replacement, Remove the top panel: step 3, image 1 of 2 LG WM3050CW Pump Assembly Replacement, Remove the top panel: step 3, image 2 of 2
      • Slide the top panel 1-2 inches towards the rear of the device to disconnect its clips.

      Ask FixBot

      Add Comment

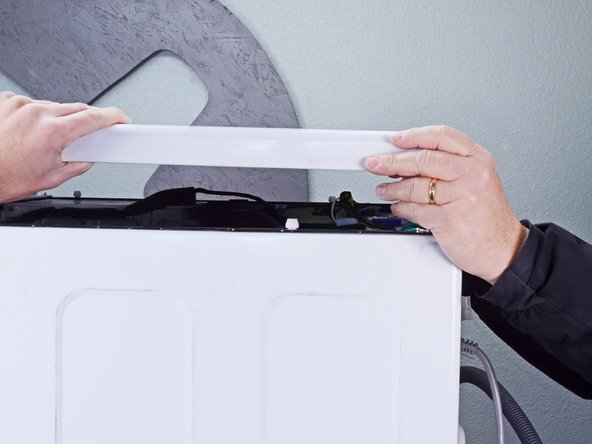
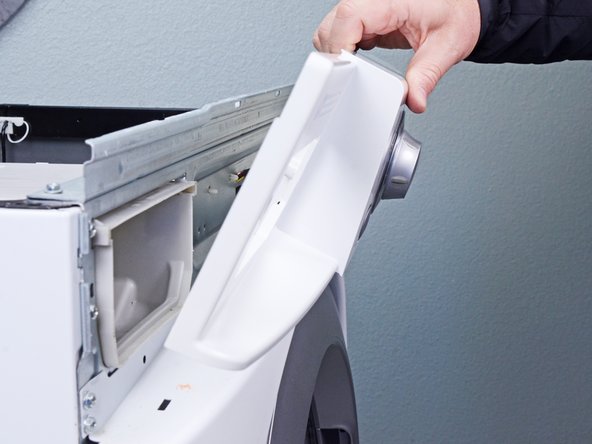
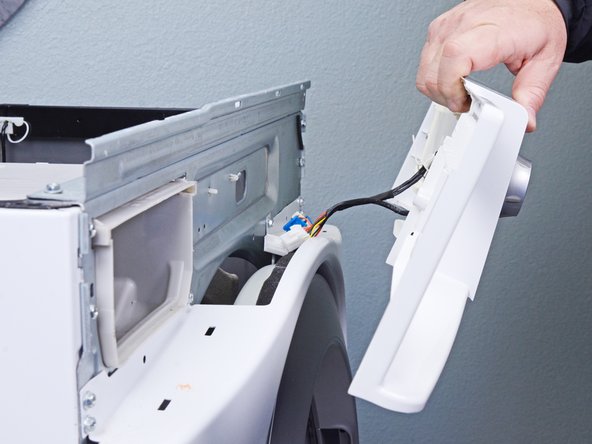
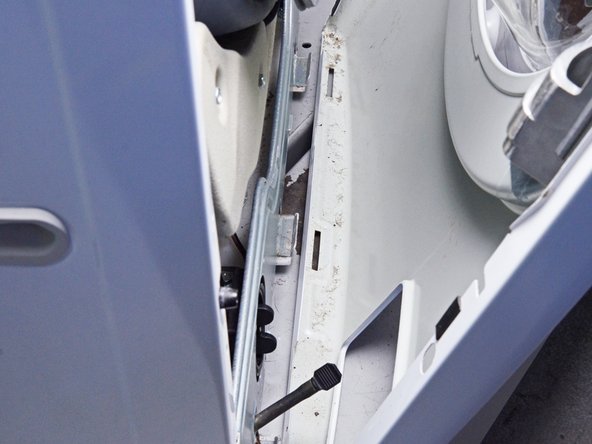
    3. LG WM3050CW Pump Assembly Replacement: step 4, image 1 of 2 LG WM3050CW Pump Assembly Replacement: step 4, image 2 of 2
      • Tilt the top panel upward to completely disconnect it from the chassis.

      • Remove the top panel.

      Ask FixBot

      Add Comment

    1. LG WM3050CW Pump Assembly Replacement, Remove the detergent drawer: step 5, image 1 of 2 LG WM3050CW Pump Assembly Replacement, Remove the detergent drawer: step 5, image 2 of 2
      • Pull the detergent drawer away from the chassis as far as it will go.

      Ask FixBot

      Add Comment

    2. LG WM3050CW Pump Assembly Replacement: step 6, image 1 of 3 LG WM3050CW Pump Assembly Replacement: step 6, image 2 of 3 LG WM3050CW Pump Assembly Replacement: step 6, image 3 of 3
      • Press down on the "Push" button to disengage the clips securing the detergent drawer.

      • Pull the drawer out of its slot on the chassis and remove it.

      Ask FixBot

      Add Comment

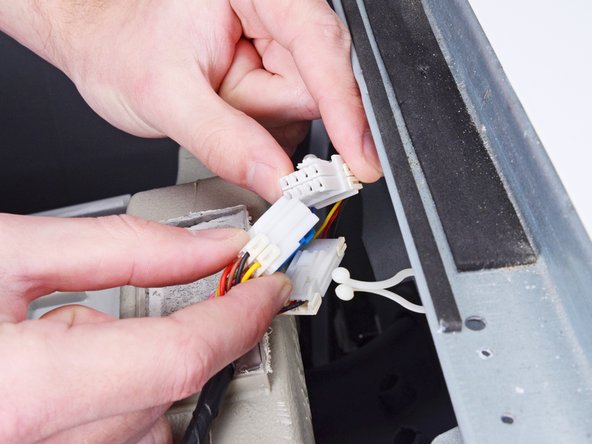
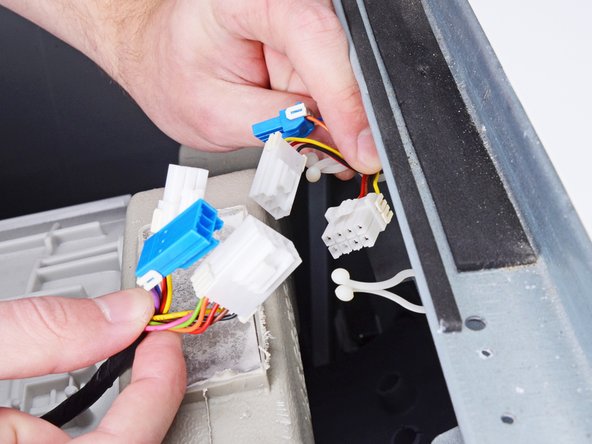
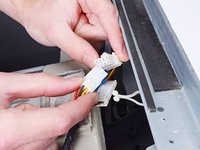
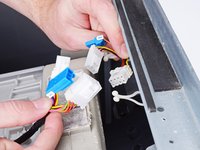
    1. LG WM3050CW Pump Assembly Replacement, Disconnect the control panel: step 7, image 1 of 3 LG WM3050CW Pump Assembly Replacement, Disconnect the control panel: step 7, image 2 of 3 LG WM3050CW Pump Assembly Replacement, Disconnect the control panel: step 7, image 3 of 3
      • Disconnect the three harness connectors for the control panel.

      • Always grip cables by their connectors and not the wires themselves.

      Ask FixBot

      Add Comment

    2. LG WM3050CW Pump Assembly Replacement, Unfasten the control panel: step 8, image 1 of 2 LG WM3050CW Pump Assembly Replacement, Unfasten the control panel: step 8, image 2 of 2
      • Use a Phillips driver to remove the 16.4 mm-long screw securing the control panel.

      Ask FixBot

      Add Comment

    3. LG WM3050CW Pump Assembly Replacement, Unfasten the detergent dispenser: step 9, image 1 of 1
      • Use a Phillips driver to remove the two 26.3 mm‑long screws securing the detergent dispenser.

      Ask FixBot

      Add Comment

    4. LG WM3050CW Pump Assembly Replacement, Unclip the control panel: step 10, image 1 of 3 LG WM3050CW Pump Assembly Replacement, Unclip the control panel: step 10, image 2 of 3 LG WM3050CW Pump Assembly Replacement, Unclip the control panel: step 10, image 3 of 3
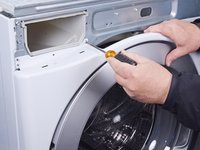
      • Insert a flathead screwdriver between the chassis and the top left corner of the control panel.

      • Twist the screwdriver to release the clips securing the control panel.

      • Repeat this procedure for the remaining clips along the control panel.

      Ask FixBot

      Add Comment

    5. LG WM3050CW Pump Assembly Replacement, Remove the control panel: step 11, image 1 of 3 LG WM3050CW Pump Assembly Replacement, Remove the control panel: step 11, image 2 of 3 LG WM3050CW Pump Assembly Replacement, Remove the control panel: step 11, image 3 of 3
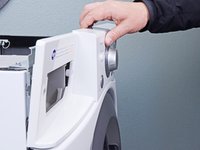
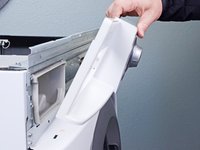
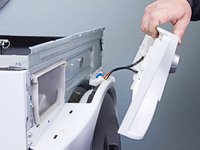
      • Lift the control panel upward to completely separate it from the chassis.

      • Pull the control panel away from the chassis, making sure to thread the cables through its slot in the chassis.

      • Remove the control panel.

      Ask FixBot

      Add Comment

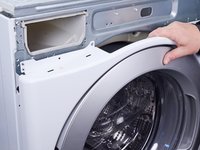
    1. LG WM3050CW Pump Assembly Replacement, Open the door: step 12, image 1 of 2 LG WM3050CW Pump Assembly Replacement, Open the door: step 12, image 2 of 2
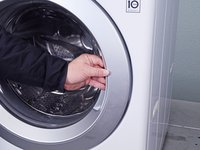
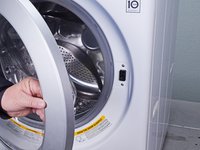
      • Open the front door completely.

      Ask FixBot

      Add Comment

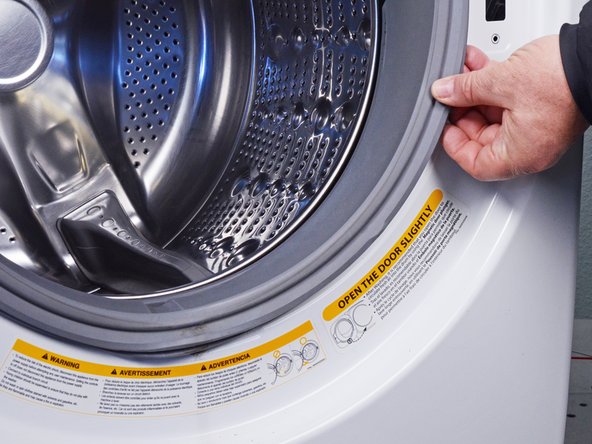
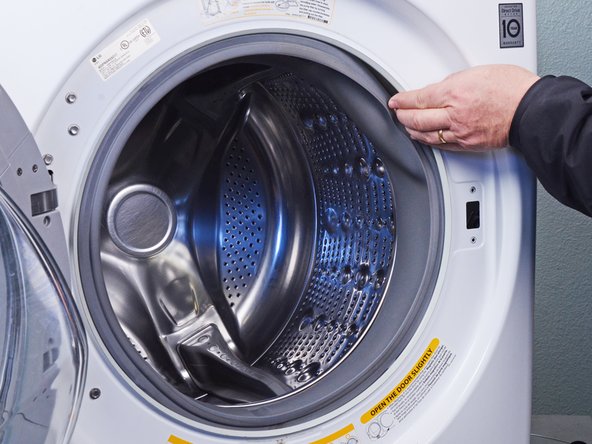
    2. LG WM3050CW Pump Assembly Replacement, Remove the boot ring: step 13, image 1 of 3 LG WM3050CW Pump Assembly Replacement, Remove the boot ring: step 13, image 2 of 3 LG WM3050CW Pump Assembly Replacement, Remove the boot ring: step 13, image 3 of 3
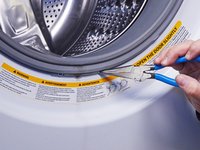
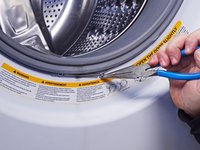
      • Use needle nose pliers to grip the spring end of the metal ring at the bottom of the rubber boot.

      • Pull the ring away from the chassis to separate it from the boot.

      Ask FixBot

      Add Comment

    3. LG WM3050CW Pump Assembly Replacement: step 14, image 1 of 3 LG WM3050CW Pump Assembly Replacement: step 14, image 2 of 3 LG WM3050CW Pump Assembly Replacement: step 14, image 3 of 3
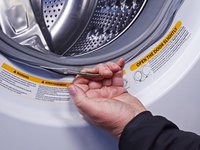
      • Use your hand to completely pull the ring off the boot.

      • During reassembly, perform the following:

      • Insert one end of the ring into its groove along the boot's perimeter.

      • Use pliers to slowly stretch the ring around the boot's perimeter until it's completely nested in its groove.

      • This procedure will take significant force.

      Ask FixBot

      Add Comment

    4. LG WM3050CW Pump Assembly Replacement, Disconnect the boot: step 15, image 1 of 3 LG WM3050CW Pump Assembly Replacement, Disconnect the boot: step 15, image 2 of 3 LG WM3050CW Pump Assembly Replacement, Disconnect the boot: step 15, image 3 of 3
      • Use your fingers to pull the boot off its lip on the front panel.

      Ask FixBot

      Add Comment

    5. LG WM3050CW Pump Assembly Replacement: step 16, image 1 of 3 LG WM3050CW Pump Assembly Replacement: step 16, image 2 of 3 LG WM3050CW Pump Assembly Replacement: step 16, image 3 of 3
      • Work your fingers around the boot until its completely separated from the panel.

      Ask FixBot

      Add Comment

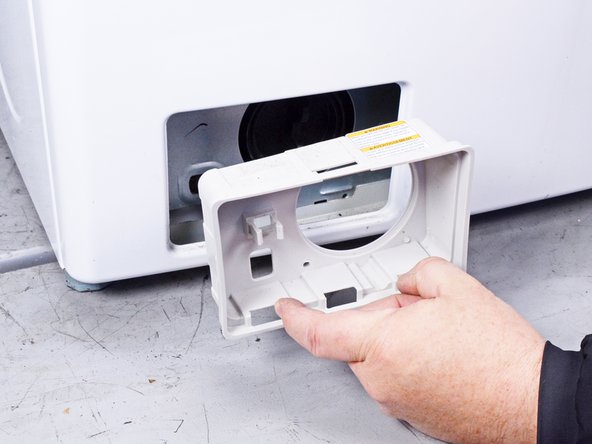
    6. LG WM3050CW Pump Assembly Replacement, Remove the filter panel: step 17, image 1 of 3 LG WM3050CW Pump Assembly Replacement, Remove the filter panel: step 17, image 2 of 3 LG WM3050CW Pump Assembly Replacement, Remove the filter panel: step 17, image 3 of 3
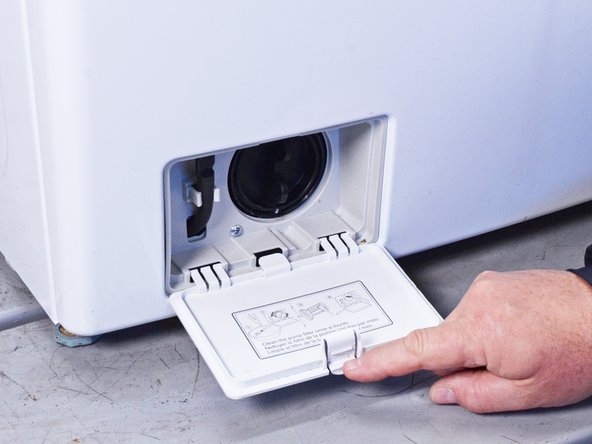
      • Open the filter panel at the bottom left of the front panel.

      • Twist the filter panel upward to unclip it from the front panel.

      Ask FixBot

      Add Comment

    7. LG WM3050CW Pump Assembly Replacement, Unfasten the filter trim: step 18, image 1 of 1
      • Use a Phillips driver to remove the two 12.8 mm‑long screws securing the filter trim.

      Ask FixBot

      Add Comment

    8. LG WM3050CW Pump Assembly Replacement, Remove the filter trim: step 19, image 1 of 2 LG WM3050CW Pump Assembly Replacement, Remove the filter trim: step 19, image 2 of 2
      • Pull the filter trim straight off the front panel to remove it.

      Ask FixBot

      Add Comment

    9. LG WM3050CW Pump Assembly Replacement, Unfasten the lower front panel: step 20, image 1 of 1
      • Use a Phillips driver to remove the 12.8 mm-long screw securing the lower front panel.

      Ask FixBot

      Add Comment

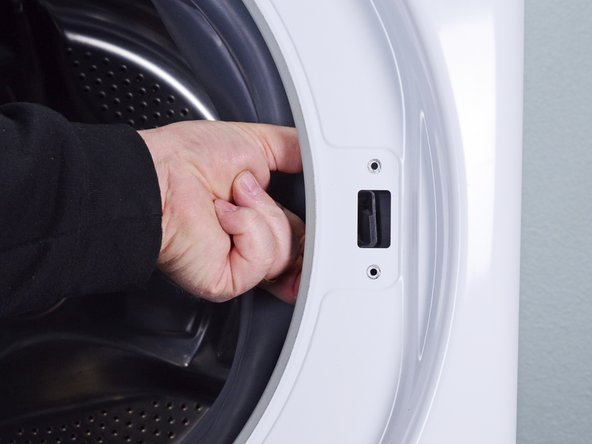
    10. LG WM3050CW Pump Assembly Replacement, Unfasten the door latch: step 21, image 1 of 1
      • Use a Phillips driver to remove the two 16 mm‑long screws securing the door latch.

      Ask FixBot

      Add Comment

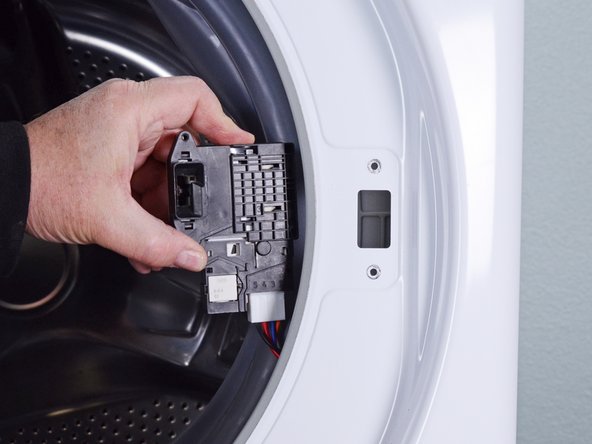
    11. LG WM3050CW Pump Assembly Replacement, Remove the door latch: step 22, image 1 of 3 LG WM3050CW Pump Assembly Replacement, Remove the door latch: step 22, image 2 of 3 LG WM3050CW Pump Assembly Replacement, Remove the door latch: step 22, image 3 of 3
      • Pull the door latch through its slot in the chassis and let it hang on its wire.

      Ask FixBot

      Add Comment

    12. LG WM3050CW Pump Assembly Replacement, Unfasten the front panel: step 23, image 1 of 3 LG WM3050CW Pump Assembly Replacement, Unfasten the front panel: step 23, image 2 of 3 LG WM3050CW Pump Assembly Replacement, Unfasten the front panel: step 23, image 3 of 3
      • Hold the front panel against the chassis while performing this step to prevent it from falling.

      • Use a Phillips driver, or a 7 mm nut driver, to remove the six 15 mm‑long screws securing the front panel.

      Ask FixBot

      Add Comment

    13. LG WM3050CW Pump Assembly Replacement, Remove the front panel: step 24, image 1 of 3 LG WM3050CW Pump Assembly Replacement, Remove the front panel: step 24, image 2 of 3 LG WM3050CW Pump Assembly Replacement, Remove the front panel: step 24, image 3 of 3
      • Lift the front panel upward to separate it from its clips on the bottom of the chassis.

      • Pull the front panel away from the chassis to completely separate the front panel.

      Ask FixBot

      Add Comment

    14. LG WM3050CW Pump Assembly Replacement: step 25, image 1 of 1
      • Remove the front panel.

      Ask FixBot

      Add Comment

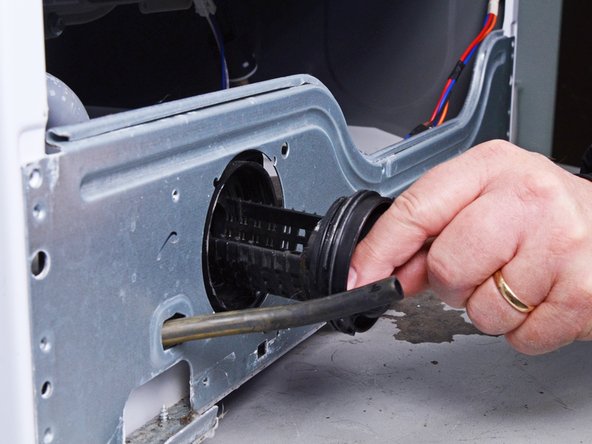
    1. LG WM3050CW Pump Assembly Replacement, Remove the pump filter: step 26, image 1 of 3 LG WM3050CW Pump Assembly Replacement, Remove the pump filter: step 26, image 2 of 3 LG WM3050CW Pump Assembly Replacement, Remove the pump filter: step 26, image 3 of 3
      • Twist the pump filter handle counterclockwise to separate it from the pump assembly.

      • Pull the filter straight out of the pump block assembly to remove it.

      Ask FixBot

      Add Comment

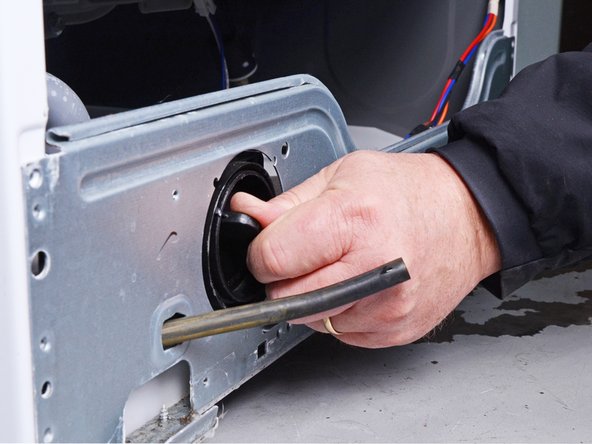
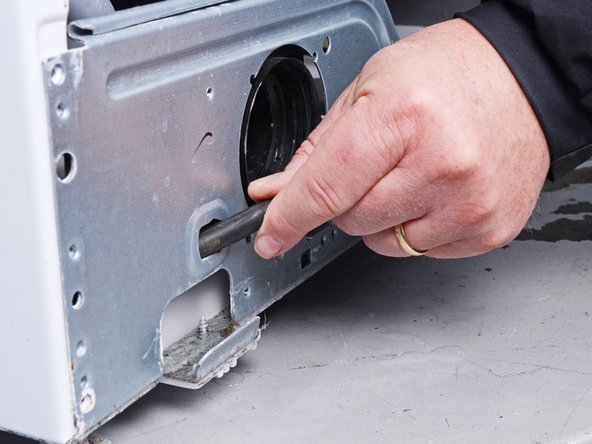
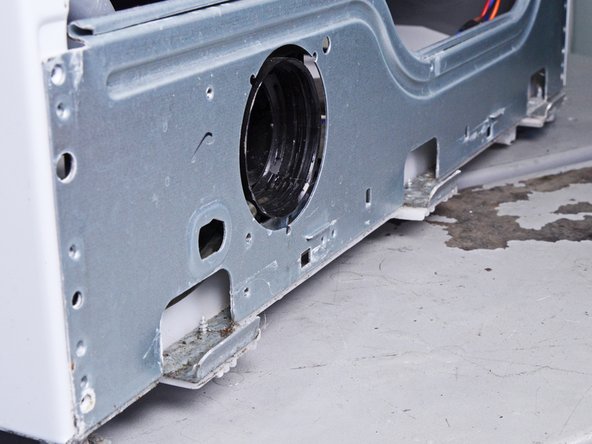
    2. LG WM3050CW Pump Assembly Replacement, Reposition the drain hose: step 27, image 1 of 3 LG WM3050CW Pump Assembly Replacement, Reposition the drain hose: step 27, image 2 of 3 LG WM3050CW Pump Assembly Replacement, Reposition the drain hose: step 27, image 3 of 3
      • Push the drain hose through its hole in the chassis until it's completely inside the device.

      Ask FixBot

      Add Comment

    3. LG WM3050CW Pump Assembly Replacement, Unwrap the pump assembly cables: step 28, image 1 of 3 LG WM3050CW Pump Assembly Replacement, Unwrap the pump assembly cables: step 28, image 2 of 3 LG WM3050CW Pump Assembly Replacement, Unwrap the pump assembly cables: step 28, image 3 of 3
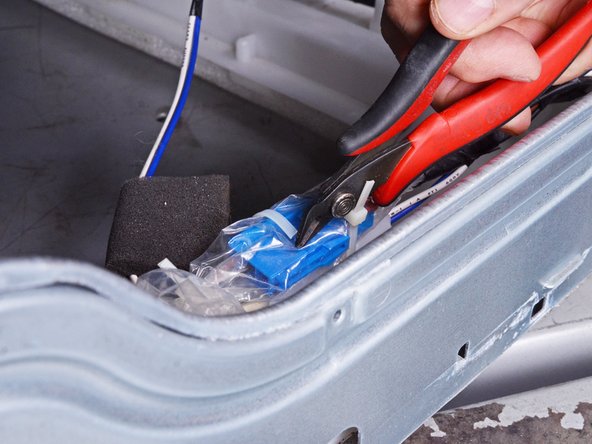
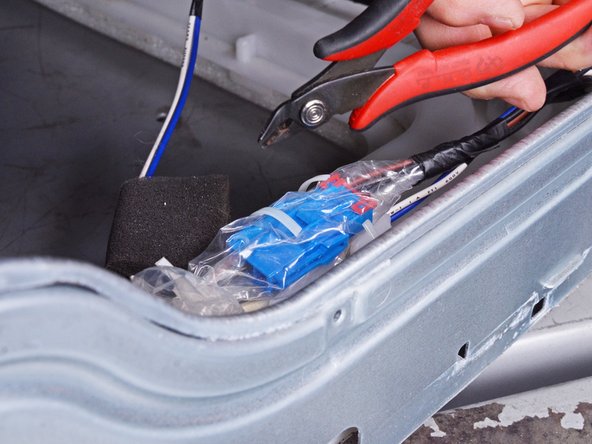
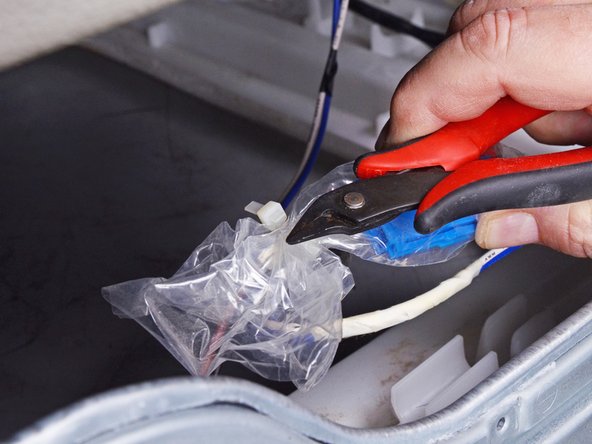
      • Use diagonal cutters, or scissors, to remove the cable ties securing the plastic wrap to the pump assembly cables.

      Ask FixBot

      Add Comment

    4. LG WM3050CW Pump Assembly Replacement: step 29, image 1 of 2 LG WM3050CW Pump Assembly Replacement: step 29, image 2 of 2
      • Repeat the previous step for any cable ties bundling the pump assembly cables.

      Ask FixBot

      Add Comment

    5. LG WM3050CW Pump Assembly Replacement: step 30, image 1 of 2 LG WM3050CW Pump Assembly Replacement: step 30, image 2 of 2
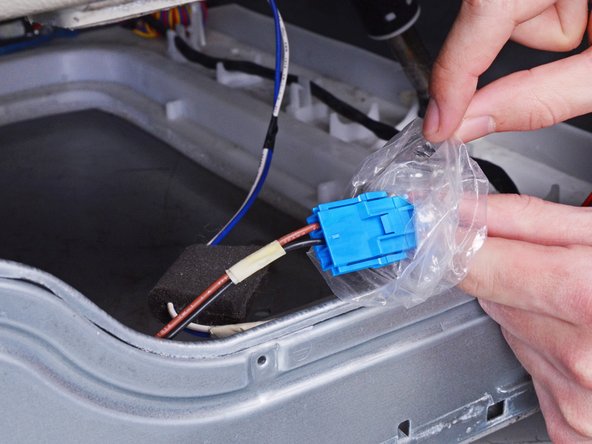
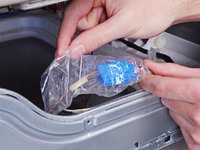
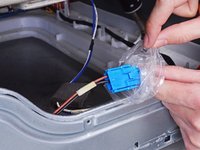
      • Fold the plastic wrap away from the cables, enough to expose the connectors.

      • During reassembly, replace the cable ties to ensure a water-tight fit for the plastic wrap.

      Ask FixBot

      Add Comment

    6. LG WM3050CW Pump Assembly Replacement, Disconnect the pump cable: step 31, image 1 of 2 LG WM3050CW Pump Assembly Replacement, Disconnect the pump cable: step 31, image 2 of 2
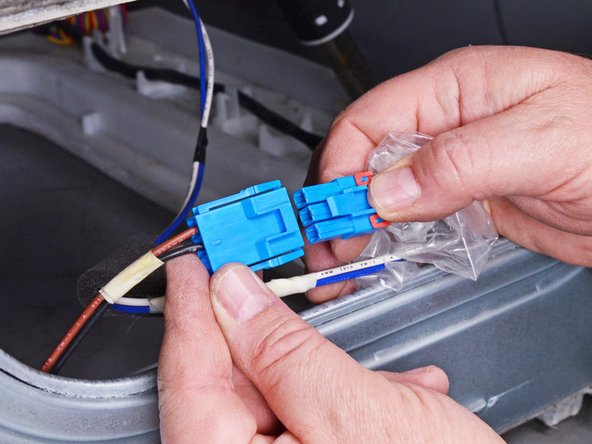
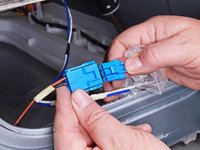
      • Disconnect the connector attached to the pump cable.

      • Always grip cables by their connectors and not the wires themselves.

      Ask FixBot

      Add Comment

    7. LG WM3050CW Pump Assembly Replacement: step 32, image 1 of 3 LG WM3050CW Pump Assembly Replacement: step 32, image 2 of 3 LG WM3050CW Pump Assembly Replacement: step 32, image 3 of 3
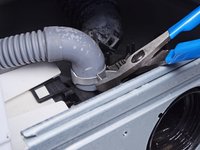
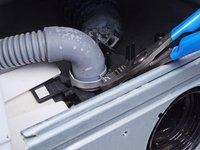
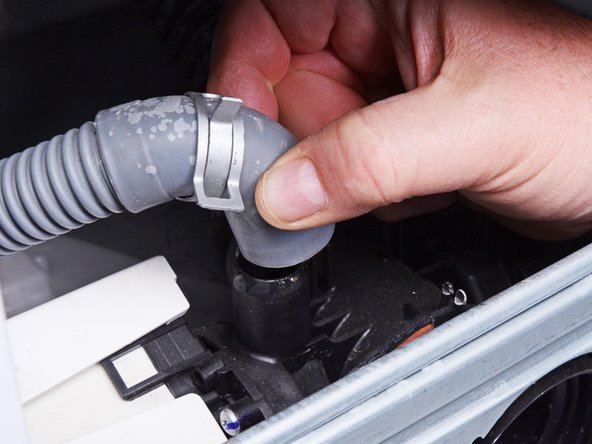
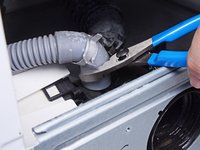
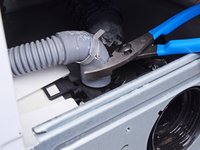
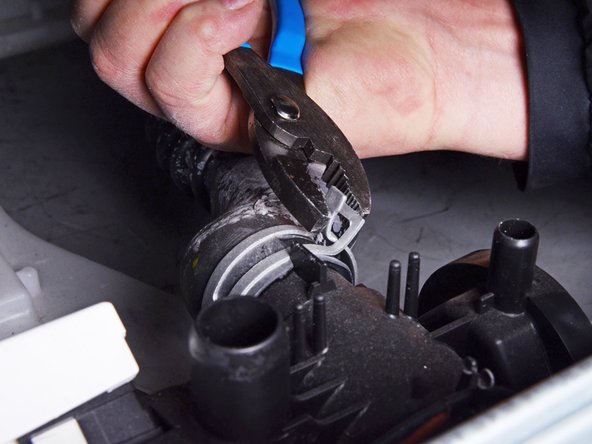
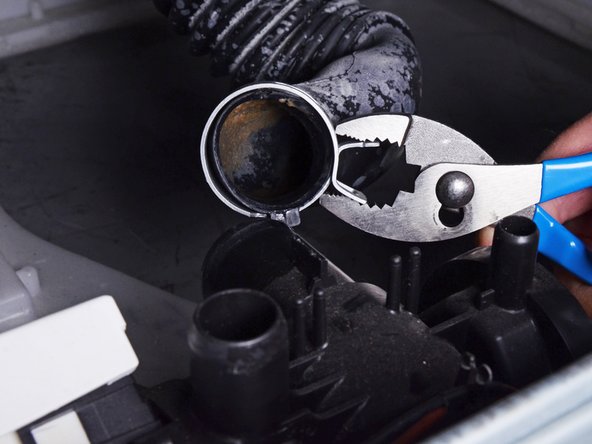
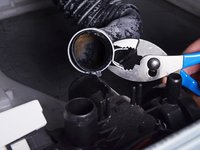
      • Use slip joint pliers to pinch the pump discharge hose clamp and slide it up the hose away from the pump assembly.

      Ask FixBot

      Add Comment

    8. LG WM3050CW Pump Assembly Replacement: step 33, image 1 of 3 LG WM3050CW Pump Assembly Replacement: step 33, image 2 of 3 LG WM3050CW Pump Assembly Replacement: step 33, image 3 of 3
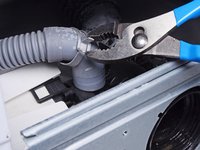
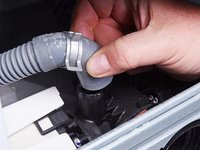
      • Use slip joint pliers to rotate the pump discharge hose back and forth around its connection and loosen it.

      • Pull the pump discharge hose straight off its connection on the assembly.

      Ask FixBot

      Add Comment

    9. LG WM3050CW Pump Assembly Replacement, Disconnect the tub to pump hose: step 34, image 1 of 3 LG WM3050CW Pump Assembly Replacement, Disconnect the tub to pump hose: step 34, image 2 of 3 LG WM3050CW Pump Assembly Replacement, Disconnect the tub to pump hose: step 34, image 3 of 3
      • Repeat the last two steps for the tub-to-pump hose.

      Ask FixBot

      Add Comment

    10. LG WM3050CW Pump Assembly Replacement, Unfasten the pump assembly: step 35, image 1 of 2 LG WM3050CW Pump Assembly Replacement, Unfasten the pump assembly: step 35, image 2 of 2
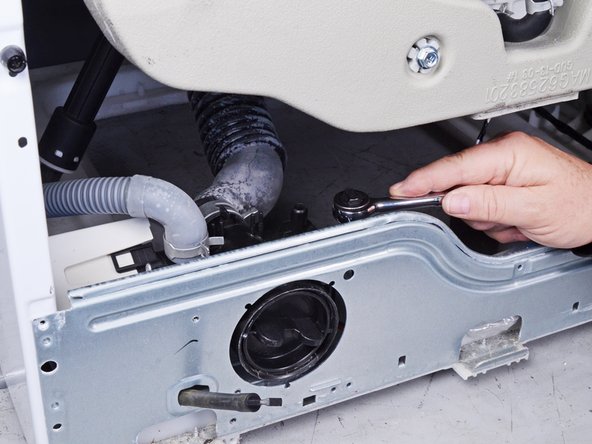
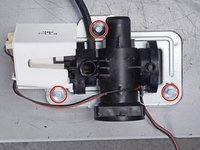
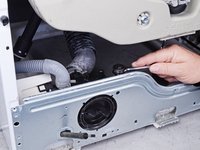
      • Use a 3/8 inch socket wrench to remove the three 46.1 mm-long screws securing the pump assembly.

      Ask FixBot

      Add Comment

    11. LG WM3050CW Pump Assembly Replacement, Remove the pump assembly: step 36, image 1 of 3 LG WM3050CW Pump Assembly Replacement, Remove the pump assembly: step 36, image 2 of 3 LG WM3050CW Pump Assembly Replacement, Remove the pump assembly: step 36, image 3 of 3
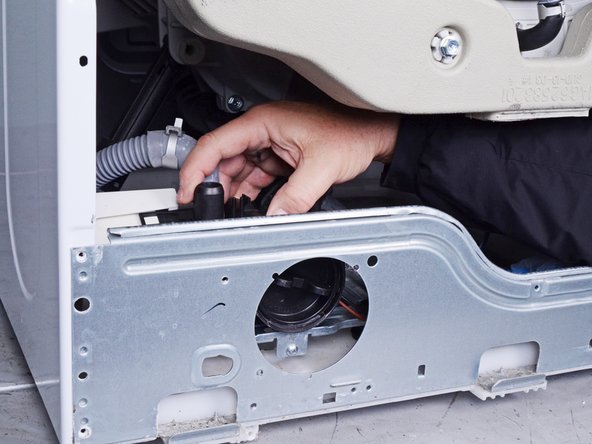
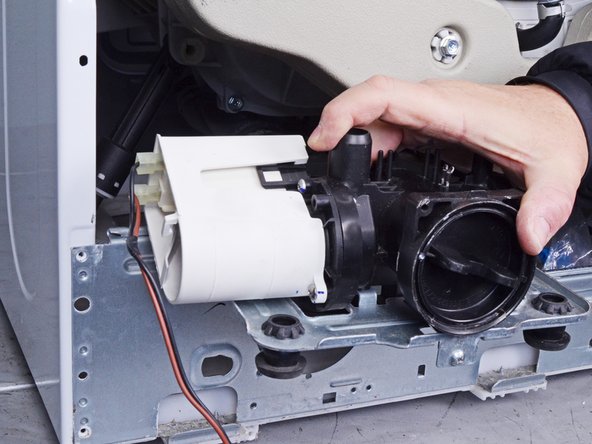
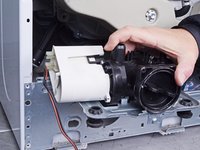
      • Lift the pump assembly out of its location in the frame to remove it.

      Ask FixBot

      Add Comment

Conclusion

To reassemble your device, follow these instructions in reverse order.

Take your e-waste to an R2 or e-Stewards certified recycler.

Repair didn’t go as planned? Ask our Answers community for help.

Cancel: I did not complete this guide.

One other person completed this guide.

Bill Gilbert

Member since: 06/30/22

40,168 Reputation

261 Guides authored

Team

iFixit Member of iFixit

Staff

123 Members

51,070 Guides authored

0 Guide Comments

Add Comment

View Statistics:

Past 24 Hours: 2

Past 7 Days: 13

Past 30 Days: 35

All Time: 825