Introduction
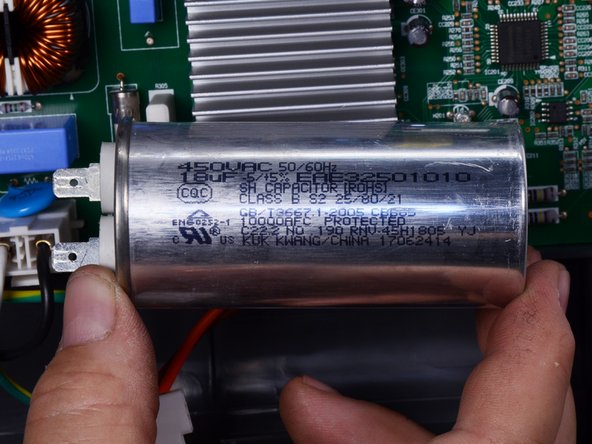
Use this guide to replace the compressor run capacitor in your LG refrigerator.
This guide will work for most LG refrigerators. This guide is written with an LG model LFX25973 refrigerator. If you have a different model, you may encounter some minor disassembly differences, but the overall repair process will be the same.
The compressor run capacitor is needed for the compressor to run properly. If it fails, your compressor may not run or will run poorly.
If you are experiencing poor cooling or the compressor isn't functioning, the run capacitor is one of the items to check. There may not be an error code associated with this condition.
What you need
-
-
Unplug your refrigerator before you begin your repair.
-
Condenser fan motor
-
Compressor motor and thermal overload device
-
Water supply valve assembly
-
-
-
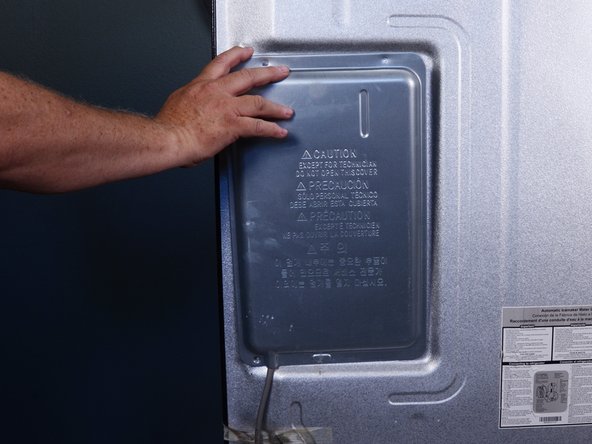
Use a Phillips screwdriver to remove the screws securing the control board cover.
-
-
-
-
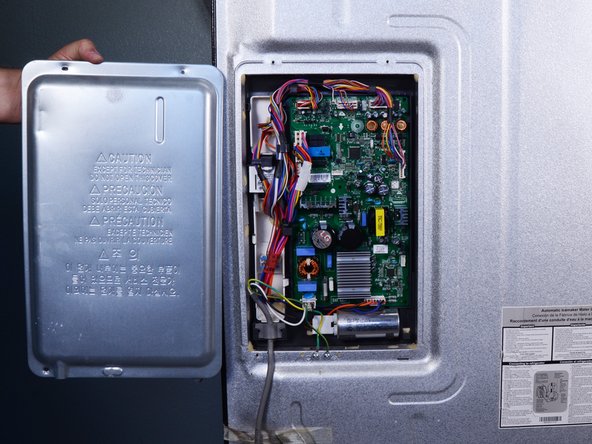
Tilt the top edge of the cover toward you and lift it off.
-
-
-
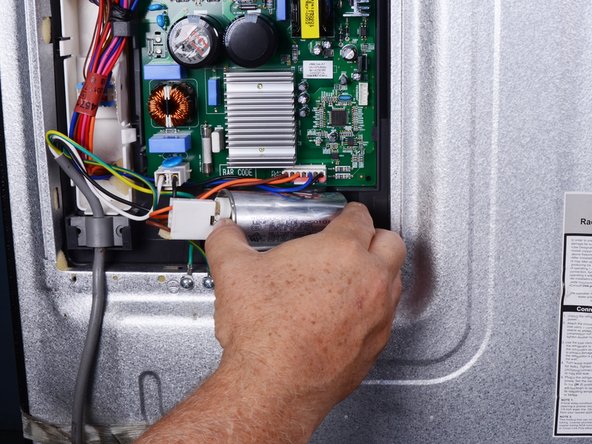
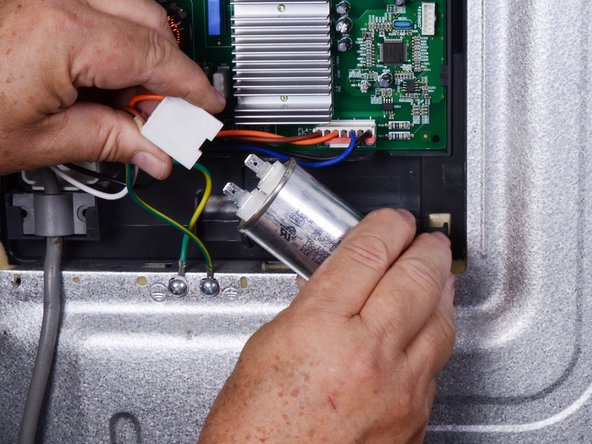
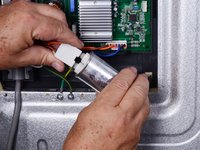
Pull the connector straight off the capacitor to disconnect it.
-
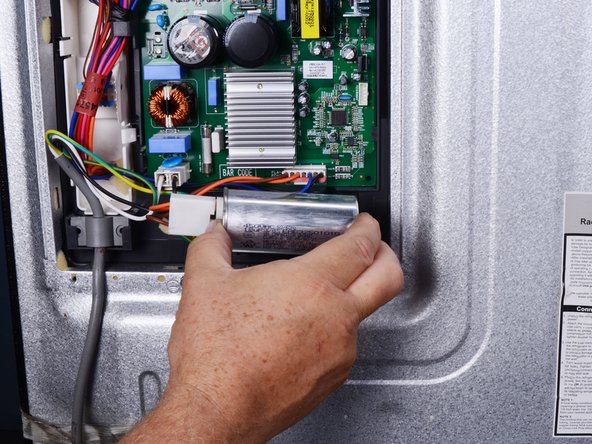
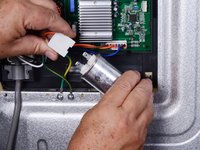
Remove the capacitor.
-
To reassemble your device, follow these instructions in reverse order.
Take your e-waste to an R2 or e-Stewards certified recycler.
Repair didn’t go as planned? Try some basic troubleshooting, or ask our Answers community for help.


