Introduction
If one or both of the cameras in your Kurio Xtreme are broken, follow this guide to replace them. The front and back cameras are connected, so you will be replacing both of them, even if only one is broken.
What you need
-
-
Remove the rubber case by beginning to peel from one of the top corners and continue peeling until the cover is completely removed.
-
-
-
Insert the plastic opening tool in between the edges of the blue front casing and black back casing.
-
Slide the plastic opening tool around the perimeter of the device. This may require that you repeatedly run the opening tool up and down the edges of the device.
-
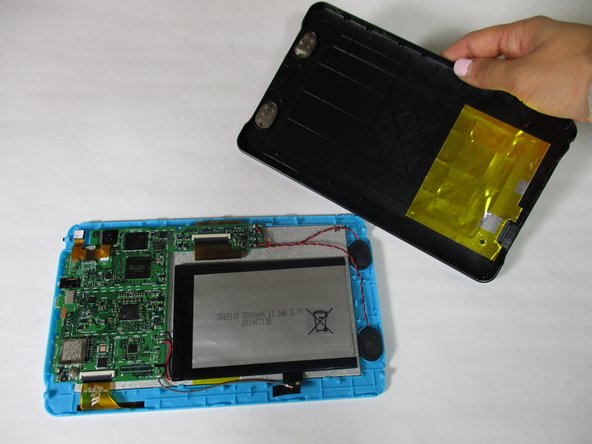
Carefully lift the back panel off of the rest of the device.
-
-
-
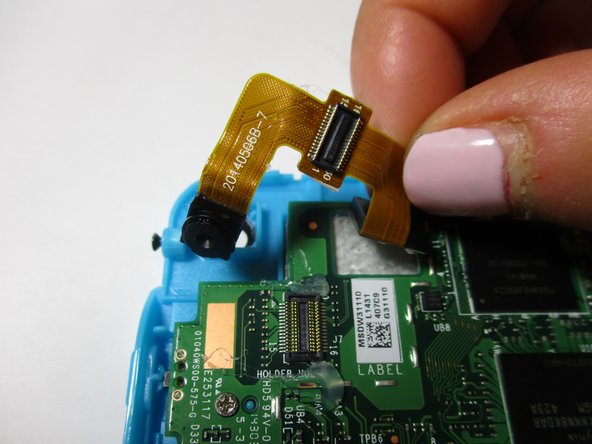
Remove the flat-topped connector that connects the cameras to the motherboard by using the plastic opening tool to pry up on each side.
-
-
-
Remove the smaller, front facing camera by lifting up on the attached ribbon cable.
-
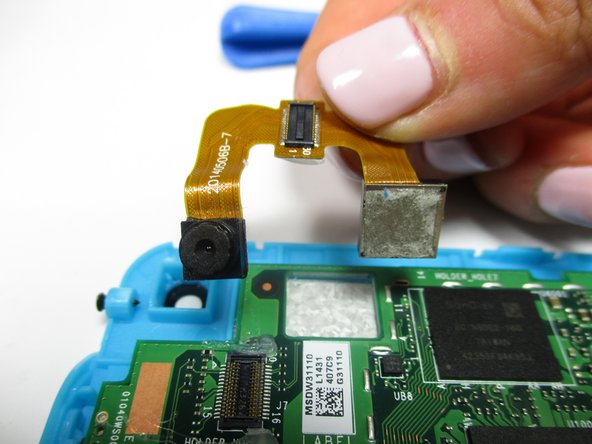
Remove the larger, rear facing camera by lifting up on the attached ribbon cable.
-


Team

Baylor, Team 6-10, Williams Fall 2015 Member of Baylor, Team 6-10, Williams Fall 2015
BU-WILLIAMS-F15S6G10
3 Members
14 Guides authored