Introduction
Follow this guide to replace the keyboard PCB in a Keychron K10 Max Wireless mechanical keyboard.
The keyboard PCB is the main circuit board that connects the key switches and allows the keyboard to register inputs. It also supports other functions such as lighting and internal connections. A PCB replacement may be needed if several keys stop responding, keys type the wrong characters, sections of the backlight stop working, or the board shows signs of damage such as corrosion, cracks, burn marks, or damaged connectors.
Before replacing the PCB, rule out easier fixes such as reseating or replacing key switches, checking the USB-C cable, inspecting the battery, and making sure all internal ribbon cables are fully connected.
This repair requires opening the keyboard and handling fragile electronic parts, so power off the keyboard and disconnect all cables before starting.
What you need
-
-
-
Lay the keyboard face down on the workspace.
-
Use a 2.5 mm hex screwdriver to remove the eight 4.5 mm screws from the back case.
-
Carefully separate the front frame from the keyboard and set it aside.
 Ask FixBot
-
-
-
Slide the keycap puller over the keycap until it grips underneath.
-
Pull straight upward to remove the keycap.
-
-
-
-
-
Place the switch puller around the two small tabs on the front and back of the switch.
-
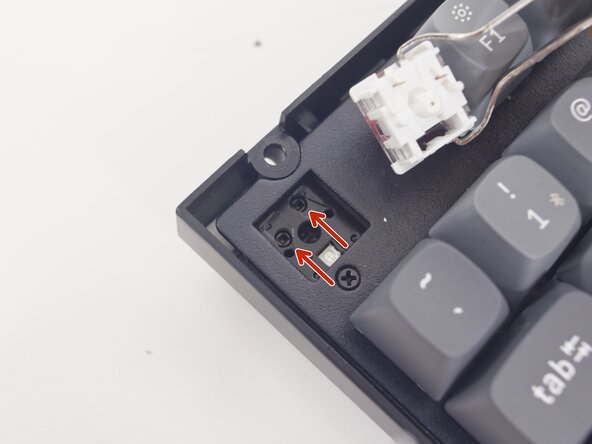
Squeeze the switch puller to release the tabs, then pull straight upward to remove the switch.
-
-
-
-
-
-
Remove all 108 keycaps and switches from the keyboard.
-
Use a Phillips #1 screwdriver to remove the thirteen 7.5 mm screws from the frame.
-
Flip the board over.
-
-
-
Use a Phillips #1 screwdriver to remove the sixteen 4.5 mm gold screws on the back of the board.
-
-




To reassemble your device, follow these instructions in reverse order. Take your e-waste to an R2 or e-Stewards certified recycler.

Team

Purdue University Northwest, Team 7-8, Dieterle Spring 2026 Member of Purdue University Northwest, Team 7-8, Dieterle Spring 2026
PNW-DIETERLE-S26S7G8
3 Members
60 Guides authored
