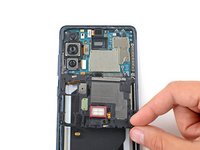
Free Shipping on Domestic Orders $75+

Interconnect Cable Removal

Prerequisite Only
This is a prerequisite-only guide! This guide is part of another procedure and isn’t meant to be used alone.

What you need

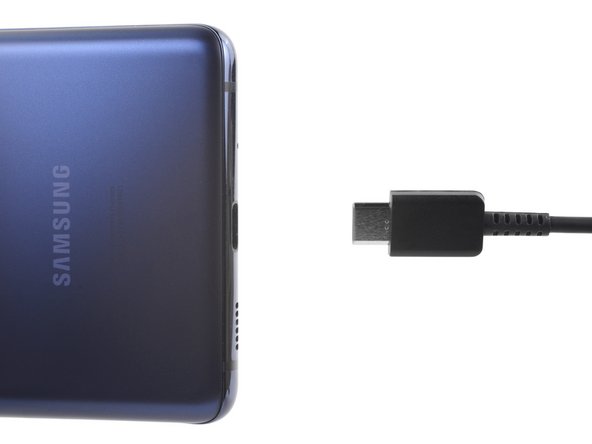
    1. Interconnect Cable Removal, Before you begin: step 1, image 1 of 2 Interconnect Cable Removal, Before you begin: step 1, image 2 of 2
      • Before you begin, let your battery drain below 25%—a charged lithium-ion battery can be dangerous if accidentally punctured.

      • Power off your phone and unplug any cables.

      Ask FixBot
      Add Comment

    1. Interconnect Cable Removal, Heat the bottom edge: step 2, image 1 of 1
      • Heat an iOpener and apply it to the bottom edge of the back cover for two minutes.

      • You can also use a hair dryer—but be careful, as extreme heat will warp the back cover.

      Ask FixBot
      Add Comment

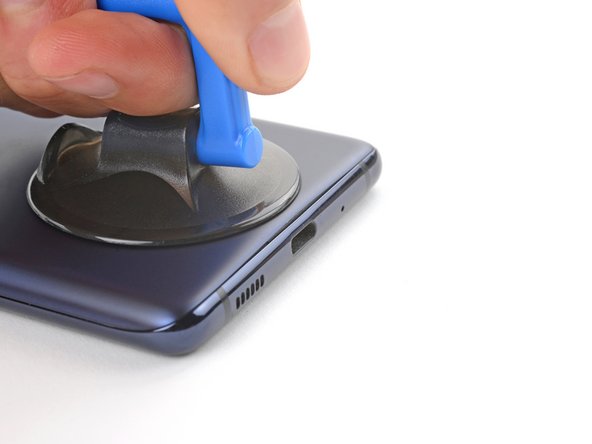
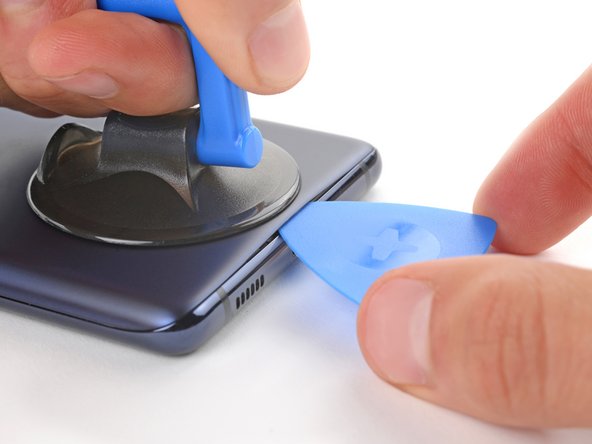
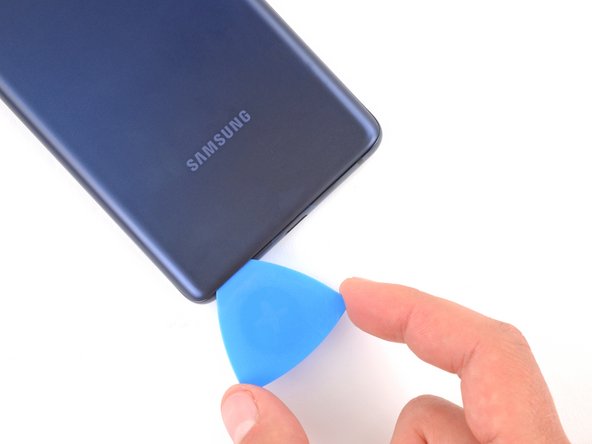
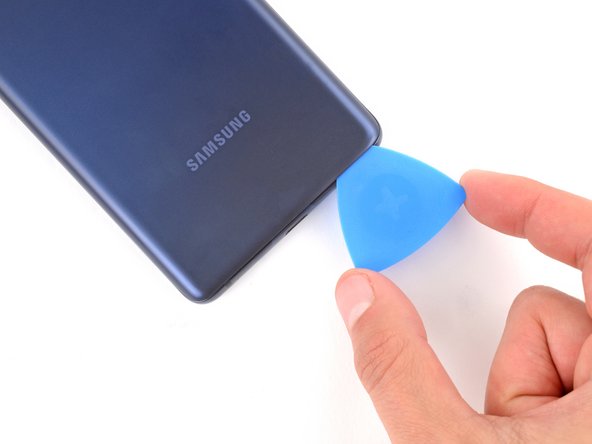
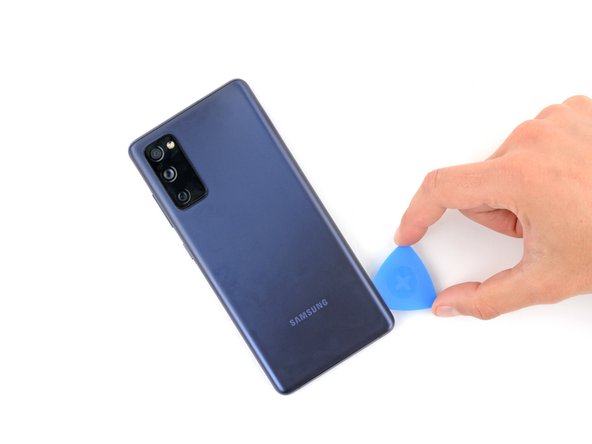
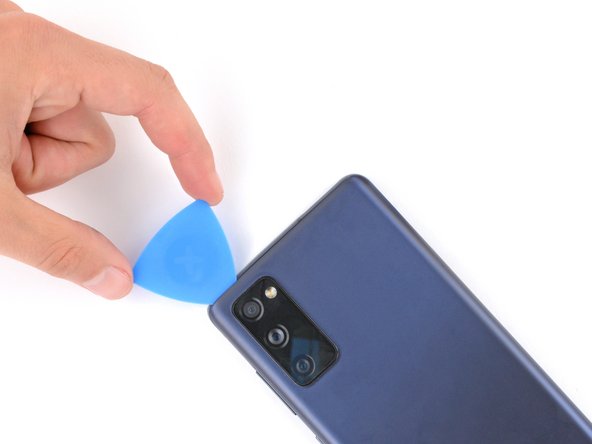
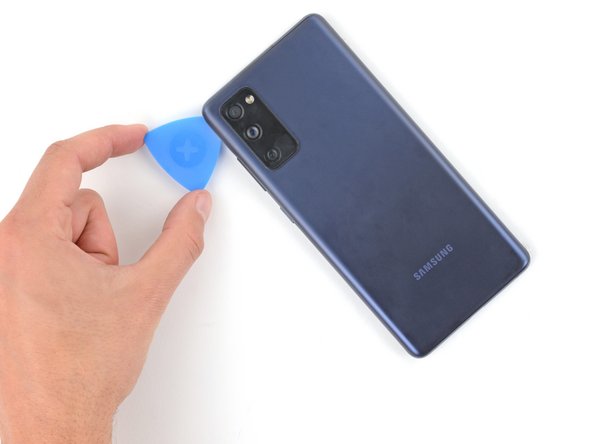
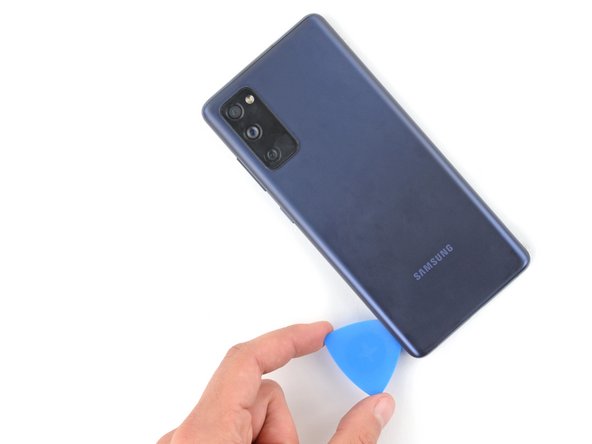
    2. Interconnect Cable Removal, Insert an opening pick: step 3, image 1 of 3 Interconnect Cable Removal, Insert an opening pick: step 3, image 2 of 3 Interconnect Cable Removal, Insert an opening pick: step 3, image 3 of 3
      • Apply a suction cup to the center of the back cover's bottom edge, as close to the edge as possible.

      • Pull up on the suction handle with strong, steady force to create a gap between the cover and frame.

      • This will require significant force. If you're having trouble, apply more heat and try again.

      • Insert an opening pick in the gap.

      Ask FixBot
      Add Comment

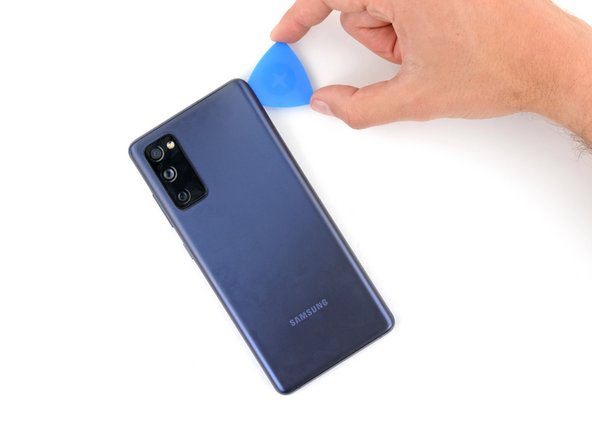
    3. Interconnect Cable Removal, Slice the bottom adhesive: step 4, image 1 of 3 Interconnect Cable Removal, Slice the bottom adhesive: step 4, image 2 of 3 Interconnect Cable Removal, Slice the bottom adhesive: step 4, image 3 of 3
      • Slide the opening pick along the bottom edge to slice the adhesive securing the back cover.

      • Leave the opening pick inserted in the bottom right corner to prevent the adhesive from resealing.

      Ask FixBot
      Add Comment

    4. Interconnect Cable Removal, Heat the right edge: step 5, image 1 of 1
      • Apply a heated iOpener to the right edge of the back cover for two minutes.

      • You can also use a hair dryer—but be careful, as extreme heat will warp the back cover.

      Ask FixBot

      Add Comment

    5. Interconnect Cable Removal, Slice the right adhesive: step 6, image 1 of 3 Interconnect Cable Removal, Slice the right adhesive: step 6, image 2 of 3 Interconnect Cable Removal, Slice the right adhesive: step 6, image 3 of 3
      • Slide the opening pick around the bottom right corner and all the way up the right edge to slice the adhesive.

      • Leave the opening pick inserted in the top right corner.

      Ask FixBot

      Add Comment

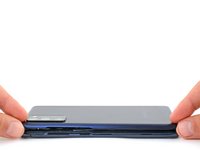
    6. Interconnect Cable Removal, Heat the top edge: step 7, image 1 of 1
      • Apply a heated iOpener to the top edge of the back cover for two minutes.

      • You can also use a hair dryer—but be careful, as extreme heat will warp the back cover.

      Ask FixBot
      Add Comment

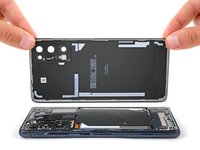
    7. Interconnect Cable Removal, Slice the top adhesive: step 8, image 1 of 2 Interconnect Cable Removal, Slice the top adhesive: step 8, image 2 of 2
      • Slide the opening pick around the top right corner and along the top edge to slice the adhesive.

      • Leave the pick inserted in the top left corner.

      Ask FixBot
      Add Comment

    8. Interconnect Cable Removal, Heat the left edge: step 9, image 1 of 1
      • Apply a heated iOpener to the left edge of the back cover for two minutes.

      • You can also use a hair dryer—but be careful, as extreme heat will warp the back cover.

      Ask FixBot

      Add Comment

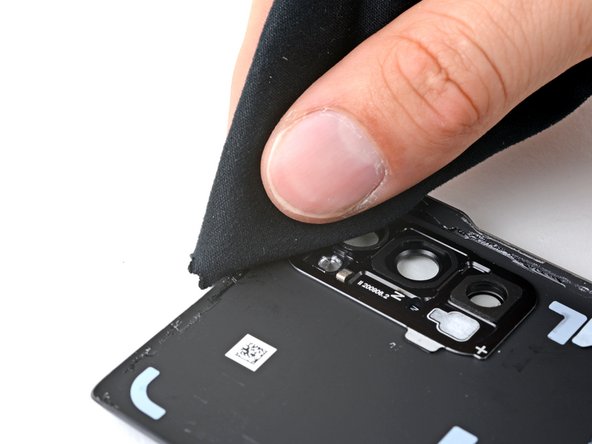
    9. Interconnect Cable Removal, Slice the left adhesive: step 10, image 1 of 3 Interconnect Cable Removal, Slice the left adhesive: step 10, image 2 of 3 Interconnect Cable Removal, Slice the left adhesive: step 10, image 3 of 3
      • Slide the opening pick around the top left corner and all the way down the left edge to slice the remaining adhesive.

      Ask FixBot
      Add Comment
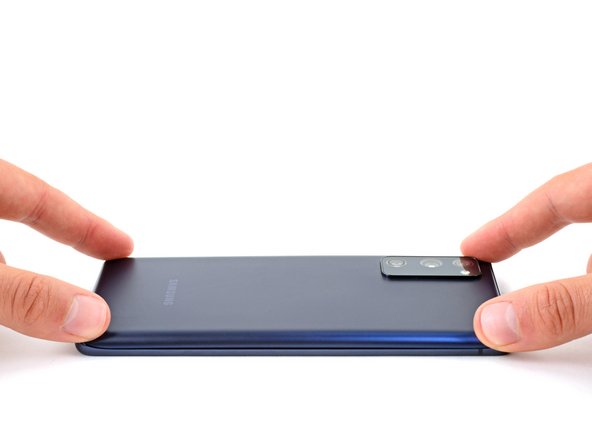
    10. Interconnect Cable Removal, Remove the back cover: step 11, image 1 of 2 Interconnect Cable Removal, Remove the back cover: step 11, image 2 of 2
      • Remove the back cover.

      • If the back cover is still stuck to the frame, slide an opening pick around the perimeter to separate any remaining adhesive.

      Ask FixBot

      Add Comment

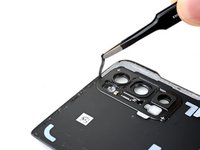
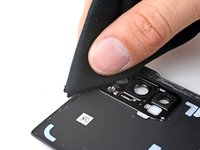
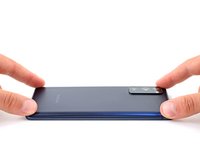
    11. Interconnect Cable Removal, Reassembly information: step 12, image 1 of 3 Interconnect Cable Removal, Reassembly information: step 12, image 2 of 3 Interconnect Cable Removal, Reassembly information: step 12, image 3 of 3
      • During reassembly, this is a good point to power on your device and test all functions before sealing it up. Be sure to power it back down completely before you continue working.

      • If you're reinstalling your old back cover:

      • Use tweezers or your fingers to peel off the old adhesive from the back cover and frame.

      • Use highly-concentrated isopropyl alcohol (over 90%) and a microfiber cloth to remove any remaining adhesive residue.

      • Follow this guide to apply new custom-cut adhesive.

      • If you're installing a new back cover, peel off the liners and press firmly around the perimeter to secure the back cover to the frame.

      Ask FixBot

      Add Comment

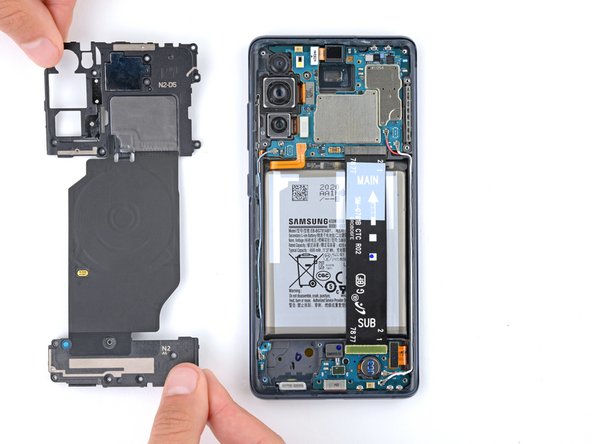
    1. Interconnect Cable Removal, Unfasten the wireless charging assembly: step 13, image 1 of 3 Interconnect Cable Removal, Unfasten the wireless charging assembly: step 13, image 2 of 3 Interconnect Cable Removal, Unfasten the wireless charging assembly: step 13, image 3 of 3
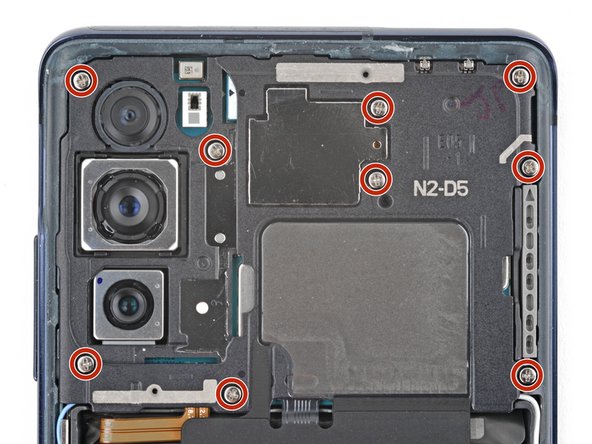
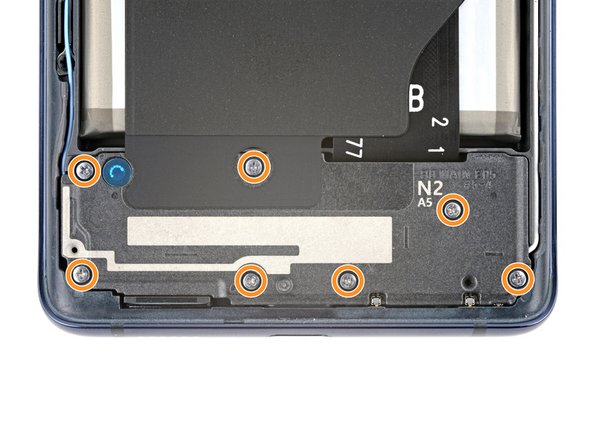
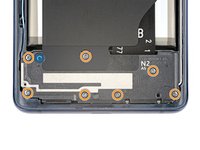
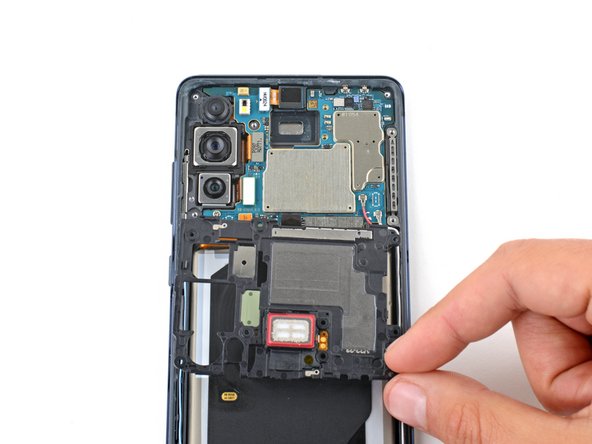
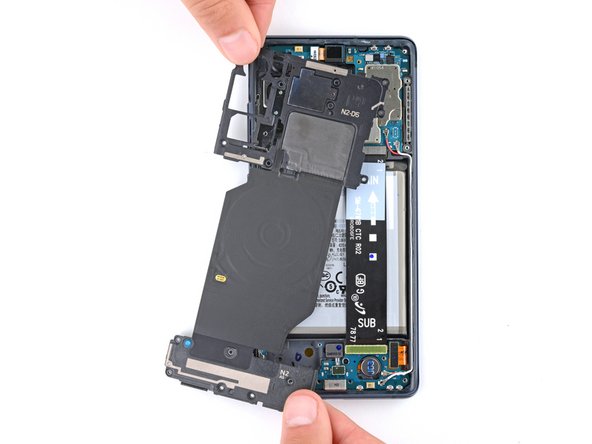
      • The wireless charging assembly includes the motherboard cover, wireless charging coil, and loudspeaker. They're held together with graphite tape and should be removed as one piece.

      • Use a Phillips screwdriver to remove the 16 screws securing the wireless charging assembly:

      • Nine 4 mm-long screws securing the motherboard cover

      • Seven 4.5 mm-long screws securing the loudspeaker

      Ask FixBot

      Add Comment

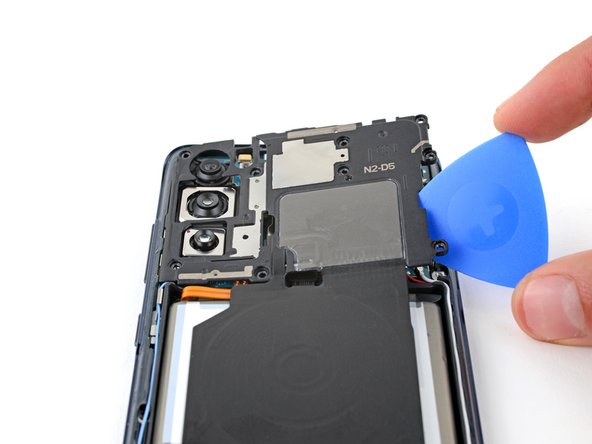
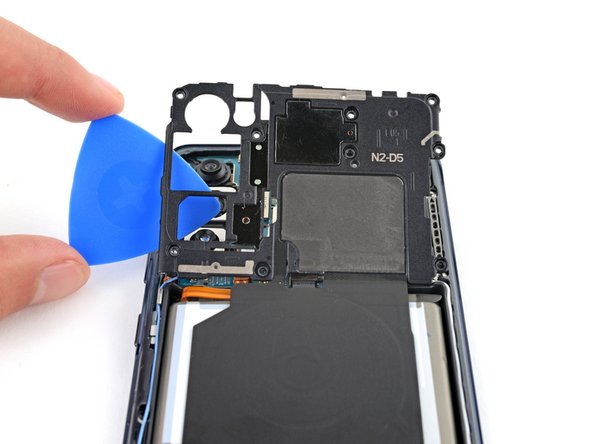
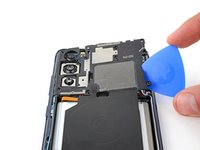
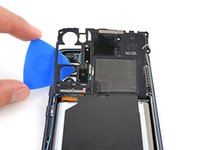
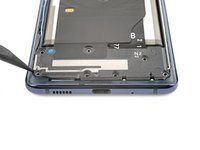
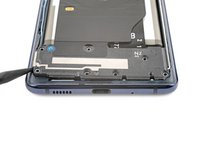
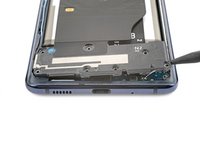
    2. Interconnect Cable Removal, Unclip the motherboard cover: step 14, image 1 of 3 Interconnect Cable Removal, Unclip the motherboard cover: step 14, image 2 of 3 Interconnect Cable Removal, Unclip the motherboard cover: step 14, image 3 of 3
      • Insert a pick under the bottom right edge of the motherboard cover.

      • Twist the pick to release the clips securing the cover.

      • Insert and twist the opening pick on the bottom left edge of the cover to release the remaining clips.

      • During reassembly, press down firmly around the perimeter of the motherboard cover to engage the clips.

      Ask FixBot

      Add Comment

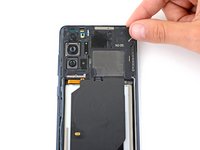
    3. Interconnect Cable Removal, Reposition the motherboard cover: step 15, image 1 of 2 Interconnect Cable Removal, Reposition the motherboard cover: step 15, image 2 of 2
      Ask FixBot

      Add Comment

    4. Interconnect Cable Removal, Disconnect the battery: step 16, image 1 of 3 Interconnect Cable Removal, Disconnect the battery: step 16, image 2 of 3 Interconnect Cable Removal, Disconnect the battery: step 16, image 3 of 3
      • Use the flat end of a spudger to pry up and disconnect the battery and wireless charging press connectors from the motherboard.

      • To re-attach press connectors like this one, carefully align and press down on one side until it clicks into place, then repeat on the other side. Don't press down in the middle. If the connector is misaligned, the pins can bend and cause permanent damage.

      Ask FixBot

      Add Comment

    5. Interconnect Cable Removal, Unclip the loudspeaker: step 17, image 1 of 3 Interconnect Cable Removal, Unclip the loudspeaker: step 17, image 2 of 3 Interconnect Cable Removal, Unclip the loudspeaker: step 17, image 3 of 3
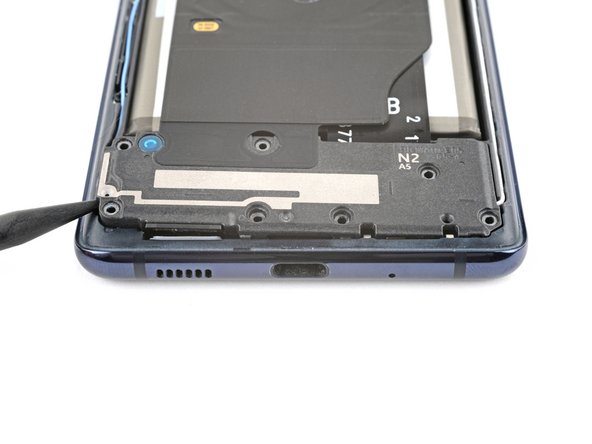
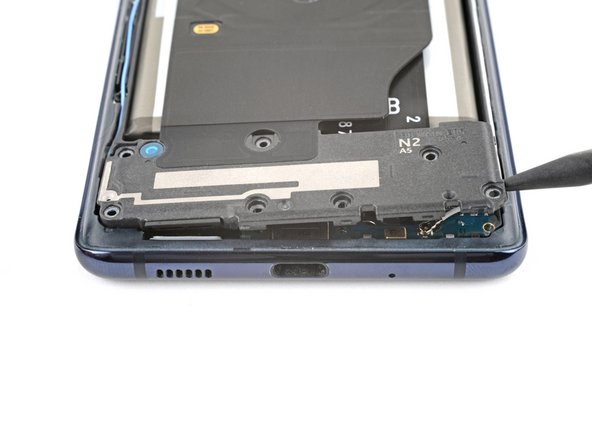
      • Insert the point of a spudger between the bottom left corner of the loudspeaker and the frame.

      • Pry up to release the clips securing the left edge of the loudspeaker.

      • Pry up the bottom right corner of the loudspeaker to release the remaining clips.

      • During reassembly, press down firmly around the perimeter of the loudspeaker to engage the clips.

      Ask FixBot

      Add Comment

    6. Interconnect Cable Removal, Remove the wireless charging assembly: step 18, image 1 of 3 Interconnect Cable Removal, Remove the wireless charging assembly: step 18, image 2 of 3 Interconnect Cable Removal, Remove the wireless charging assembly: step 18, image 3 of 3
      • Remove the wireless charging assembly.

      Ask FixBot

      Add Comment

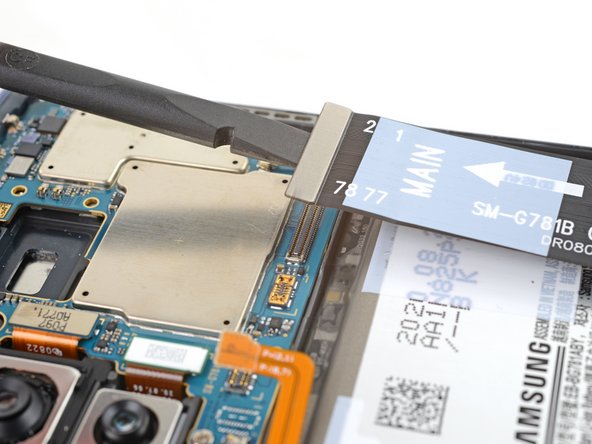
    1. Interconnect Cable Removal, Disconnect the interconnect cable: step 19, image 1 of 2 Interconnect Cable Removal, Disconnect the interconnect cable: step 19, image 2 of 2
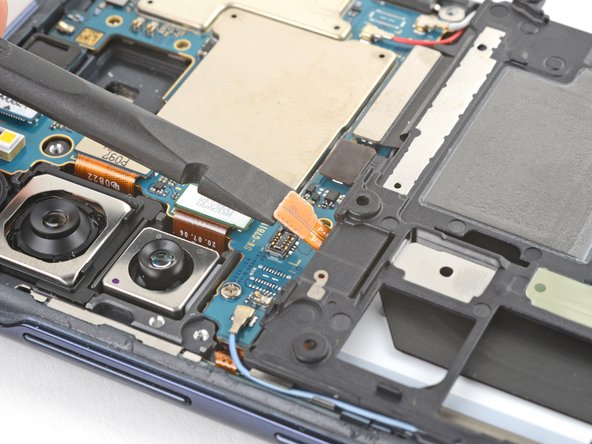
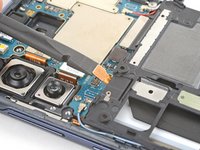
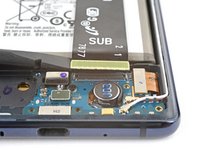
      • Use the flat end of a spudger to pry up and disconnect the interconnect cable press connector from the motherboard.

      Ask FixBot

      Add Comment

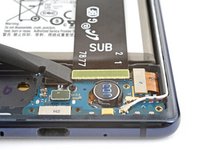
    2. Interconnect Cable Removal: step 20, image 1 of 2 Interconnect Cable Removal: step 20, image 2 of 2
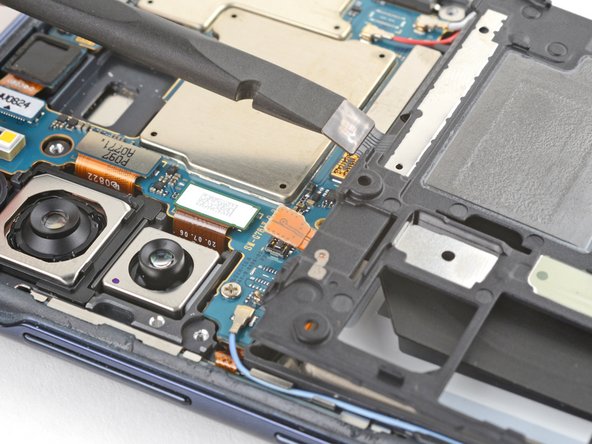
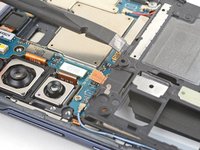
      • Disconnect the interconnect cable press connector from the charging board.

      Ask FixBot

      Add Comment

    3. Interconnect Cable Removal, Remove the interconnect cable: step 21, image 1 of 2 Interconnect Cable Removal, Remove the interconnect cable: step 21, image 2 of 2
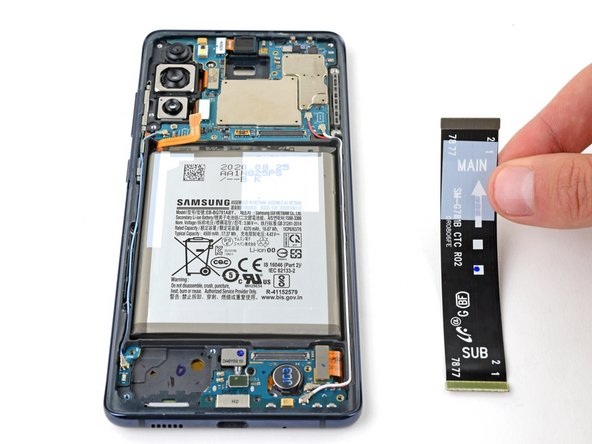
      • Remove the interconnect cable.

      Ask FixBot

      Add Comment

Conclusion

To reassemble your device, follow these instructions in reverse order.

Cancel: I did not complete this guide.

Spencer Day

Member since: 09/14/22

205,788 Reputation

1,267 Guides authored

Team

iFixit Member of iFixit

Staff

122 Members

72,401 Guides authored

0 Guide Comments

Add Comment

View Statistics:

Past 24 Hours: 0

Past 7 Days: 1

Past 30 Days: 7

All Time: 146