Introduction
Like all graphics cards, the Radeon X1900 XTX occasionally needs to be opened up and cleaned in order to function properlly.
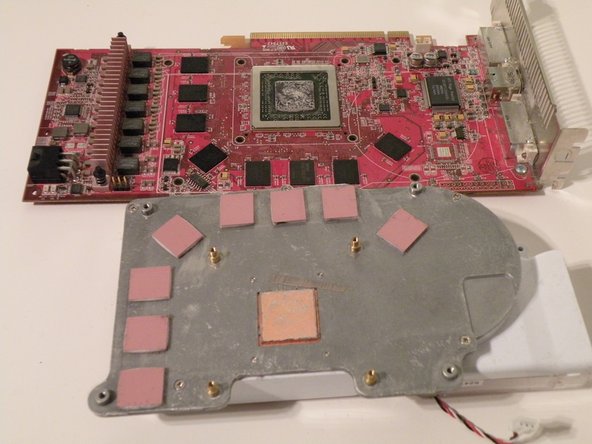
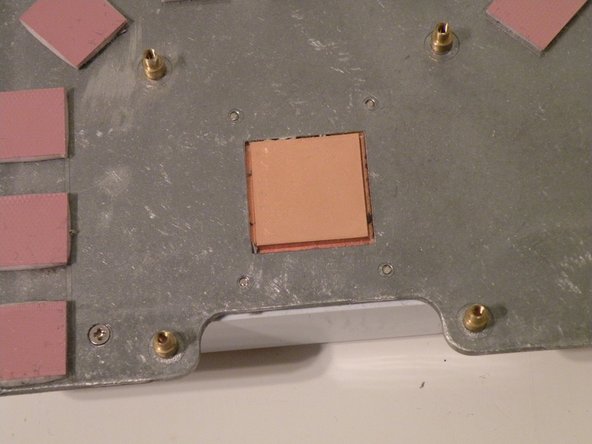
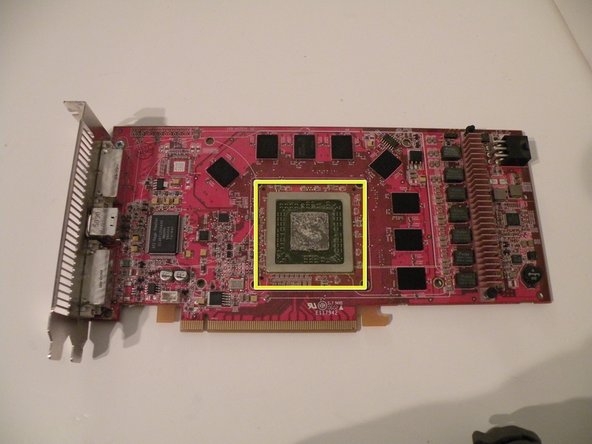
Once you remove the heat sink, you'll need to reapply thermal paste to the GPU die. Follow our Applying Thermal Paste Guide for detailed directions.
What you need
-
-
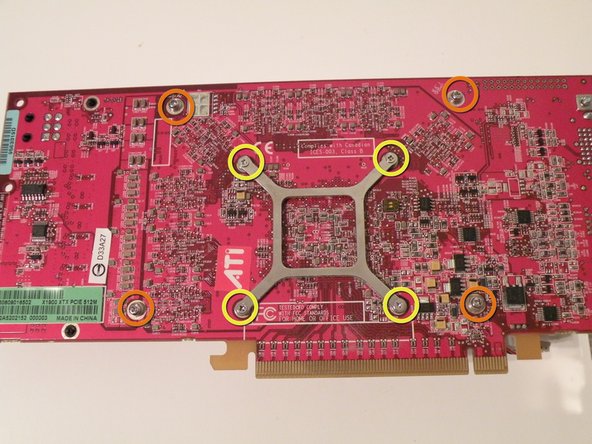
Start by removing the card from the PC if you haven't already.
-
-
-
-
Re-Applying Thermal Paste:
-
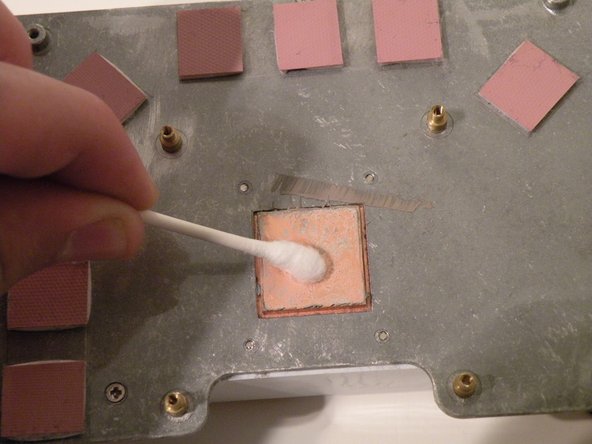
Apply a small glob of thermal paste to the corner of the die, (I recommend using Arctic Silver 5) and use an index card to spread a thin, even layer of it over the surface of the chip.
-
For more detailed directions, follow our Applying Thermal Paste Guide.
-


To reassemble your device, follow these instructions in reverse order.
To reassemble your device, follow these instructions in reverse order.
Cancel: I did not complete this guide.
13 other people completed this guide.

Team
