Shop the Holiday Gift Guide
Free Shipping on Domestic Orders $75+

How to Use the Soldering Splint

Views: 11K

View statistics:

Past 24 Hours:
17
Past 7 Days:
73
Past 30 Days:
325
All Time:
11,012
Comments: 2

1 comment on steps, 1 guide comment.

Go to guide comments
Completed: 7

7 people have marked this guide "completed." Will you be next?

Favorites: 2

2 people have favorited (and subscribed to) this guide. Will you be next?

Time Required: 2 - 10 minutes
Difficulty: Easy
How to Use the Soldering Splint

Introduction

Go to step 1 ↓

This guide demonstrates how to use the iFixit Soldering Splint to secure two wires for soldering.

The soldering splint jaws can hold wires up to 4 mm in diameter. It has two neodymium magnets on the bottom, allowing it to secure against ferrous surfaces. The splint is made of heat-resistant silicone.

What you need

Tools

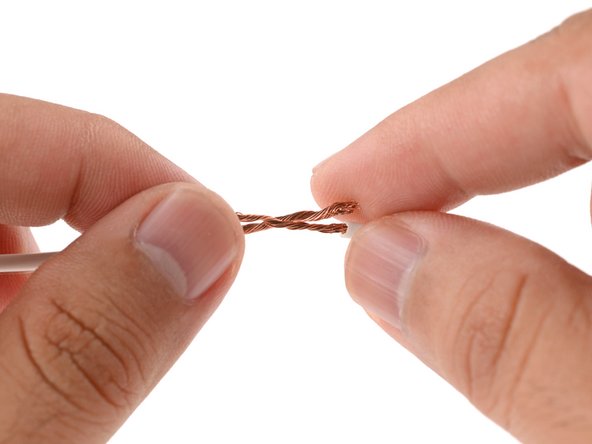
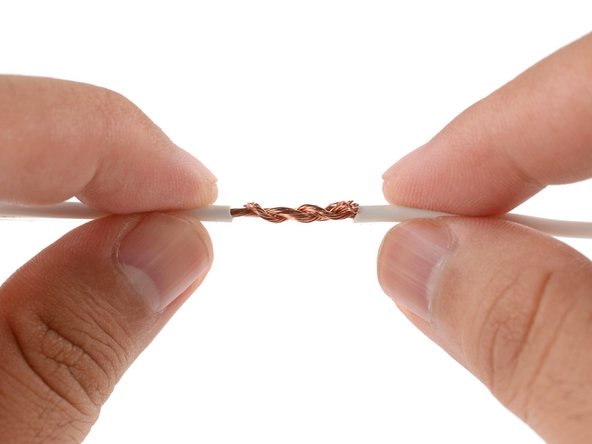
    1. How to Use the Soldering Splint, Twist the wires together: step 1, image 1 of 3 How to Use the Soldering Splint, Twist the wires together: step 1, image 2 of 3 How to Use the Soldering Splint, Twist the wires together: step 1, image 3 of 3
      • Even though the solder will bond your wires together, intertwining the wires beforehand will create more surface area, allowing for a stronger bond.

      • Twist the wires together. If the wires will be under strain, consider twisting them into a Western Union splice.

      Ask FixBot

      Add Comment

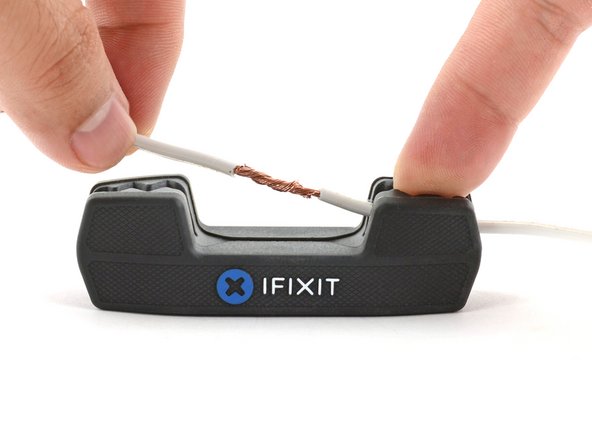
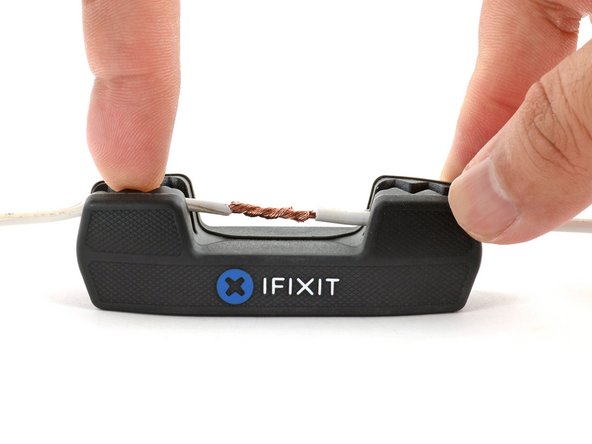
    2. How to Use the Soldering Splint, Secure the wires in the soldering splint: step 2, image 1 of 3 How to Use the Soldering Splint, Secure the wires in the soldering splint: step 2, image 2 of 3 How to Use the Soldering Splint, Secure the wires in the soldering splint: step 2, image 3 of 3
      Tool used on this step:
      Soldering Splint
      $9.95
      Buy
      • Center the wire splice between the jaws.

      • Use your fingers or the flat end of a spudger to press one end of the splice into a jaw.

      • Be gentle if you're manipulating thin wires to prevent accidental breakage.

      • Press the remaining end into the other jaw.

      Ask FixBot

      Add Comment

    3. How to Use the Soldering Splint, Solder the wires: step 3, image 1 of 3 How to Use the Soldering Splint, Solder the wires: step 3, image 2 of 3 How to Use the Soldering Splint, Solder the wires: step 3, image 3 of 3
      Tool used on this step:
      FixHub Smart Soldering Iron
      $79.95
      Buy
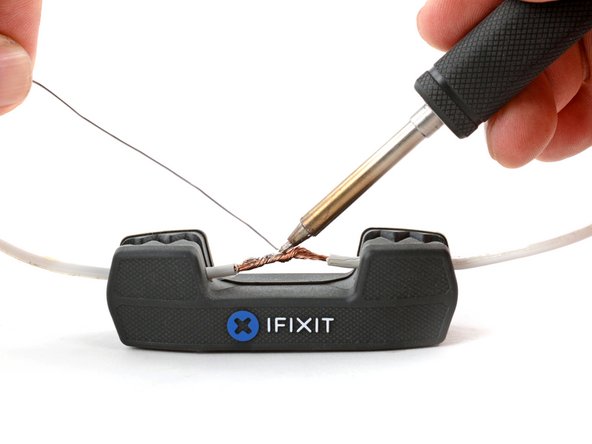
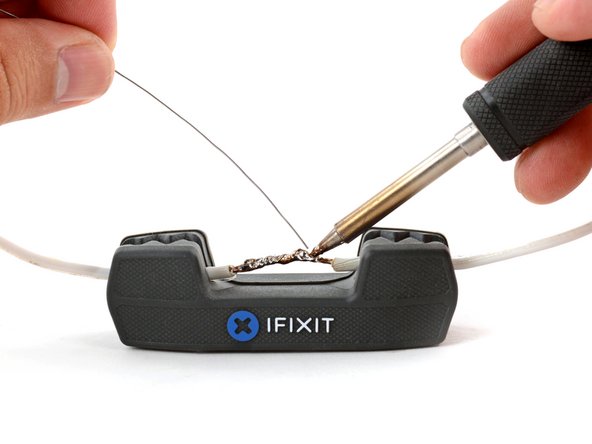
      • Your splice is secured in place! Use your preferred tool to solder the splice.

      • Make sure the solder fully saturates the splice. If the solder doesn't flow into the splice, apply flux to the splice and try again. If the flux didn't help, you may need to turn up the soldering iron temperature.

      Ask FixBot

      Add Comment

Conclusion

For more soldering guides and tips, click here.

Do you have soldering questions? Check out our Answers community!

Cancel: I did not complete this guide.

7 other people completed this guide.

Author

with

Arthur Shi

Member since: 01/03/18

353,817 Reputation

938 Guides authored

Team

iFixit Member of iFixit

Staff

119 Members

72,954 Guides authored

1 Guide Comment

Don’t twist the wires together, clean them with IPA, tin the wires and lap solder or do a hook and loop or a lap/lash splice. David, Master IPC trainer

David - Reply Share

Add Comment

View Statistics:

Past 24 Hours: 17

Past 7 Days: 73

Past 30 Days: 325

All Time: 11,012