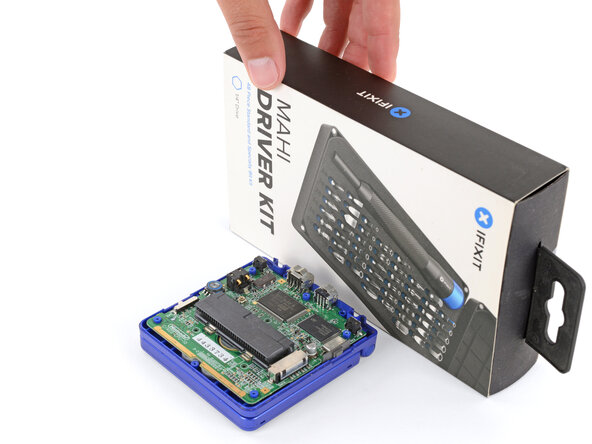
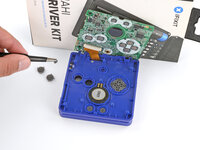
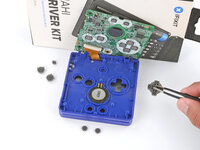
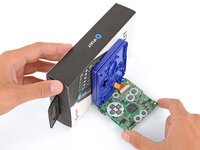
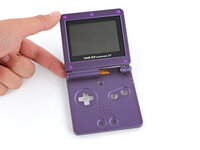
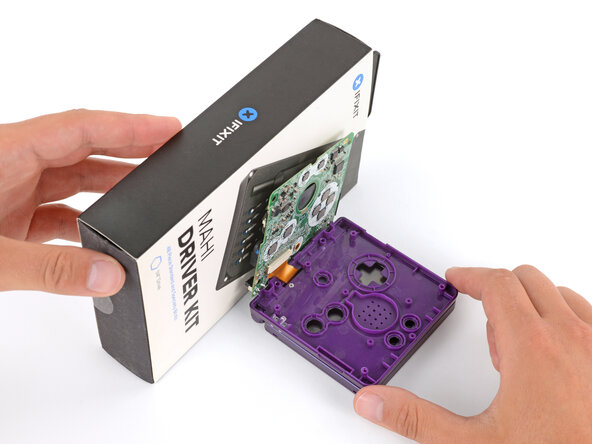
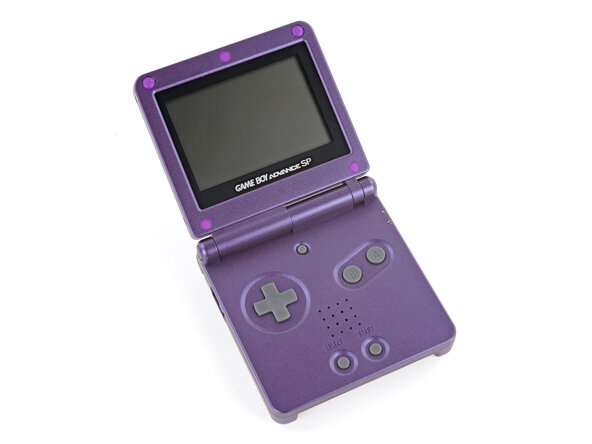
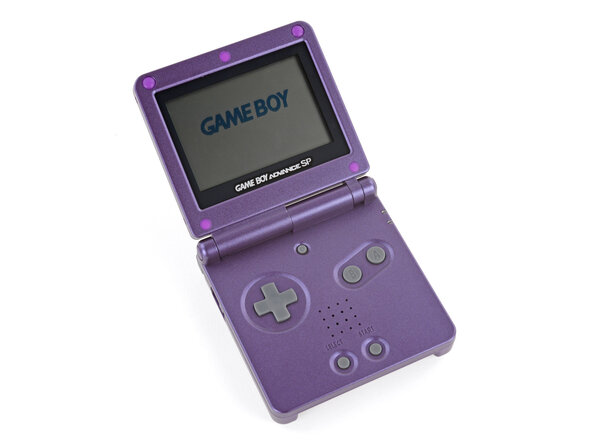
Introduction
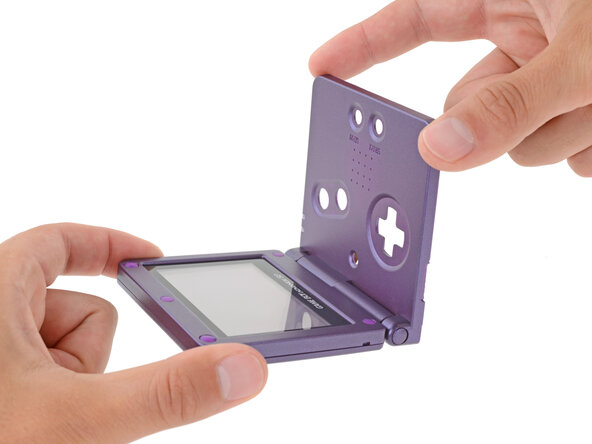
Follow this guide to completely reshell your Game Boy Advance SP.
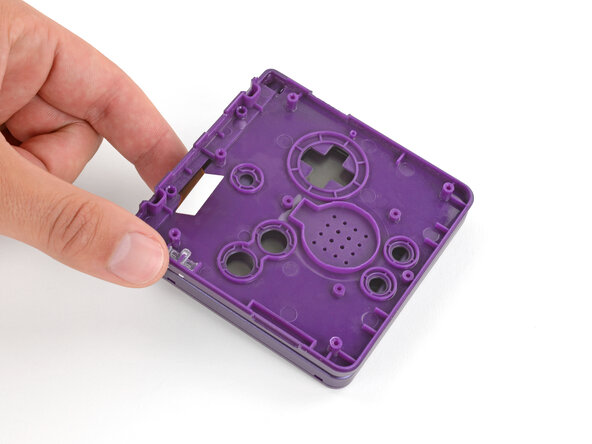
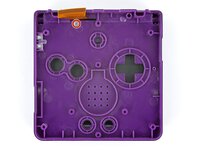
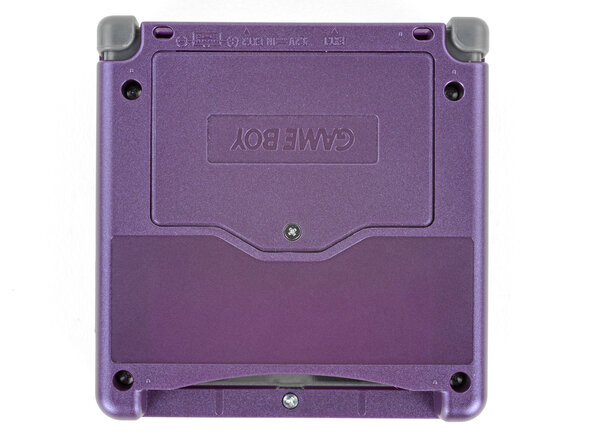
Reshelling your Game Boy Advance SP involves swapping out its outer plastic housing and transferring the internals, typically for customization.
This process replaces the both shells, and may also include new buttons, membranes, and the screen lens. You can also opt to replace or upgrade the screen and motherboard during this process. However, this guide doesn't cover any soldering, which is typically required for screen and motherboard upgrades.
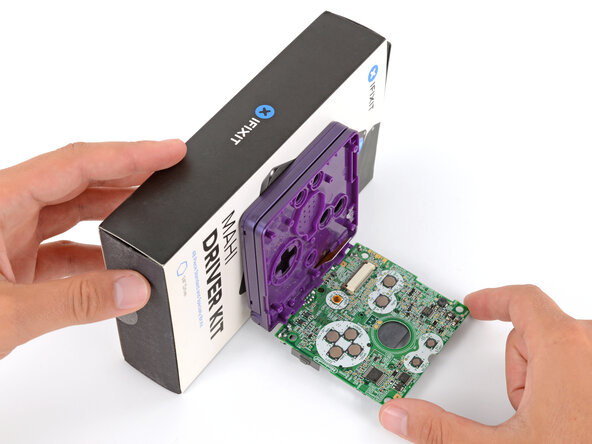
The Game Boy Advance SP uses JIS screws. If you use a non-iFixit Phillips driver in JIS screws, you'll risk stripping them. iFixit's Phillips bits are designed to be compatible with JIS screws.
What you need
-
-
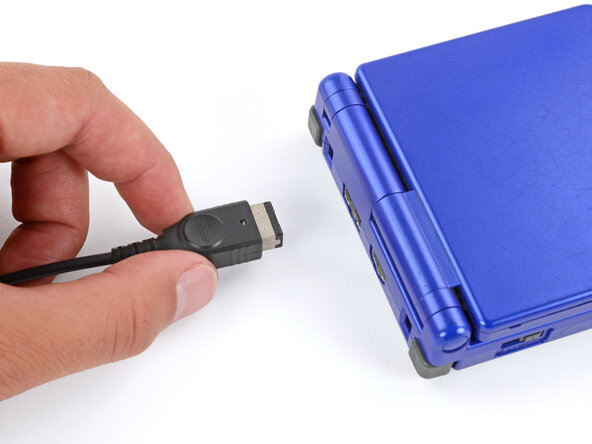
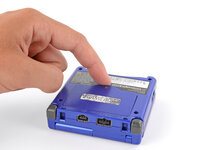
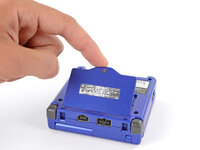
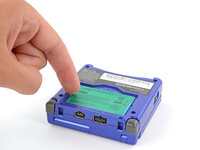
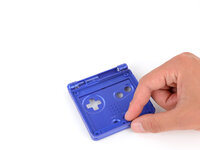
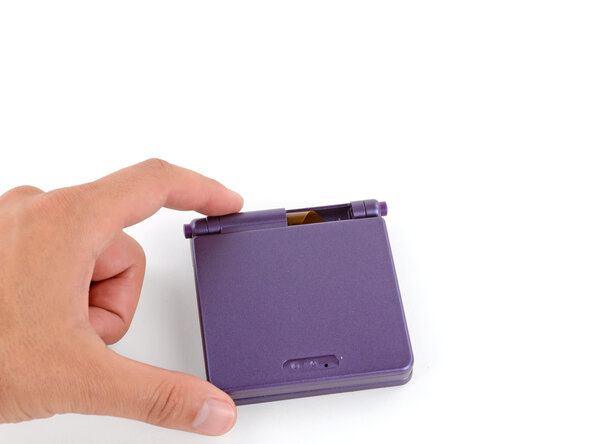
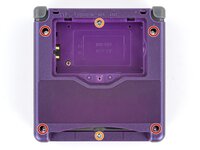
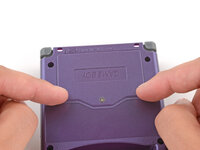
Slide the power switch to the OFF position and unplug any cables.
-
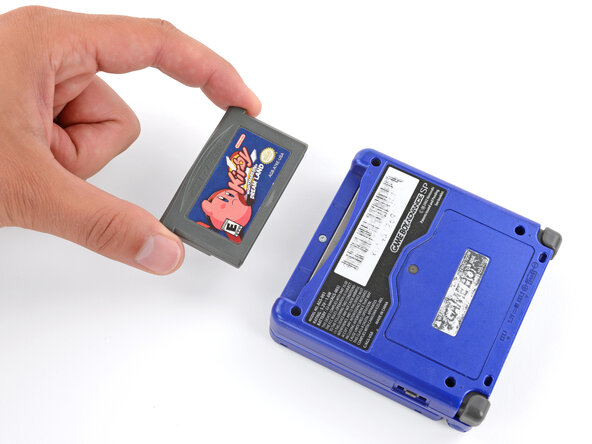
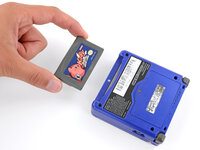
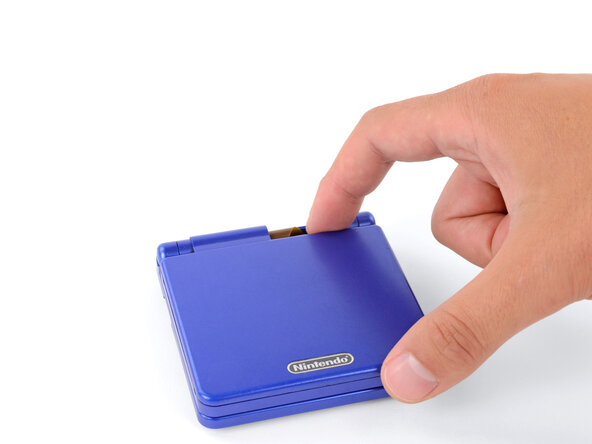
If you have a game cartridge in, remove it.
-
-
-
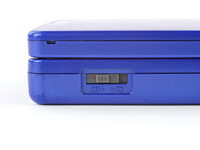
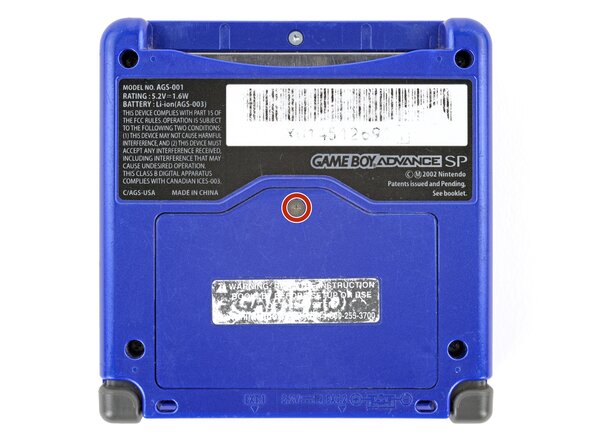
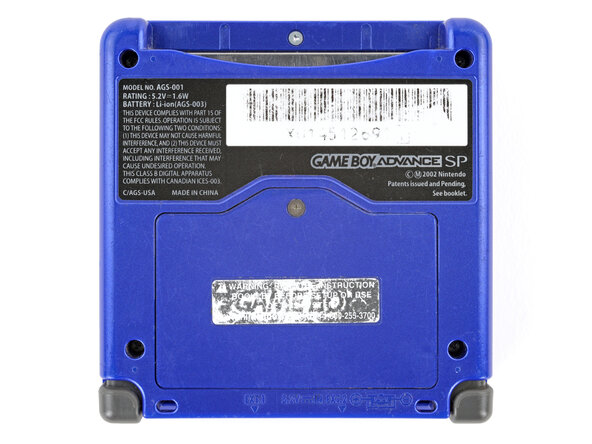
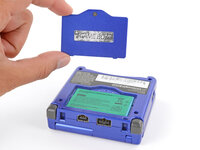
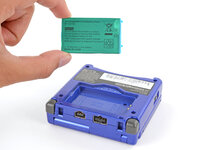
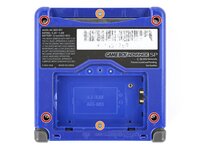
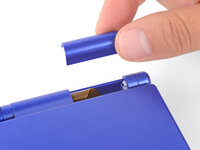
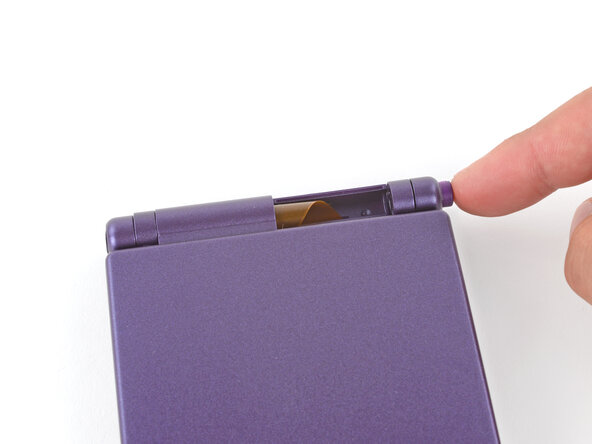
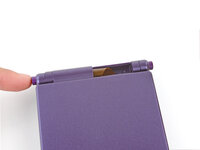
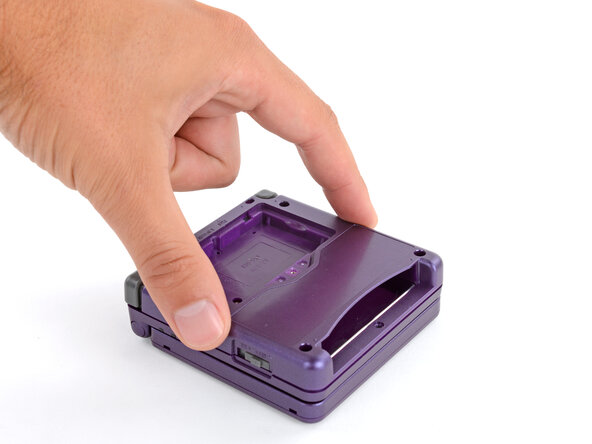
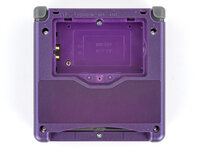
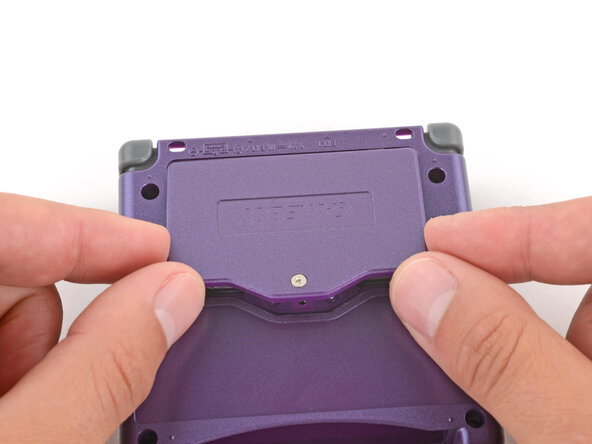
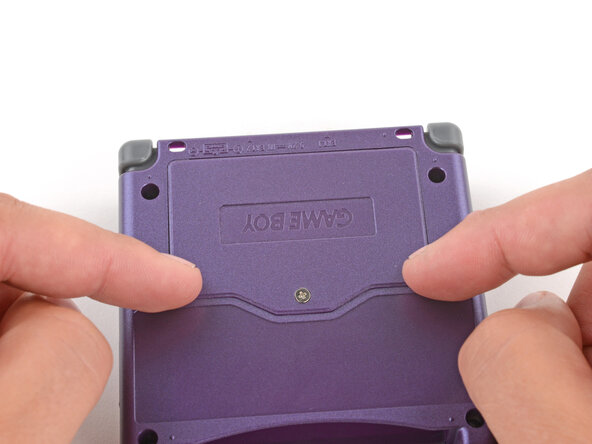
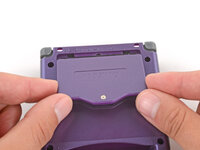
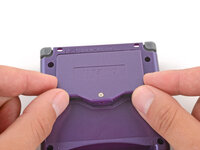
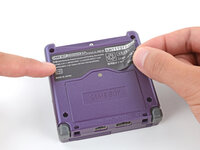
Use a JIS 00 screwdriver to loosen the captive screw securing the battery cover.
-
-
-
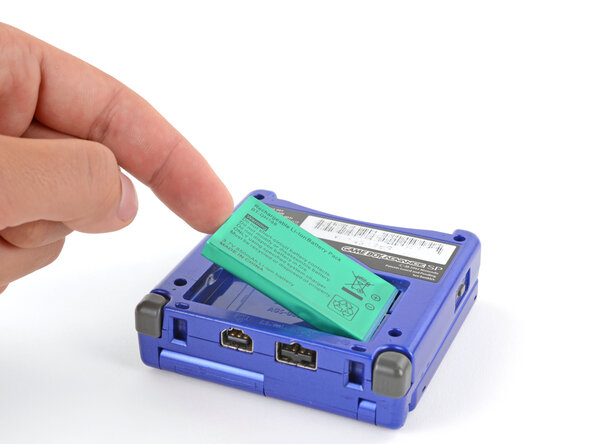
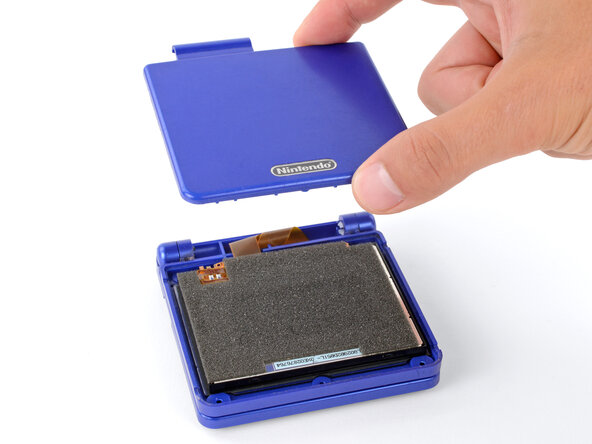
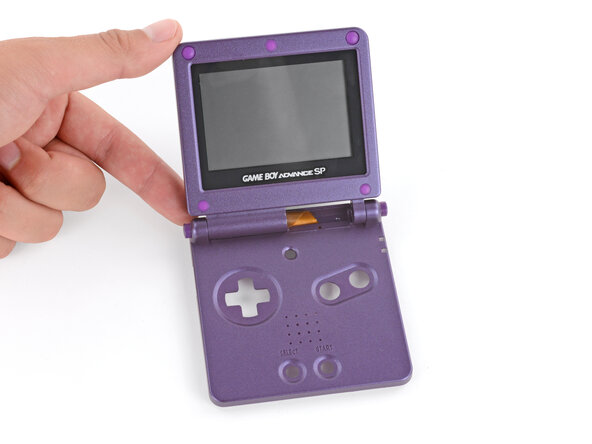
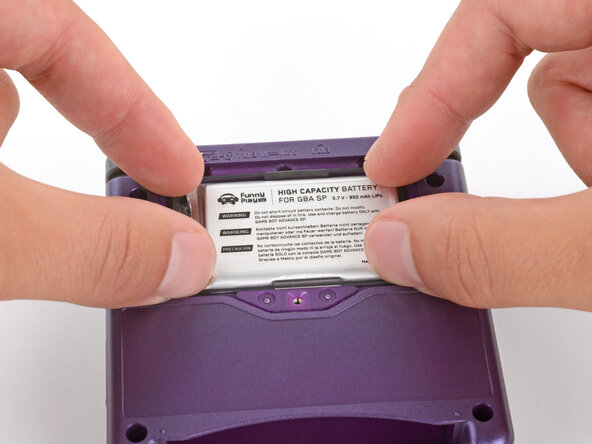
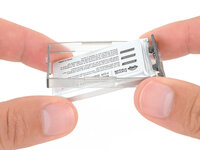
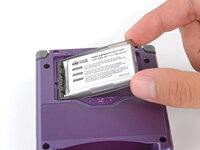
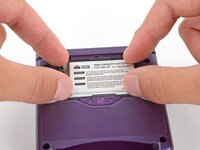
Use your finger to lift the battery by the tab on its left edge, then remove it.
-
-
-
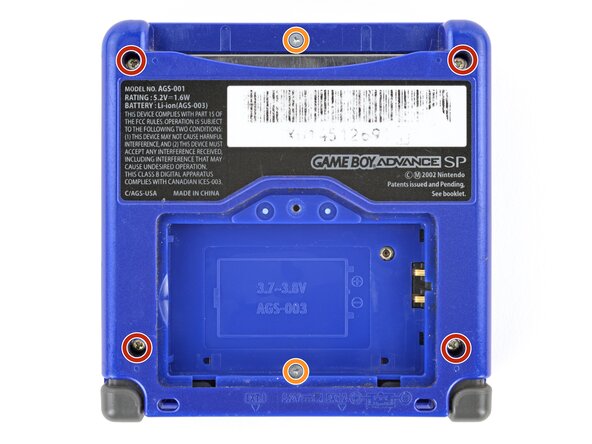
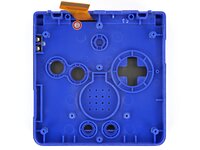
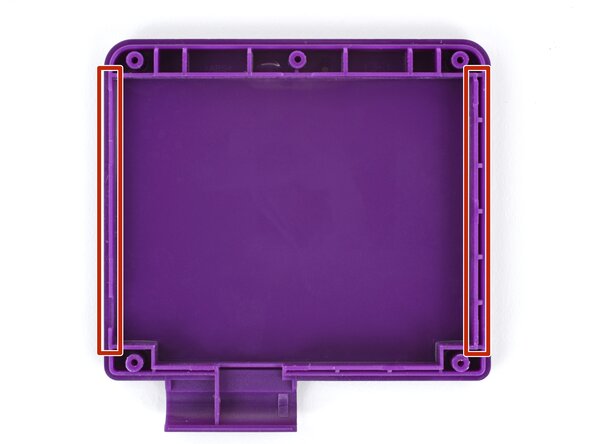
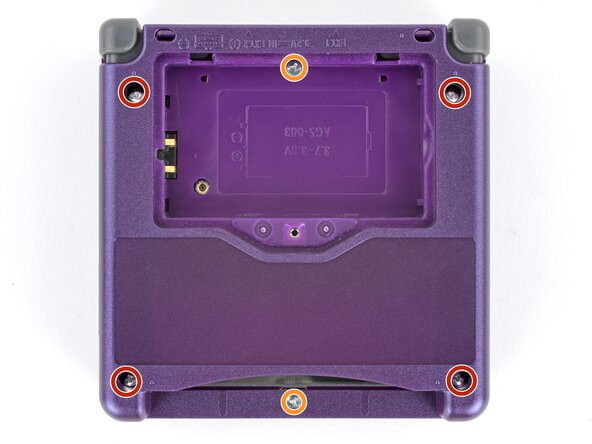
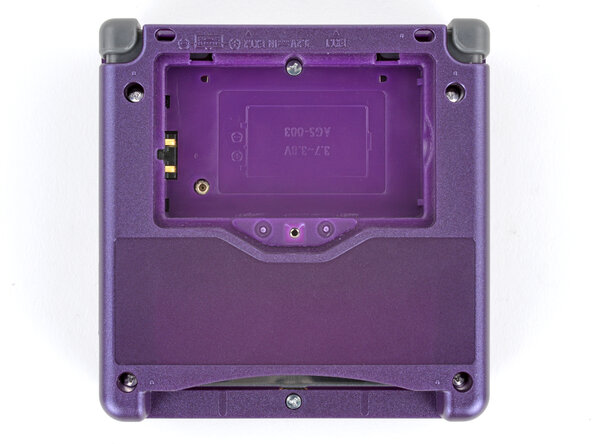
Use a tri‑point Y0 screwdriver to remove the six screws securing the bottom shell:
-
Four 6.3 mm‑long recessed screws
-
Two 4.6 mm‑long screws
-
-
-
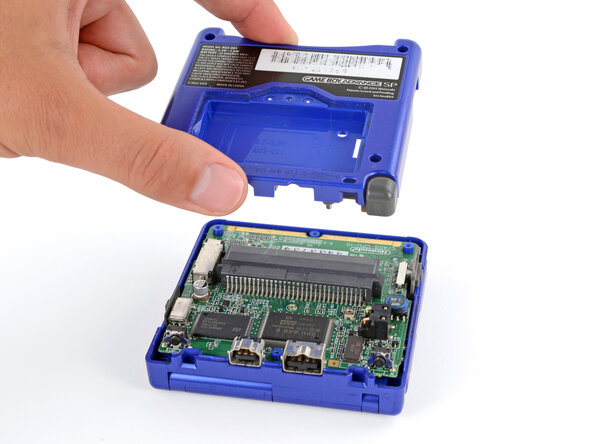
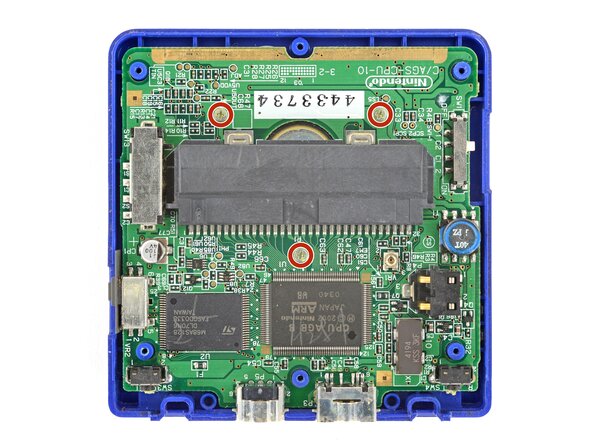
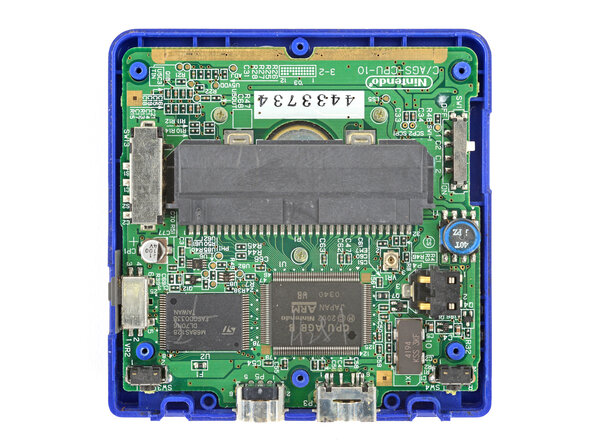
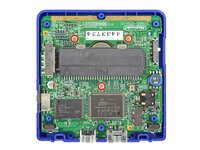
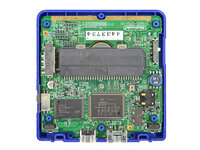
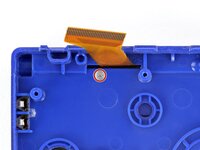
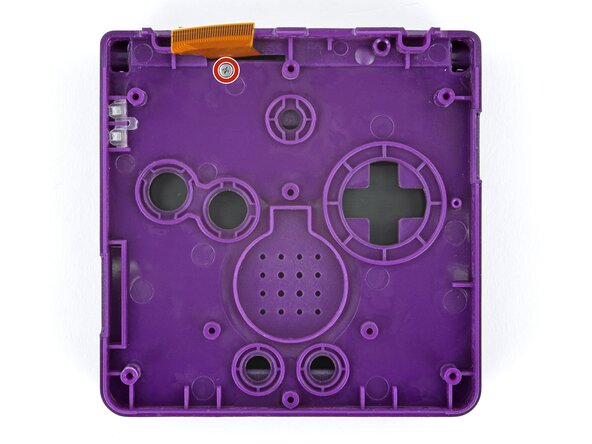
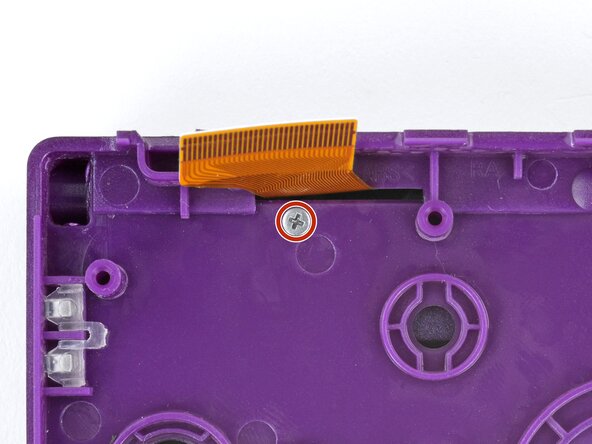
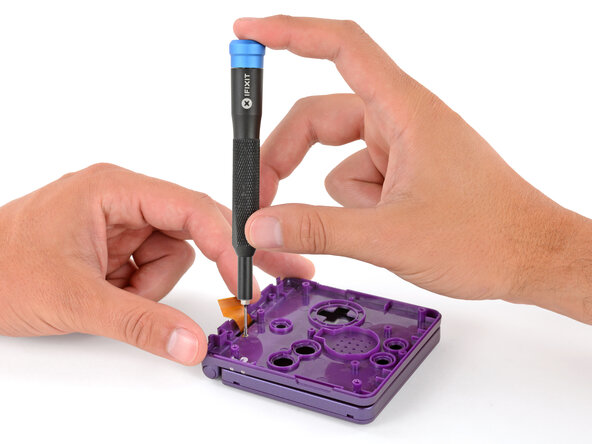
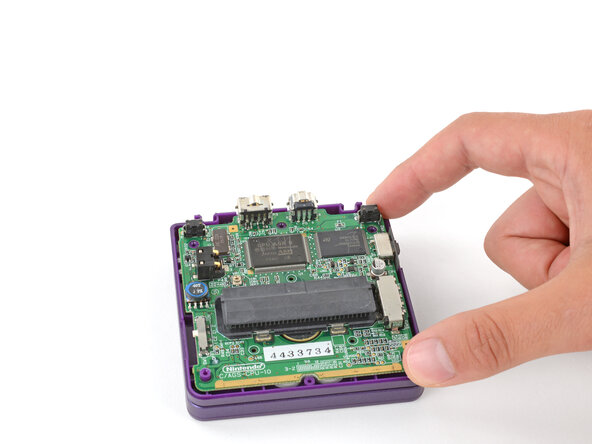
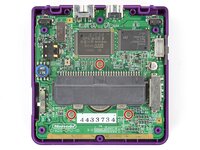
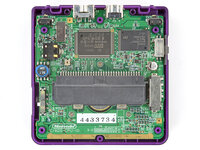
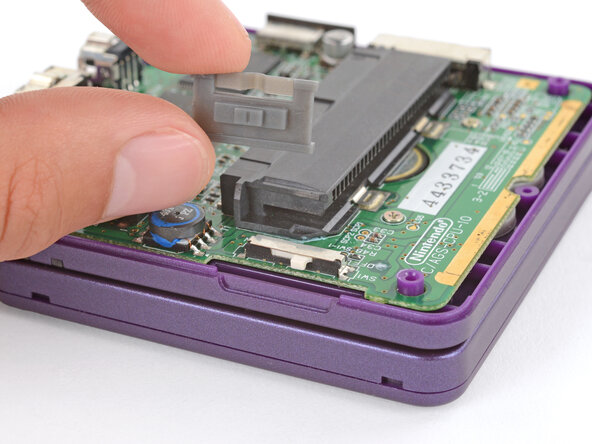
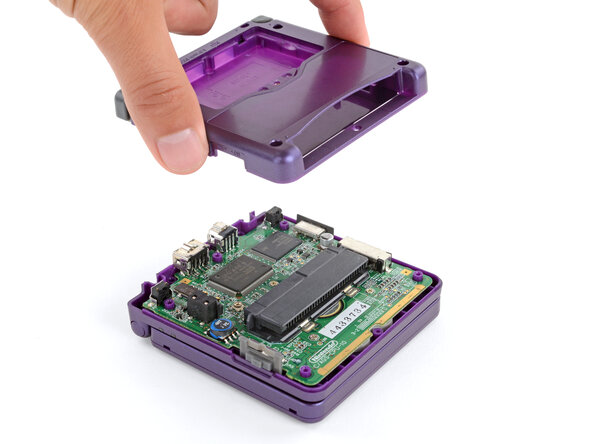
Use a JIS 00 screwdriver to remove the three 4.1 mm‑long screws securing the motherboard.
-
-
-
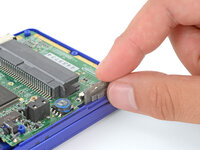
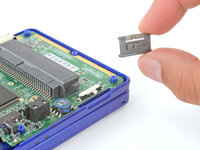
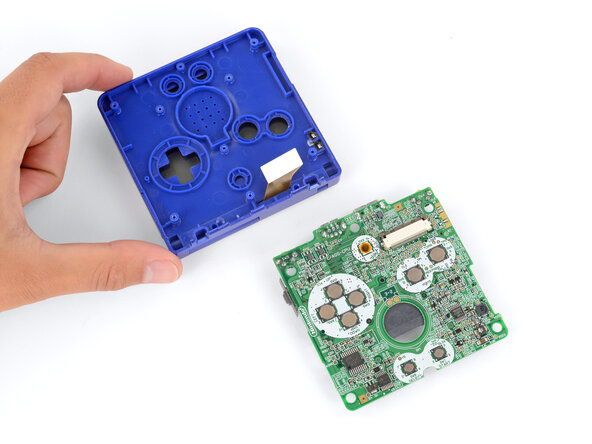
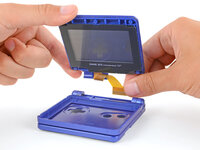
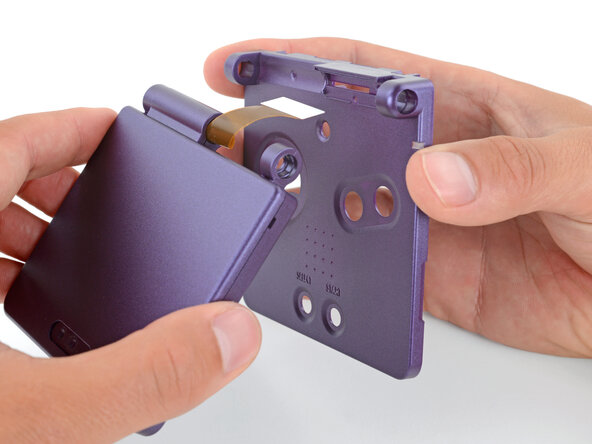
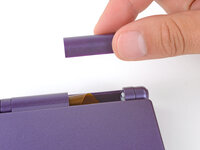
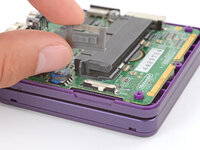
Use your fingers to lift and remove the power switch cover.
-
-
-
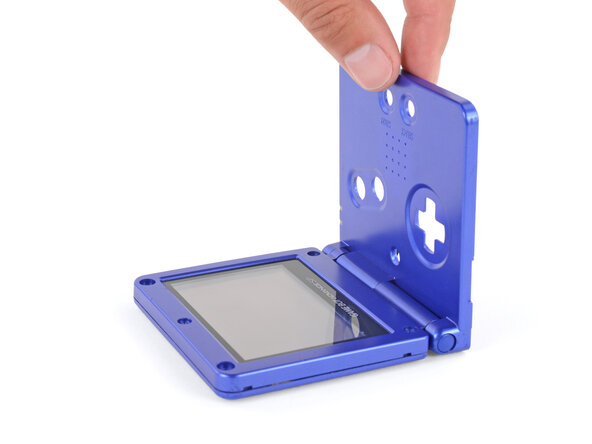
Place a sturdy object such as a stack of books or tool case along the edge of your Game Boy with the hinges.
-
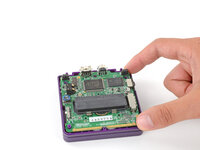
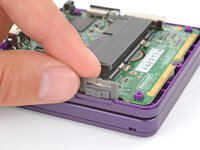
Use your fingers to gently flip the motherboard over the hinges and prop it up.
-
-
-
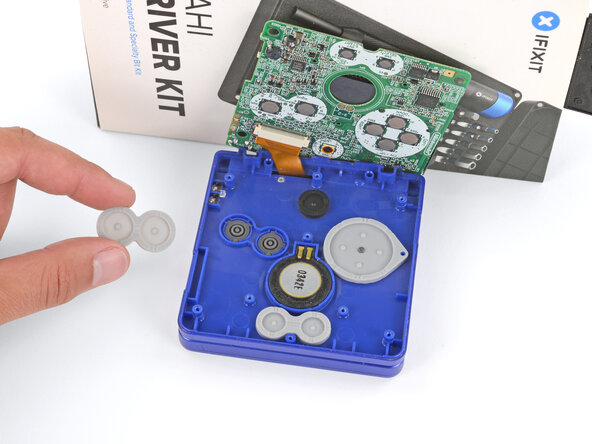
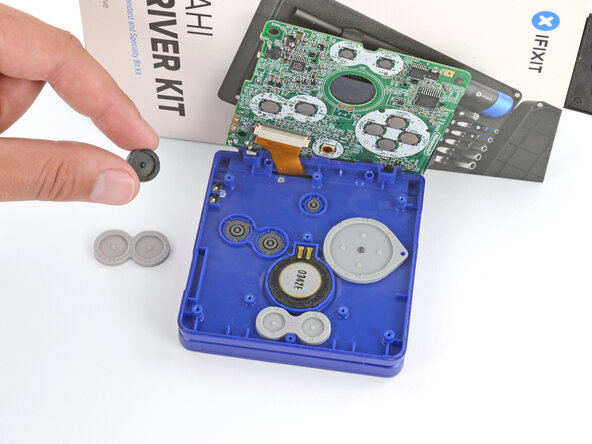
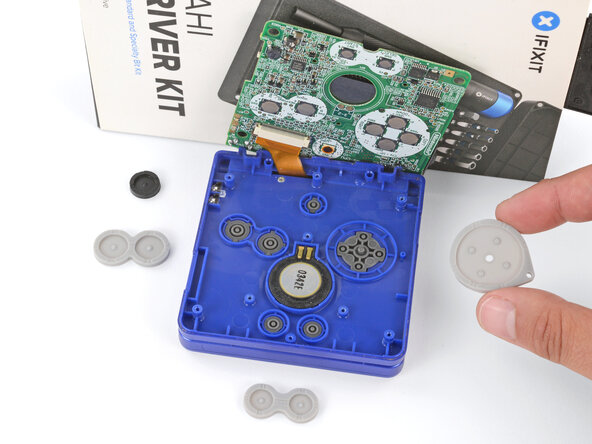
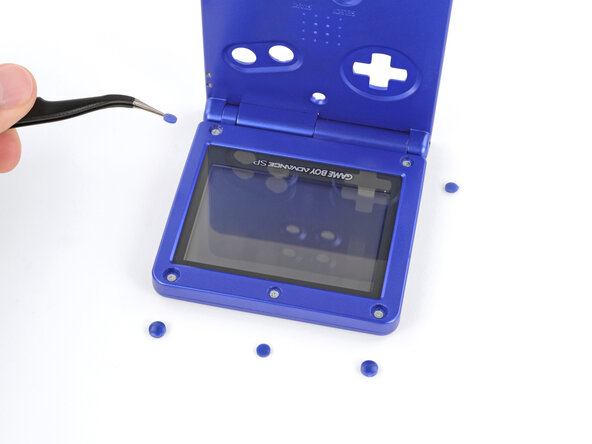
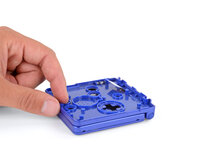
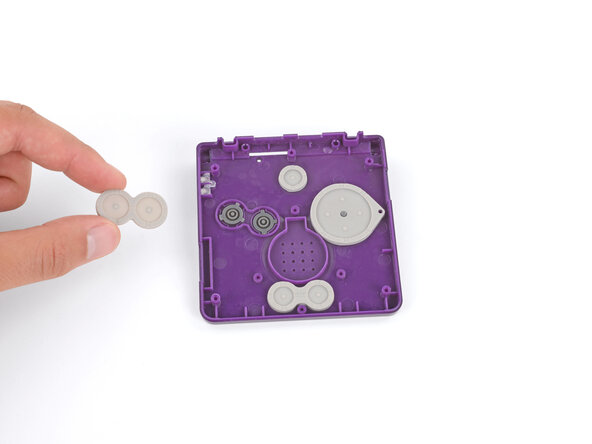
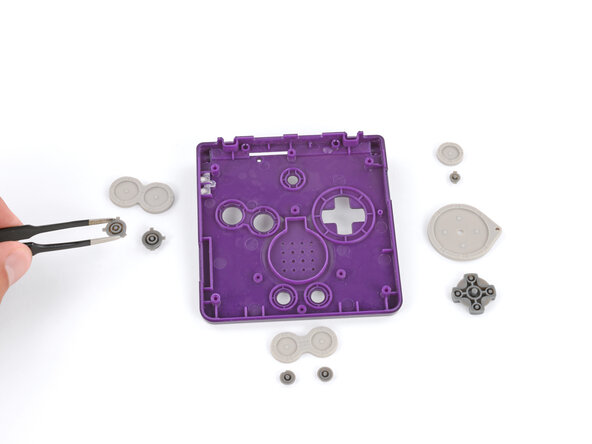
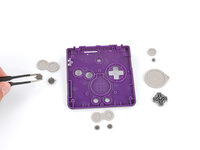
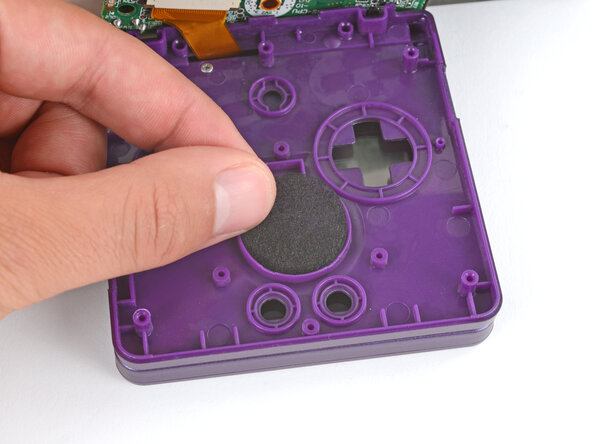
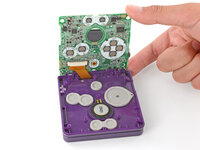
Use tweezers or your fingers to remove the four silicone pads covering the buttons (A and B, D‑pad, brightness, and Start/Select).
-
-
-
Use tweezers or your fingers to remove the buttons (A and B, D‑pad, brightness, and Start/Select).
-
-
-
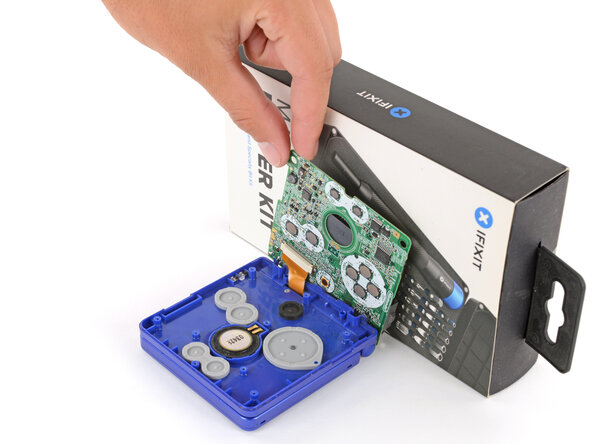
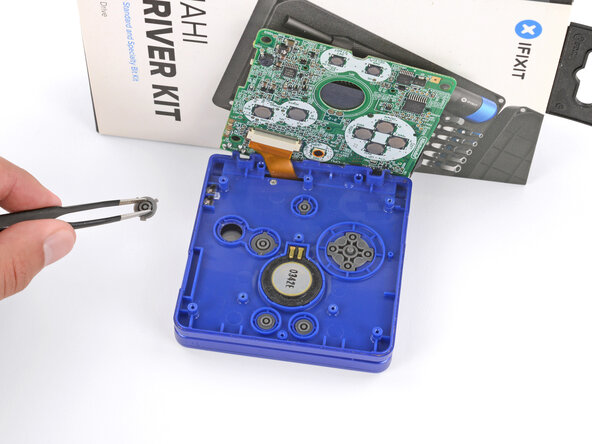
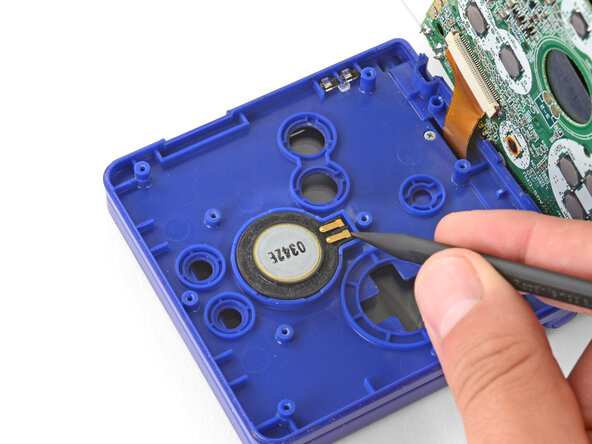
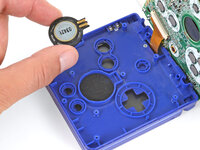
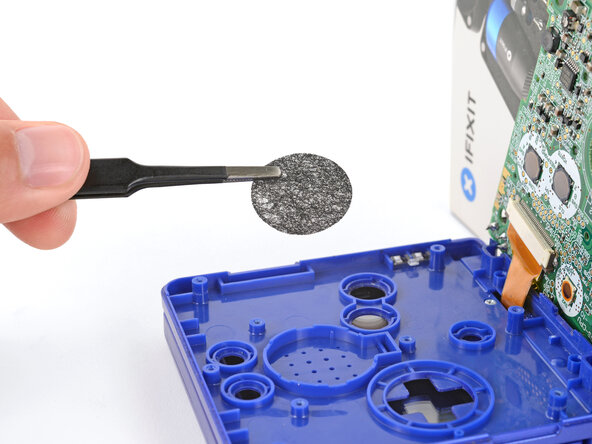
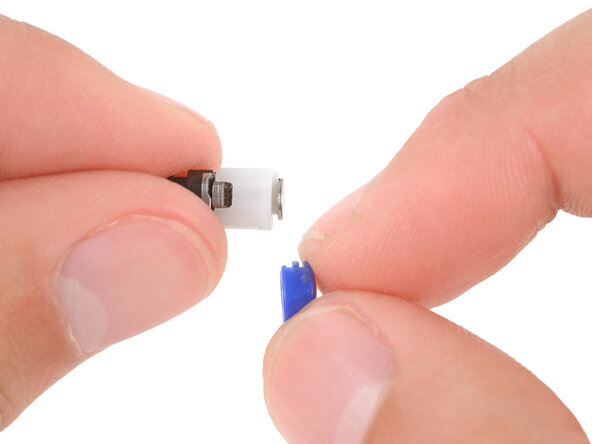
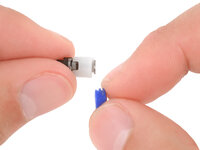
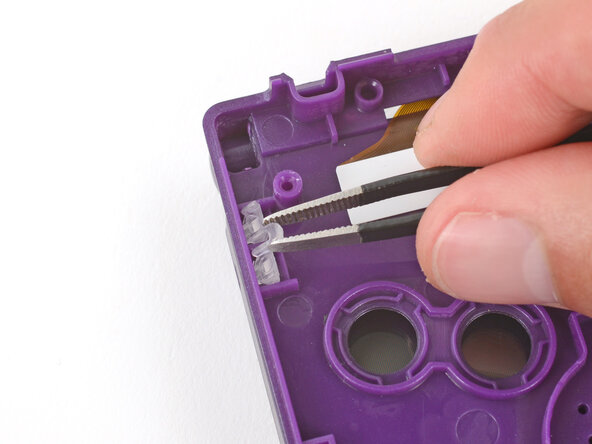
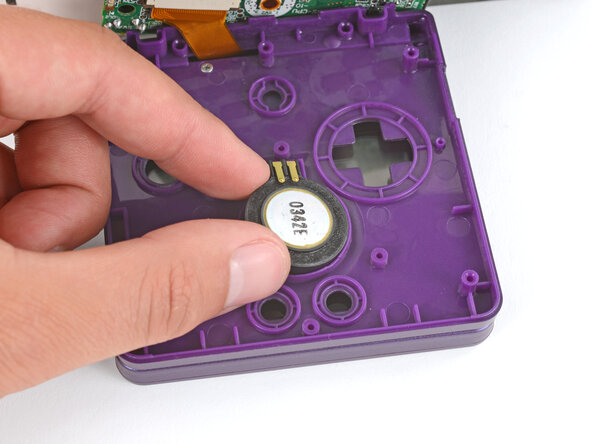
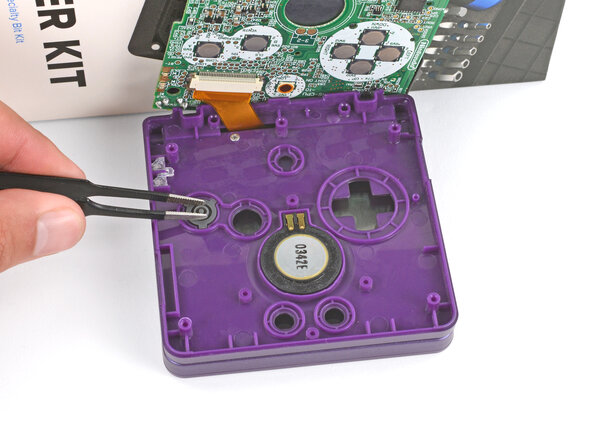
Use the point of a spudger or a clean fingernail to lift the speaker until you can grip it with your fingers.
-
Remove the speaker.
-
-
-
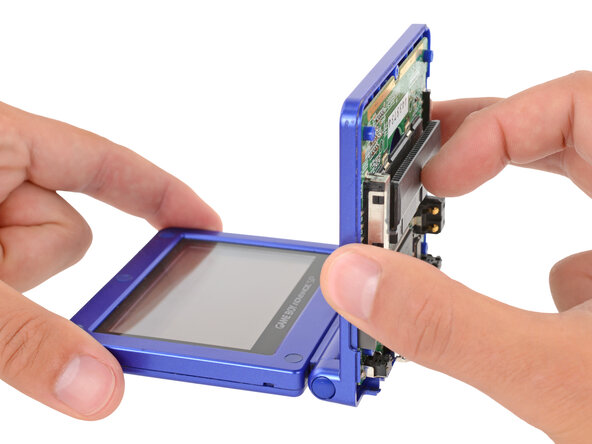
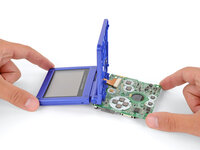
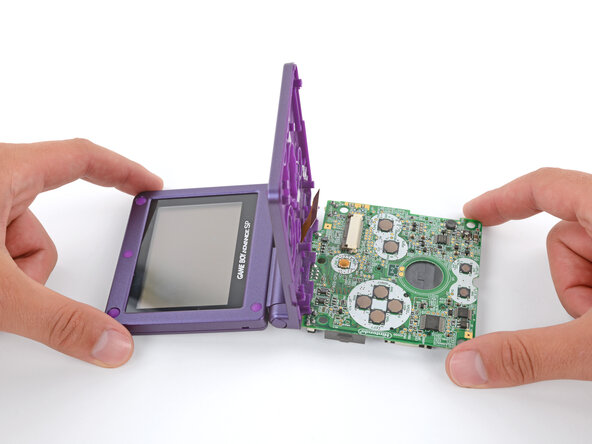
Option 1: Open the main body of your Game Boy to a 90‑degree angle and gently lay the motherboard down. Make sure the main body is resting on top of the motherboard to give the cable slack.
-
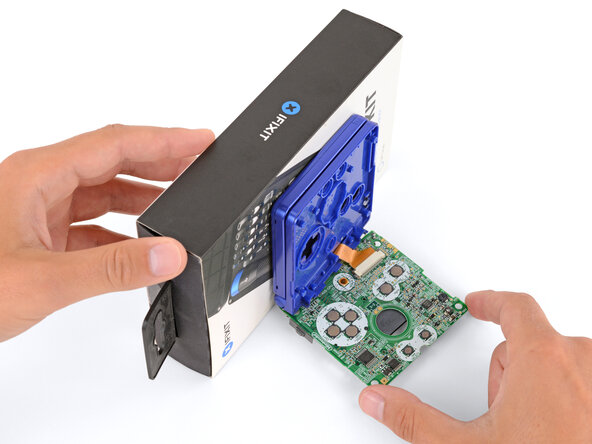
Option 2: Keep the main body closed and prop it up on the edge of the logic board, using a sturdy object to hold it up.
-
-
-
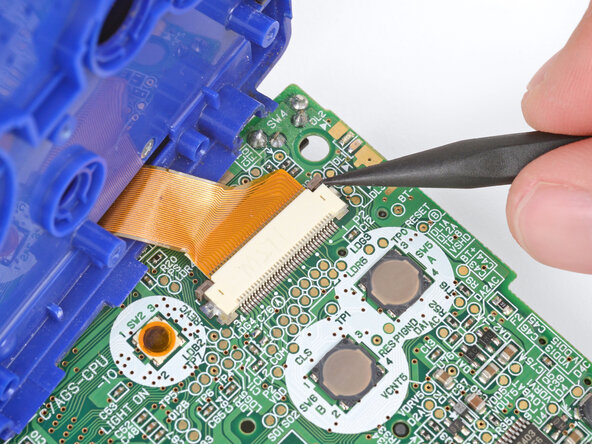
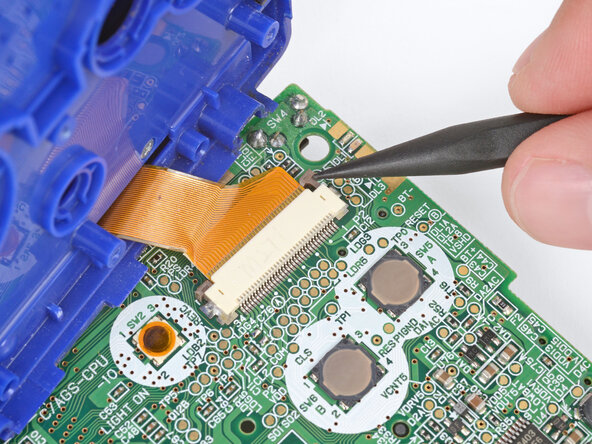
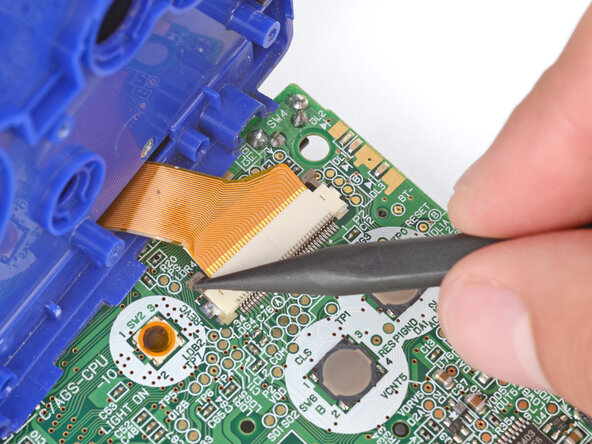
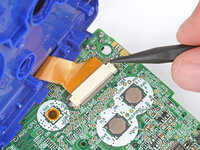
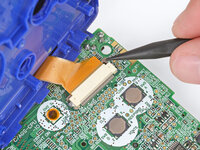
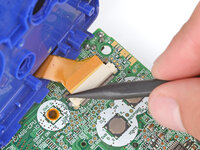
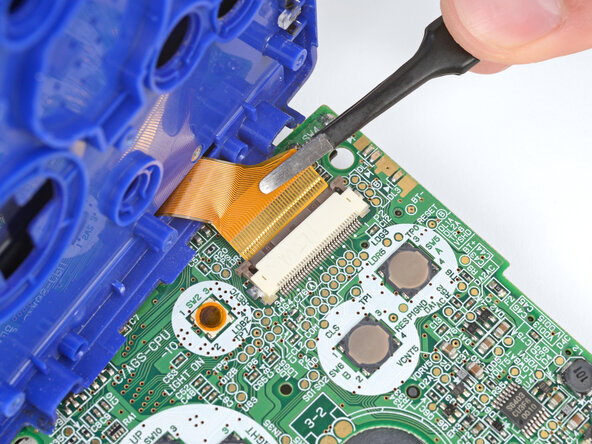
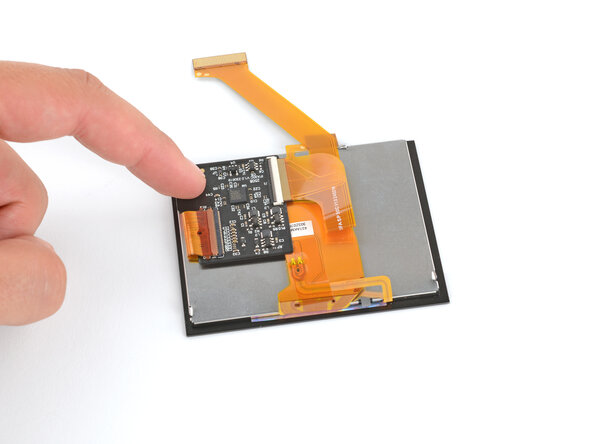
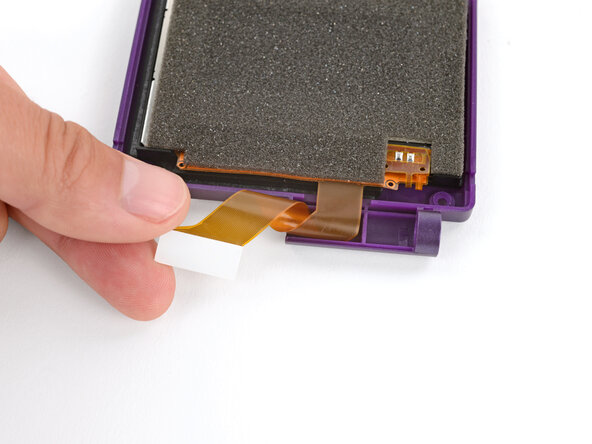
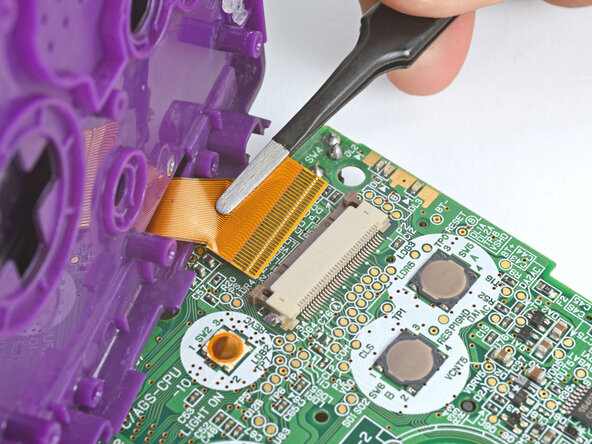
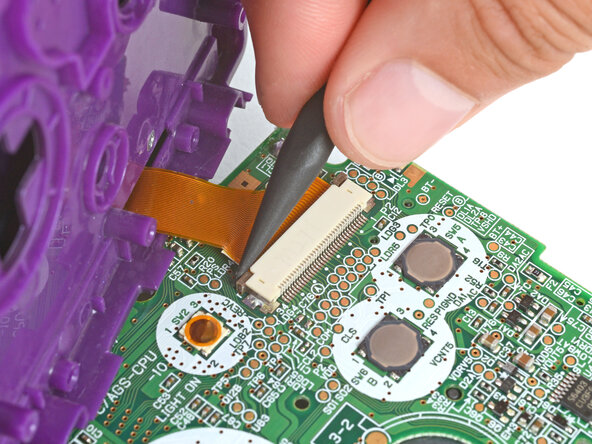
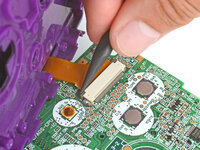
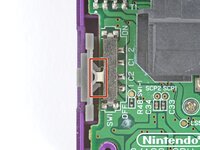
Use the point of a spudger to push the two tabs on either side of the screen cable connector into the unlocked position.
-
-
-
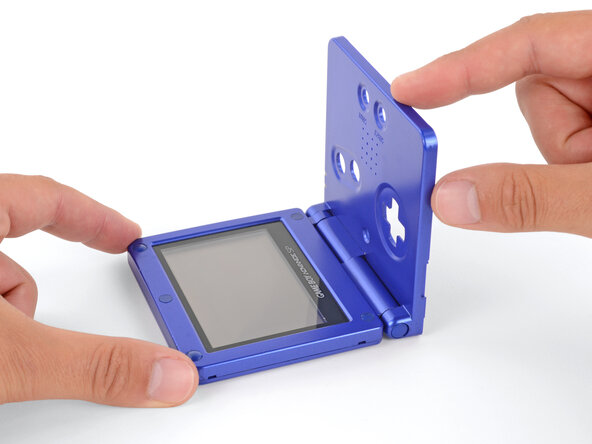
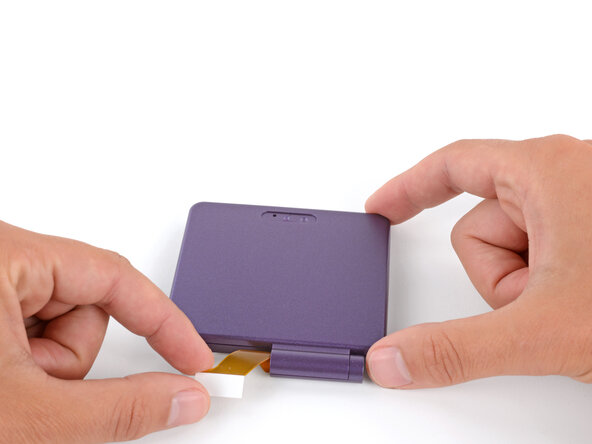
Open your Game Boy to a 90‑degree angle and set it down so the screen is facing up.
-
-
-
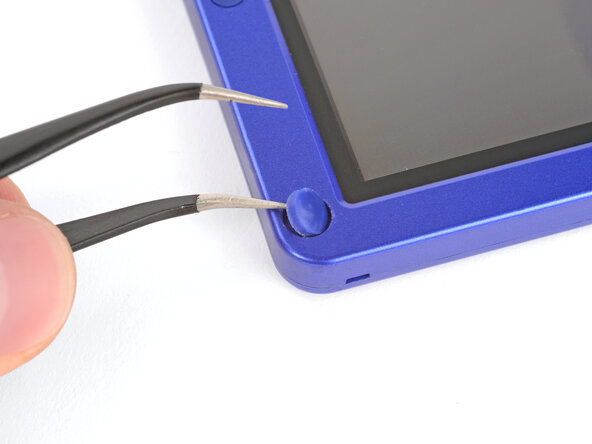
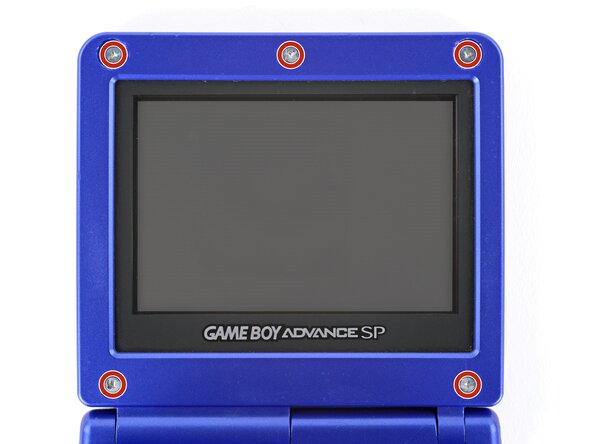
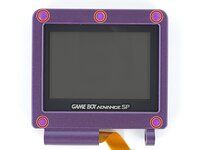
Use a pair of angled tweezers to pry up and remove all five rubber screw covers.
-
-
-
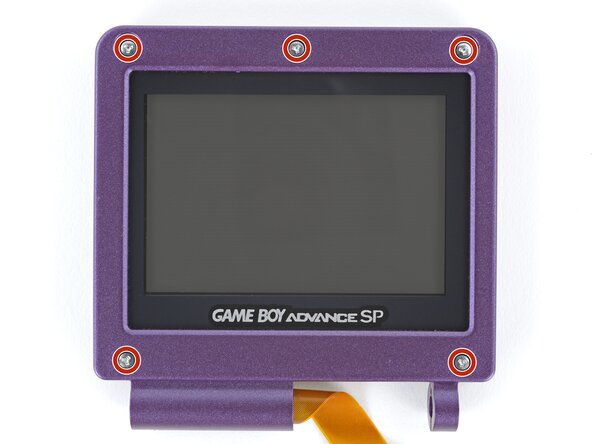
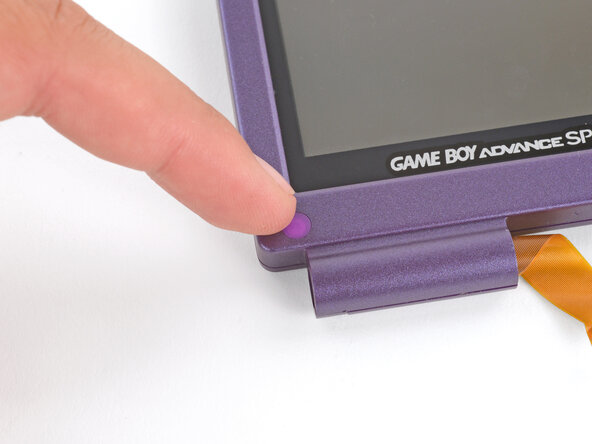
Use a tri‑point Y0 screwdriver to remove the five 4.7 mm‑long screws securing screen shells together.
-
-
-
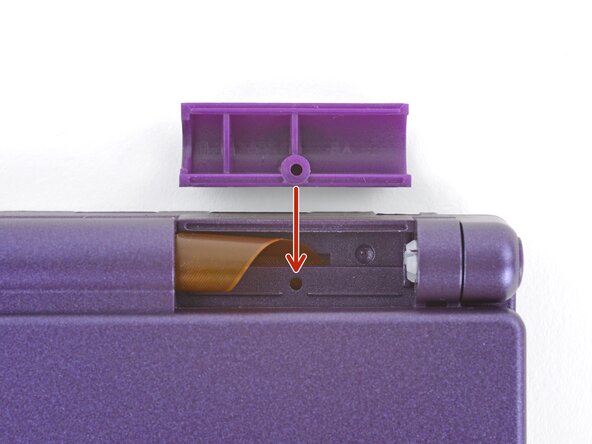
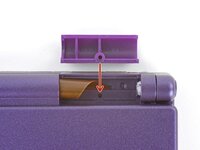
Use a JIS 00 screwdriver to remove the 6.3 mm‑long screw securing the hinge cover.
-
-
-
-
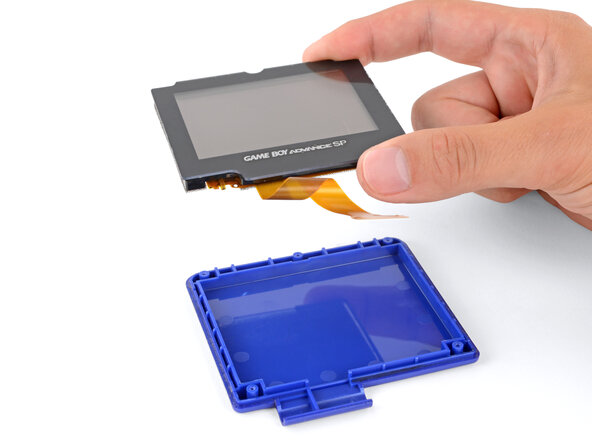
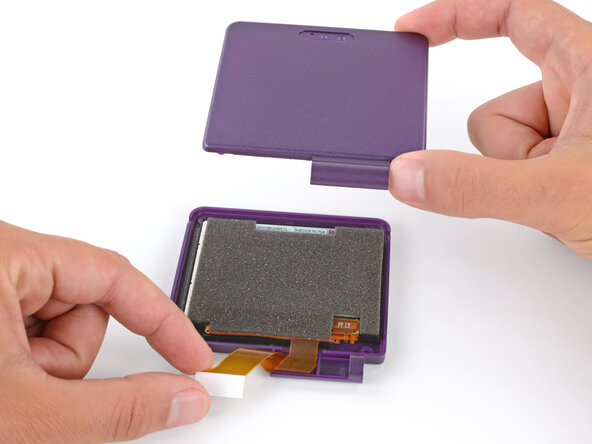
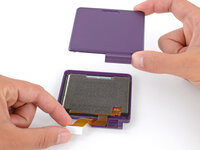
Use your fingers to lift and remove the screen, threading the cable through its cutout.
-
-
-
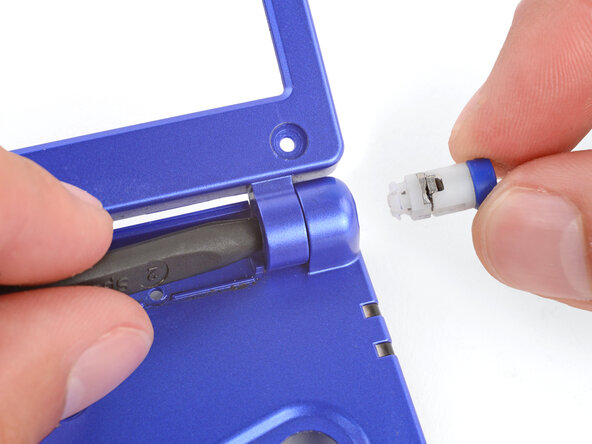
Use the flat end of a spudger to push both hinges partially out of their sockets.
-
-
-
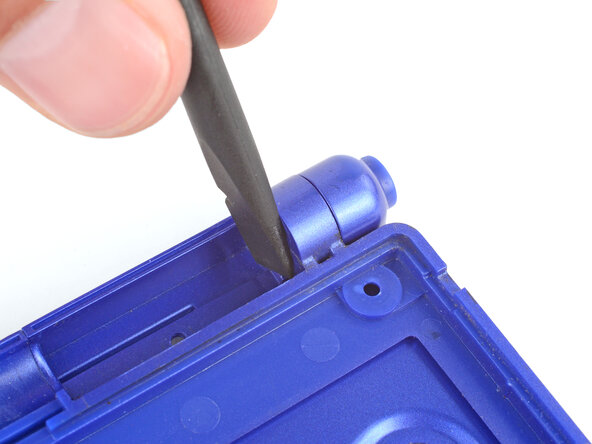
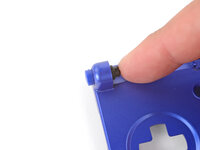
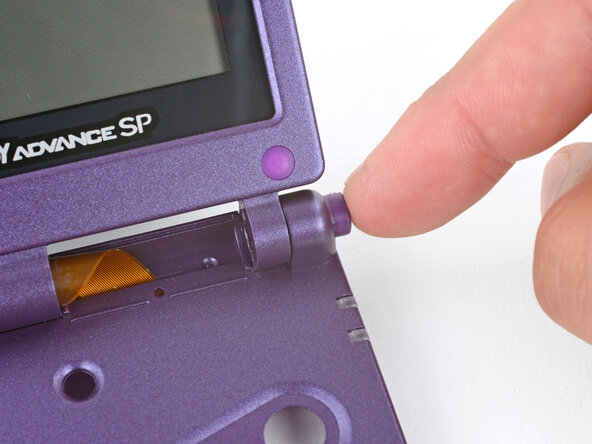
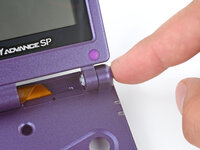
Use the point of a spudger to push the right hinge fully out of its socket and remove it.
-
-
-
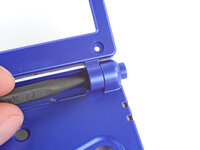
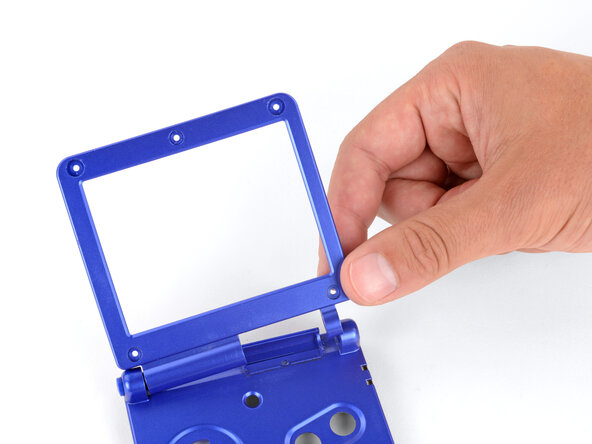
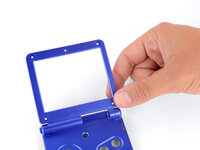
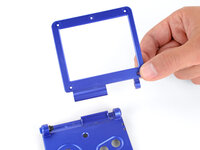
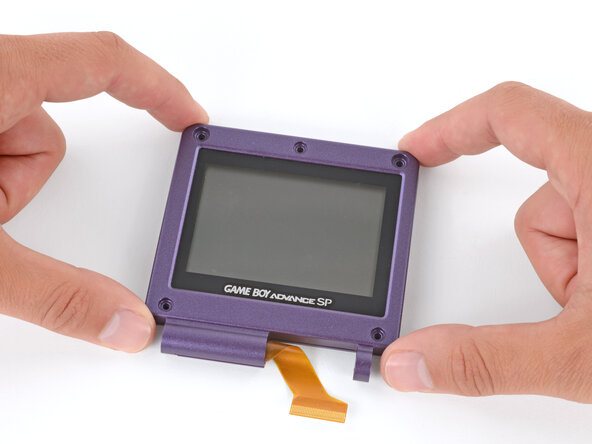
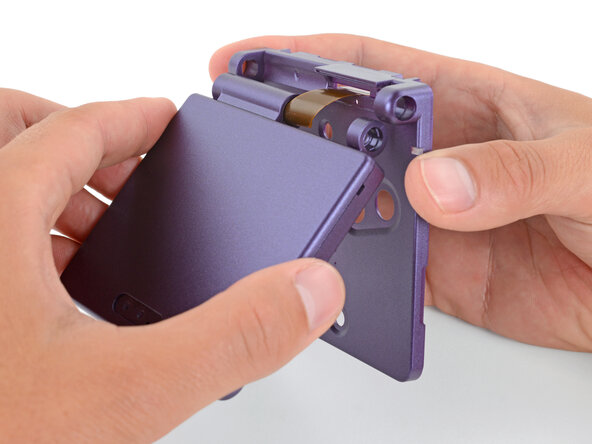
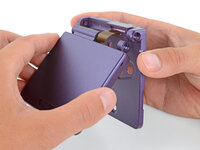
Use your fingers to gently lift the right side of the screen bezel.
-
Pull the screen bezel to the right—so it slides out of the left hinge—and remove it.
-
-
-
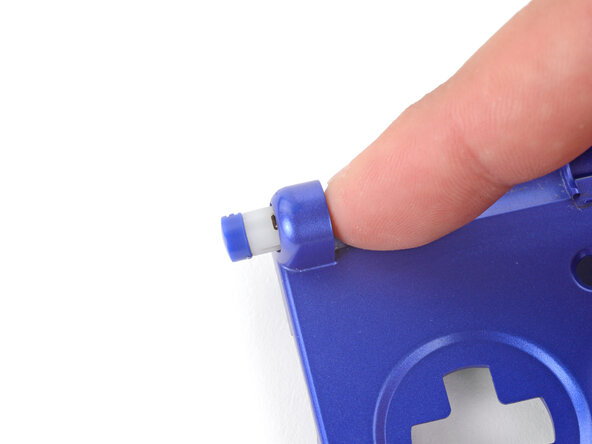
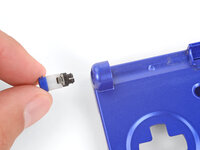
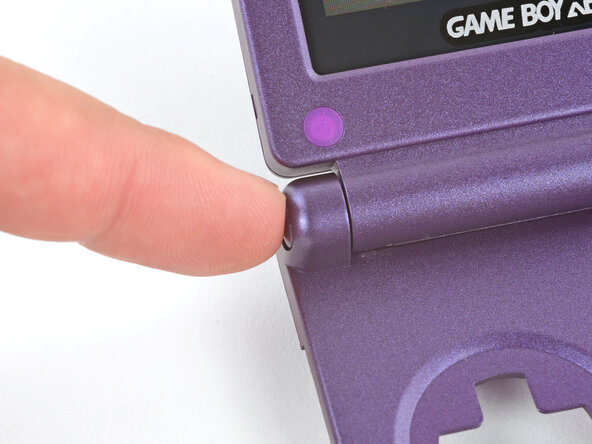
Use your finger to push the left hinge out of its socket and remove it.
-
-
-
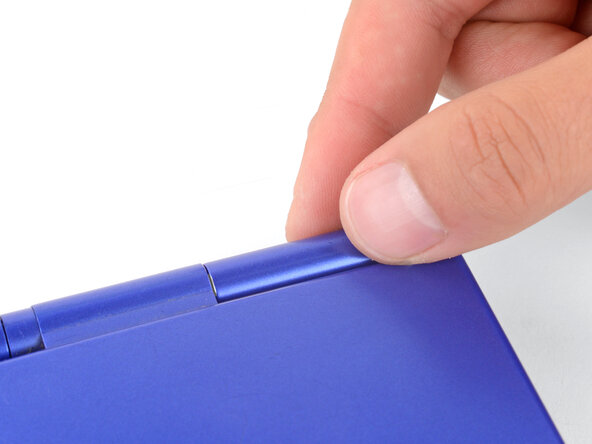
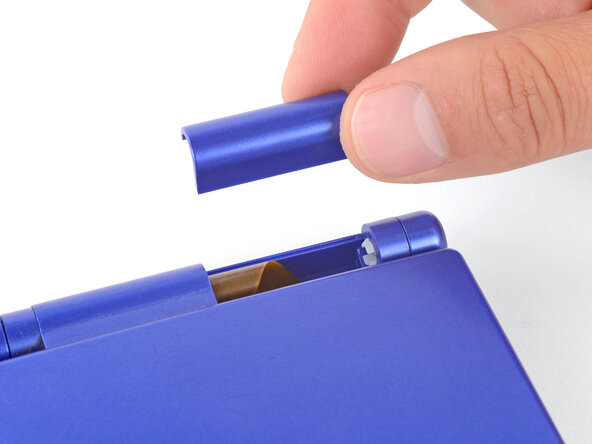
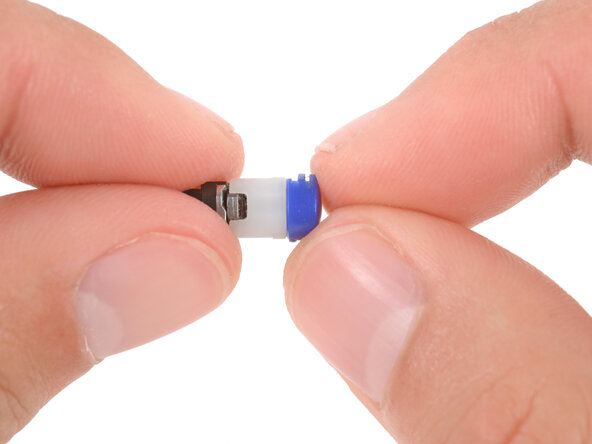
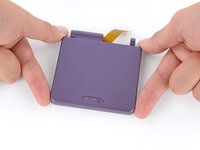
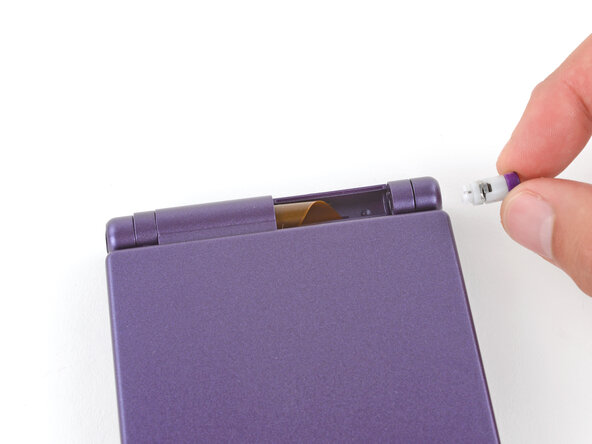
Use your fingers to firmly slide the plastic caps off of the hinges, at a perpendicular angle to the hinge.
-
Slide your new caps onto the hinges until they click into place.
-
-
-
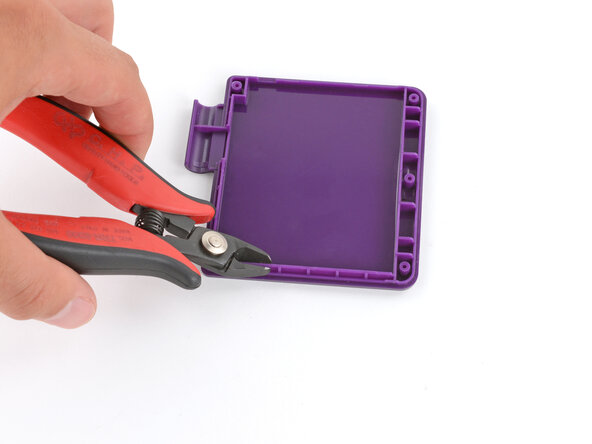
Some IPS screens are bigger than the original. You may need to use flush cutters to trim one of the plastic side rails to make room for your replacement screen.
-
Your replacement screen may come with a small extra board and ribbon cable(s). The board will likely need to be adhered to the back of the screen, and the ribbon cable will connect to the board. Check the board and any cables for adhesive backings, and follow any manufacturer instructions.
-
-
-
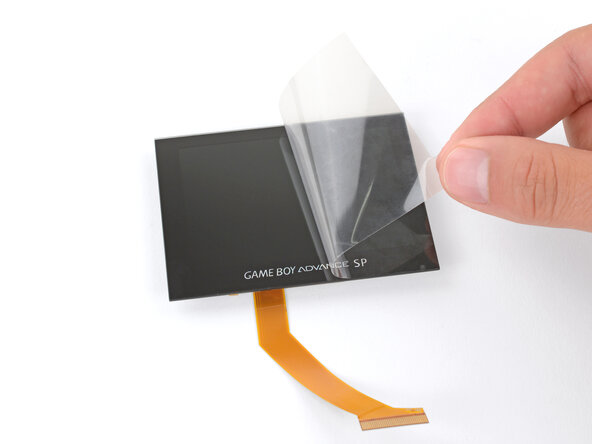
Make sure your screen has the large foam pad installed on the backside.
-
If you're installing a new screen, remove any protective liners.
-
-
-
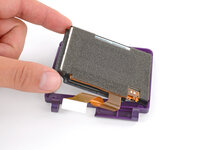
Lay the screen display‑side-down into its inner shell, so the cable is near the hinge sockets.
-
-
-
Carefully twist the screen cable to make one loop and hold it in place.
-
-
-
While keeping the screen cable looped, use your free hand to place the exterior screen shell into place over the screen.
-
-
-
Hold the screen shells firmly together and flip them over so the screen is facing up.
-
Continue holding the two halves of the screen shell together for the next step.
-
-
-
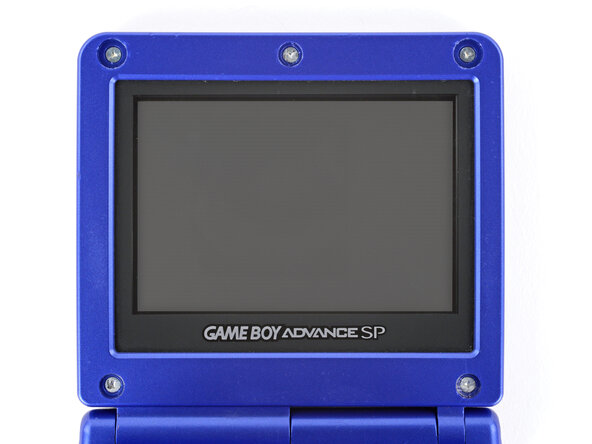
Use a tri‑point Y0 screwdriver to install the five 4.7 mm‑long screws securing the screen shells together.
-
-
-
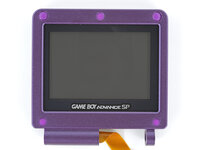
Use your finger to install the five rubber screw covers, pushing them firmly into place.
-
-
-
If your replacement button shell has silicone pads and buttons installed, use tweezers or your fingers to remove them and set them aside for now.
-
-
-
Hold the screen in one hand and the button shell in the other.
-
Thread the screen cable through its cutouts, slide the hinge sockets into place, and fully close the shells together.
-
-
-
Use your finger to push the hinges fully into their sockets—they should click into place.
-
-
-
Use your fingers to put the hinge cover into place, with the screw hole closest to the screen.
-
-
-
Hold the hinge cover and main body together and flip your Game Boy over, so the button cutouts face up.
-
-
-
Use a JIS 00 screwdriver to install the 6.3 mm‑long screw securing the hinge cover.
-
-
-
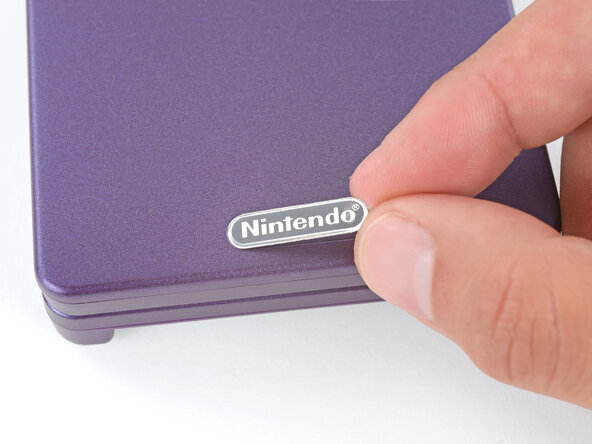
If your replacement button shell doesn't have an LED diffuser installed, transfer it from your original shell to the new one.
-
-
-
Option 1: Open the main body of your Game Boy to a 90‑degree angle. With the screen facing up, rest the hinges on the edge of the motherboard closest to the screen cable connector.
-
Option 2: Place the motherboard next to a sturdy object, such as a stack of books or tool case, so the side with the screen cable connector is up against it. With the Game Boy closed, prop it up so the hinges are on the motherboard and the screen cable is near its connector.
-
-
-
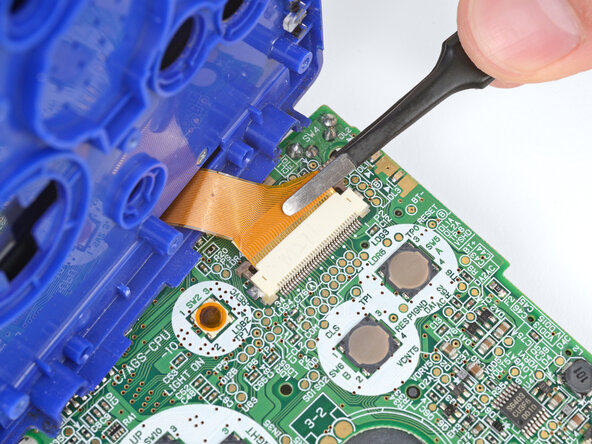
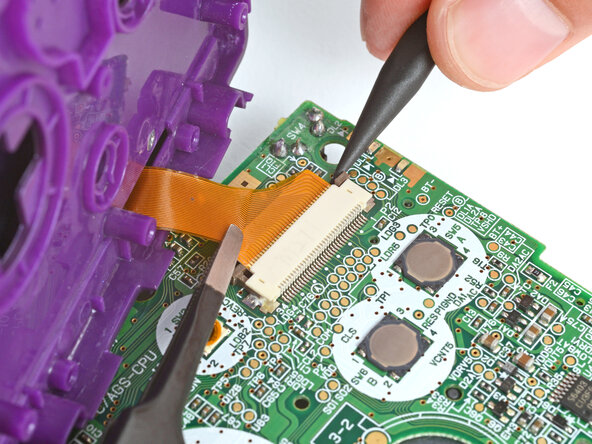
Use a pair of tweezers to slide the screen cable fully into its connector.
-
-
-
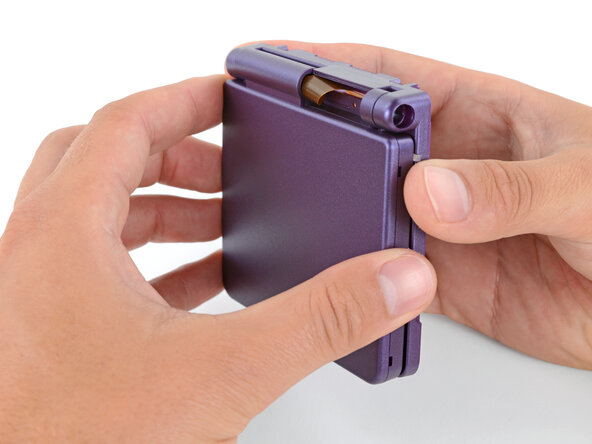
With the Game Boy closed, place it screen-down on your work surface.
-
Place a sturdy object along the edge of your Game Boy with the hinges.
-
Use your fingers to gently flip the motherboard over the hinges and prop it up.
-
-
-
Place the speaker mesh into the speaker recess.
-
With the gold spring contacts facing up, place the speaker into its recess.
-
-
-
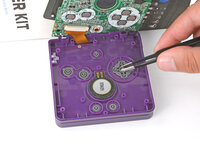
Use tweezers or your fingers to place all the buttons into their recesses.
-
Lay the four silicone pads into place over the buttons.
-
-
-
Use your fingers to gently lower the motherboard into place, making sure all the screw posts go through their cutouts.
-
-
-
Use a JIS 00 screwdriver to install the three 4.1 mm‑long screws securing the motherboard.
-
-
-
If the power switch cover is preinstalled in the new bottom shell, remove it—you'll install it in the next step.
-
-
-
Use your fingers to put the power switch cover (notched side up) into place so the cutout goes around the actual switch.
-
Gently slide the cover back and forth to make sure it's positioned properly and moving the switch.
-
-
-
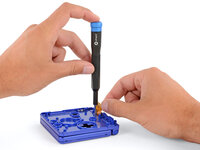
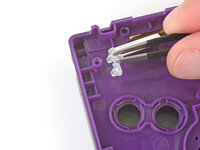
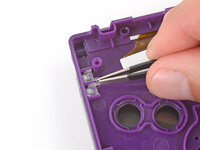
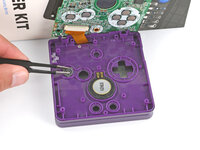
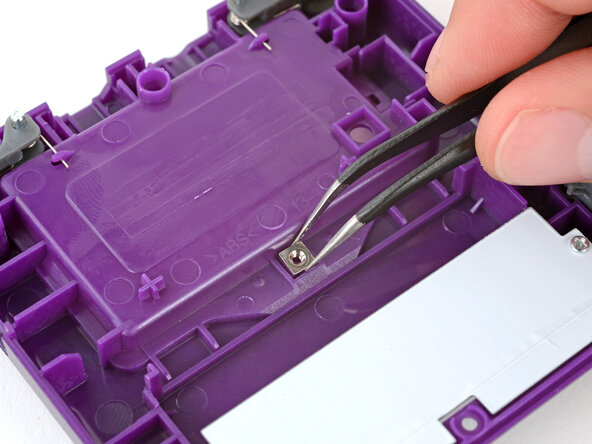
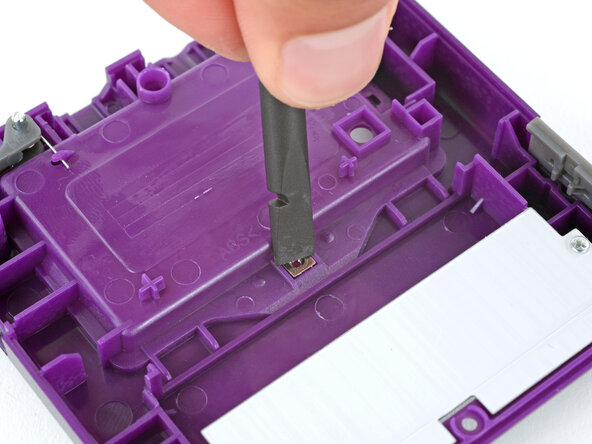
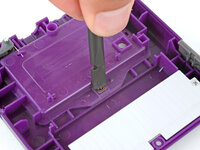
Use tweezers to place the captive nut into its recess in the center of the bottom shell.
-
Use the flat end of a spudger to firmly push the nut fully into its recess.
-
-
-
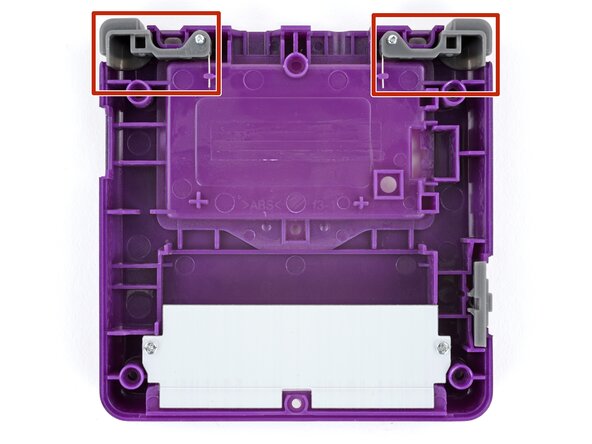
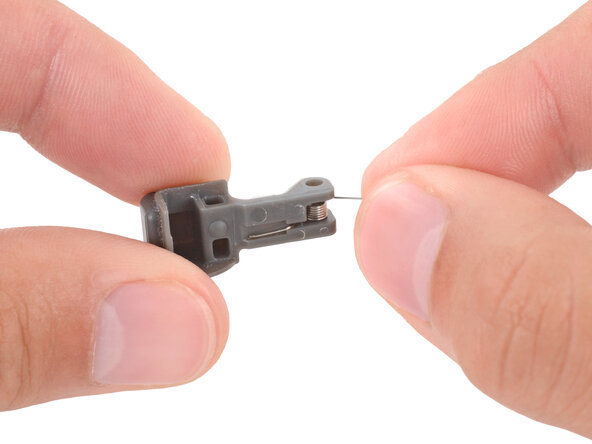
If shoulder buttons aren't already installed in your bottom shell, follow this guide to install them.
-
-
-
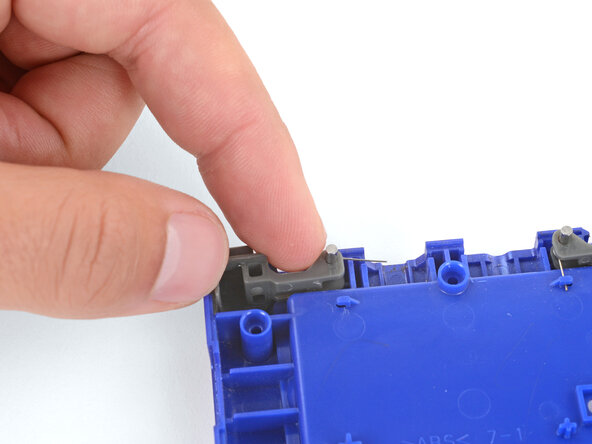
Place the bottom shell onto your Game Boy, making sure the shoulder buttons and power switch cover correctly slot into place.
-
While holding the shells together, test the shoulder buttons. If something doesn't feel right, remove the bottom shell and re‑seat it.
-
-
-
Use a tri‑point Y0 screwdriver to install the six screws securing the bottom shell:
-
Four 6.3 mm‑long recessed screws
-
Two 4.6 mm‑long screws
-
-
-
-
Slide the small tabs on the long edge of the battery into their cutouts and lay the cover into place.
-
-
-
Use a JIS 00 screwdriver to tighten the captive screw securing the battery cover.
-
-
-
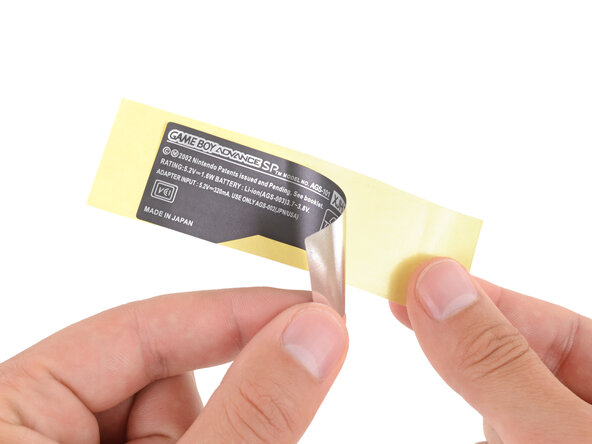
If your kit comes with replacement stickers, peel them off their liners, align them, and press them into place.
-


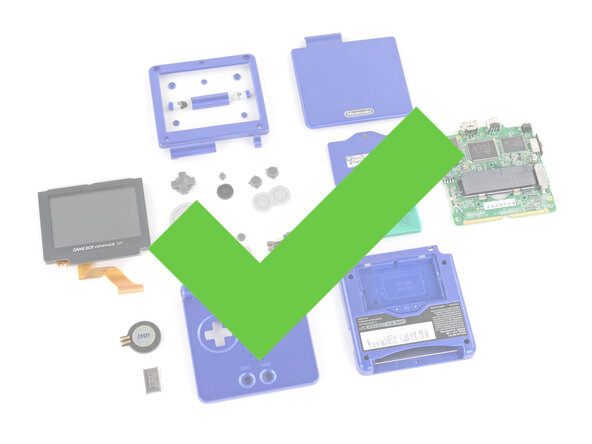


Congratulations on reshelling your Game Boy Advance SP!
Take your e-waste to an R2 or e-Stewards certified recycler.
Repair didn’t go as planned? Try some basic troubleshooting, or ask our Answers Community for troubleshooting help.
Cancel: I did not complete this guide.
23 other people completed this guide.

6 Guide Comments
Excellent guide thank you! My GBA is looking great now :)
Hello this guide is great but it has some flaws (missing some steps) but I used an eXtremeRate GBA SP shell and they are the best ones to go with because they have It molded in a way to remove the Nintendo logo sticker and so you can put in a ips screen with out needing to trim and it is made out of a high quality plastic and it better than other third party shell and I used purple/blue color
Thanks for the helpful guide! A couple things of note that I noticed along the way:
If you're replacing the screen lens, make sure you line it up properly so the end result isn't crooked.
Make sure to organize your screws, a mismatched screw can poke a hole through the shell.
Be gentle but firm when tightening a screw. I definitely messed up a screw or two being too forceful.
(I might be stupid) keep an eye on the battery lid screw hole. Mine ended up warping so I had to duct tape the lid to the shell.
If you're doing a button replacement too, be careful with the triggers.