Introduction
If your Samsung NP300V5A-A08US Laptop is not connecting to your Wi-Fi or experiencing intermittent internet connections you may have a faulty Wi-Fi card. Use this guide to replace the Wi-Fi card. Before beginning, make sure to completely power down your laptop and remove any external devices and chargers.
What you need
-
-
Make the laptop is powered down and completely off before continuing.
-
Unplug all power cords and USB devices that are connected to the computer.
-
Using a Phillips #00 screwdriver, remove the 4.5mm screw on the panel located at the bottom right of the computer.
-
-
-
Pry apart the plastic clips near the screw hole using a flat head screwdriver.
-
Use your finger and the flat head screwdriver to pry up the plastic cover.
-
-
-
Pry off the rubber pads on the remaining three corners of the computer using the tip of the flat head screwdriver.
-
-
-
Remove the battery by sliding the little tabs in the directions of the arrows printed on the computer.
-
Push the battery in a forward motion to slide it out. Make sure to keep the tabs held in the direction of the arrows.
-
-
-
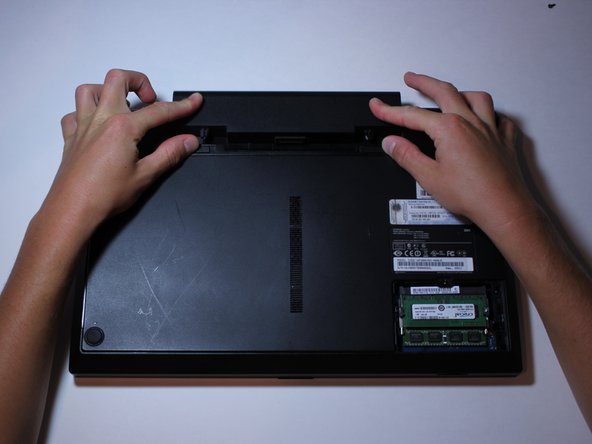
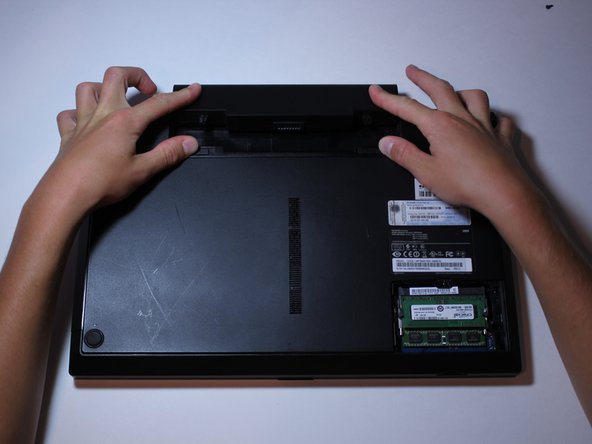
Put your hands on the back panel and use pressure to slide the panel down a few millimeters (as shown in the photo).
-
This frees up the pack panel and you can lift it right off after sliding it down.
-
-
-
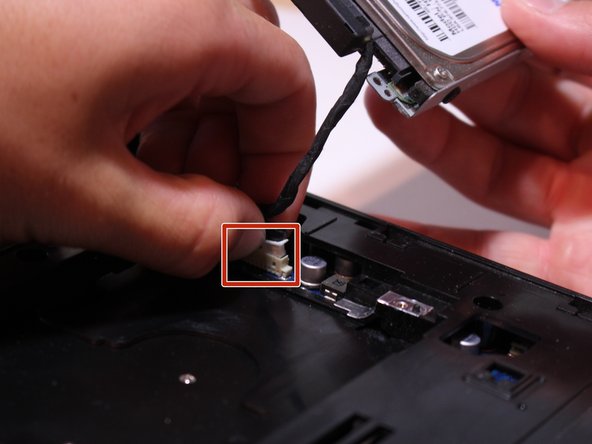
Gently pull on the wire harness to get it out of the crevasse.
-
Carefully wiggle the white plastic connector on the computer back and forth until you are able to disconnect the wire harness.
-
-
-
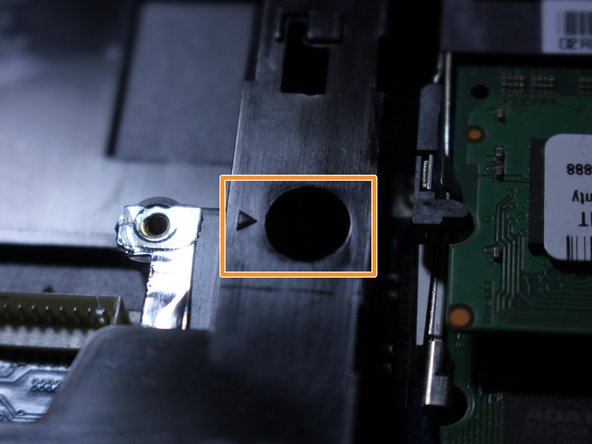
Using a Philips #00 screwdriver, remove the 6.5mm screw located next to the "ODD" print as indicated in the photo.
-
-
-
Stick your fingernails between where the optical disk drive slides out and the plastic frame of the computer.
-
Using your hand (you might need to use both), pull outwards to slowly remove the optical disk drive from the computer.
-
-
-
Remove the thirteen 6.5mm screws.
-
Each screw location is designated by an arrow icon as shown in the second picture.
-
-
-
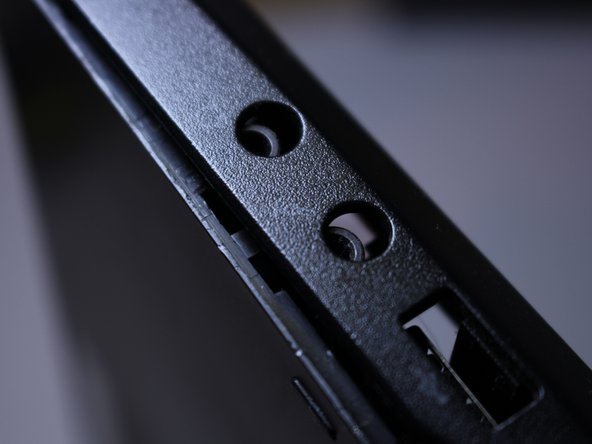
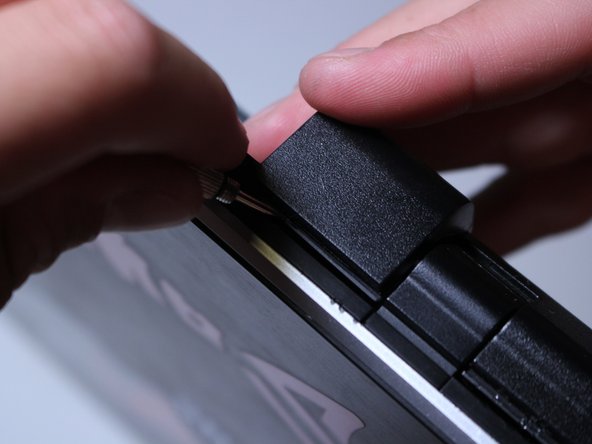
Locate the discrete line between the two pieces of plastic on the side of the keyboard.
-
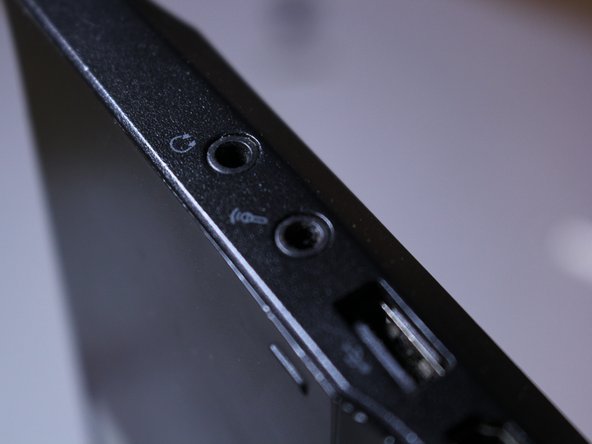
Starting near the headphone jack, use a flat head screwdriver to pry apart the two pieces of plastic.
-
-
-
You also have to get the skinny area where the battery port is.
-
This is easiest to get to by closing the computer shut.
-
-
-
Open the computer back up and work your way around to the other side of the computer where the Optical Disk Drive was.
-
-
-
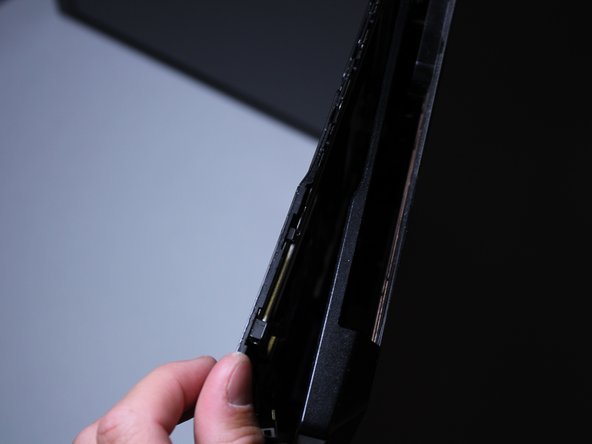
Gently pry around the edges with your fingers or a plastic separator to separate the middle layer from the base.
-
-
-
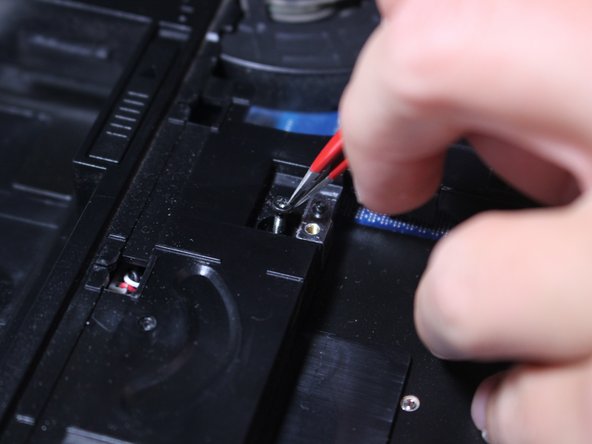
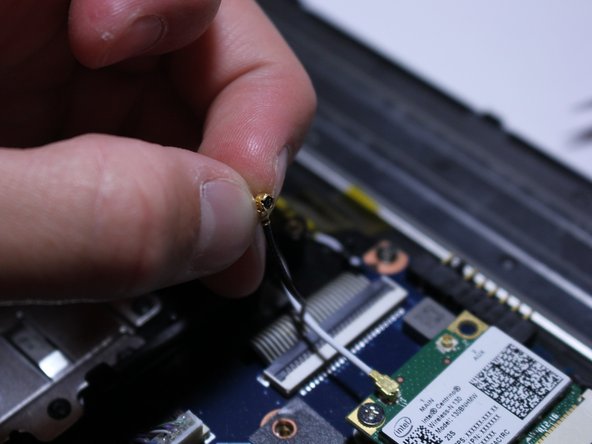
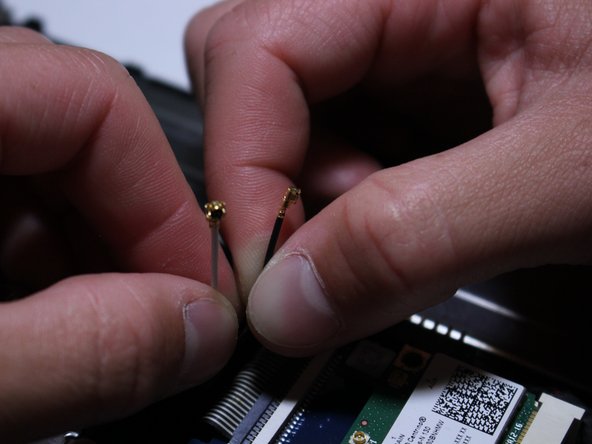
Remove the snap-on cables from the Wi-Fi card using the tips of your fingernails and the assistance of your tweezers.
-
-
-
Using a Phillips #00 screwdriver, remove the single 4.5mm screw that secures the Wi-Fi card.
-
-
-
Insert your new Wi-Fi card into the mount.
-
Secure the new Wi-Fi card by replacing the 4.5mm screw using a Phillips #00 screwdriver.
-
Reconnect the two snap-on cables to the Wi-Fi card
-


Team

Cal Poly, Team 15-4, Green Fall 2015 Member of Cal Poly, Team 15-4, Green Fall 2015
CPSU-GREEN-F15S15G4
4 Members
4 Guides authored