Introduction
Follow this guide to replace the camera bezel and back cover adhesive pads in your Motorola phone. This process is a general procedure that applies to any Motorola phone with a plastic back cover and separate camera bezel.
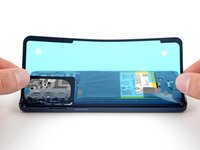
If your back cover comes off in one piece, follow this guide.
What you need
-
-
Use the flat end of a spudger or your fingers to scrape and remove the old adhesive from the phone body.
-
-
-
Peel and remove the white adhesive backing from the camera bezel's new adhesive pad.
-
-
-
Lay the adhesive pad over the cameras, with the sticky side facing upward.
-
-
-
Lay the camera bezel over the cameras and press it onto the adhesive pad.
-
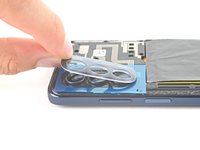
Lift the camera bezel and adhesive pad from the phone.
-
-
-
-
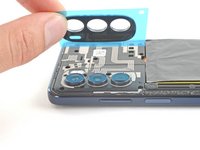
Peel and remove the blue protective film from the camera bezel.
-
-
-
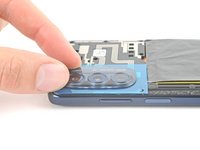
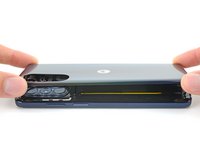
Place the bezel over the cameras.
-
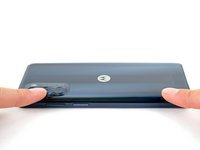
Press firmly to adhere the bezel to the phone body.
-
-
-
Use the flat end of a spudger or your fingers to remove the old adhesive from the back cover.
-
If you're having trouble removing the adhesive, apply a heated iOpener to soften the adhesive.
-
-
-
Peel and remove the white adhesive backing from the back cover's new adhesive pad.
-
-
-
Line up the new adhesive on the phone and lay it onto the frame.
-
Press down firmly on the adhesive along the perimeter of the midframe to secure it.
-
-
-
Grab and peel the blue protective film, beginning with the cutout.
-
Remove the protective film.
-
-
-
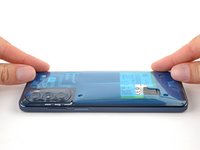
Align the back cover over the phone.
-
Press down firmly along the perimeter of the cover and around the camera bezel to secure it with the new adhesive.
-


Cancel: I did not complete this guide.
3 other people completed this guide.
