Introduction
Epoxy resin is frequently used as a sealant to give projects a beautiful, durable finish. Because of this, it a popular choice among crafters, artists, and DIYers alike.
Though very durable, epoxy resin is susceptible to cracking, flaking, chipping, and at times, what is referred to as "fish eyeing." This is where holes form in the epoxy, resulting in an uneven, bumpy exterior with parts of the object being left exposed. If you are experiencing any of these problems, use this guide to help you repair and refresh your project.
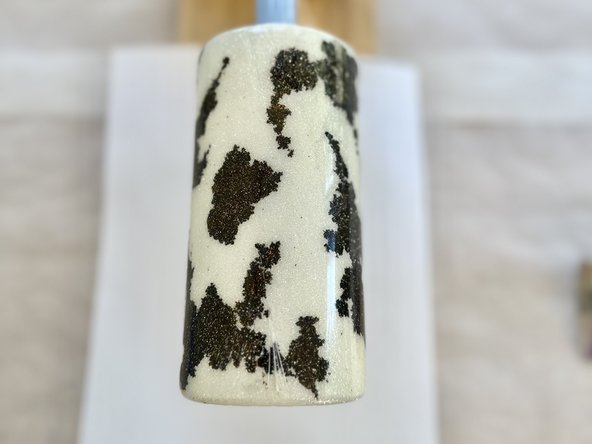
This guide will help you troubleshoot why your project encountered problems as well as how to resolve them. For this guide, the repair is performed using a cracked, scuffed, and chipped epoxy resin tumbler. However, the steps in this guide can be used for most small-scale epoxy resin projects.
This repair requires proper sanding, extraction of debris, cleaning, and reapplying to be performed. If any of the steps are skipped or otherwise not performed adequately, it may result in the repair needing to be performed again. It is best to take your time to ensure your project is thoroughly prepped and ready for the next step.
Ensure that you are always wearing proper safety equipment and are working in a well-ventilated area.
What you need
-
-
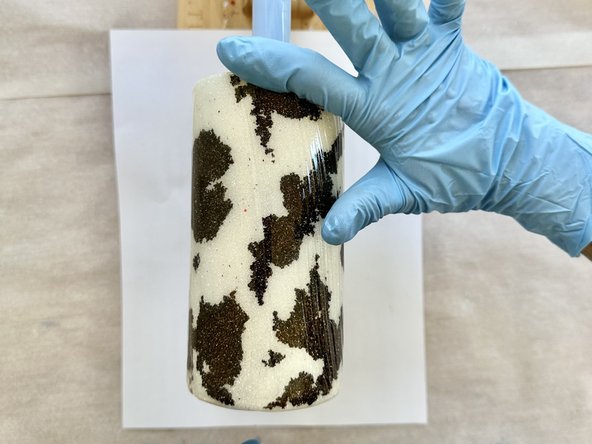
Place your project on the tumbler turner to evaluate why your project sustained damage.
-
-
-
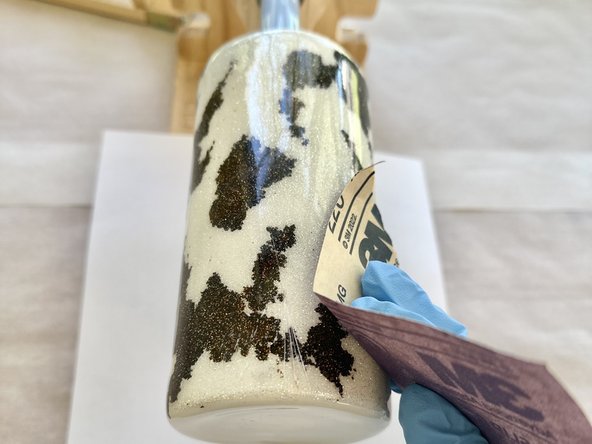
Lightly sand your project with 220-grit sandpaper.
-
Sand away any rough edges, but take care to avoid peeling off any epoxy that might be flaking or chipping.
-
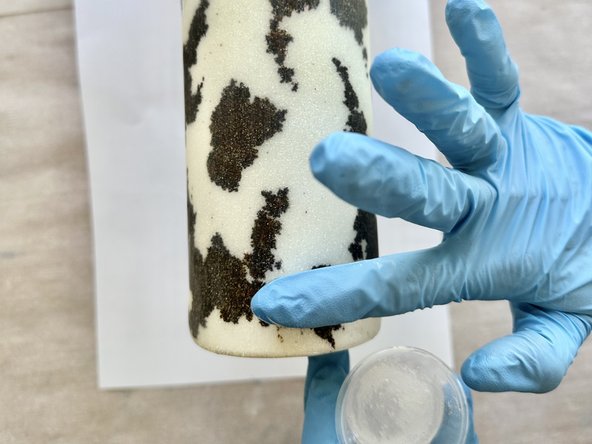
If your project has flaking epoxy, lightly buff away any flakes that might break off to prevent contamination of new layers of epoxy.
-
-
-
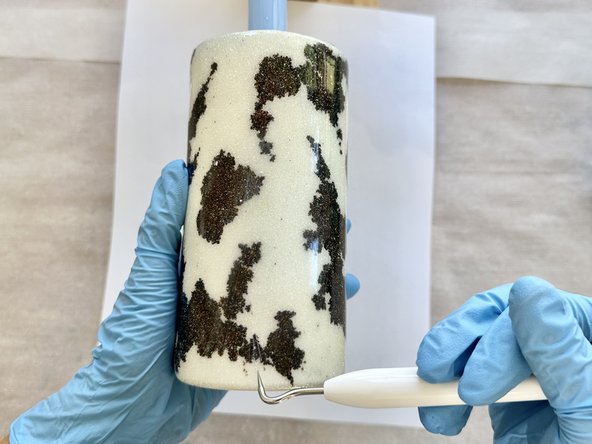
Once all edges are smooth, localize sanding to the affected area.
-
If your project has a crack, sand the area until you reach the affected layer. Gently buff the layer to "open up" the crack.
-
Take care to sand the edges of the crack so that it creates a smooth slope.
-
During this step, you should also lightly sand the rest of your project to ensure the next layer of epoxy resin goes on smoothly and has a good surface to adhere to.
-
-
-
-
Allow your epoxy resin to cure in a well-ventilated area for the amount of time indicated on the manufacturer's packaging.
-
Throughout the curing process, it is recommended (but not required) that you check your project periodically. Use the heat gun to remove any bubbles that may have formed.
-
Wait until the epoxy resin is fully cured to handle your project. One it is hardened, your project is finished.
-


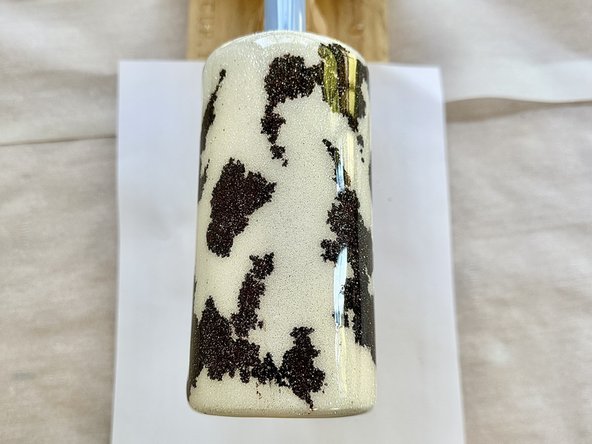


Repairing epoxy resin projects doesn't have to cost you a fortune. With a little technique, projects with chipping, flaking, or cracking can be salvaged. While this fix may not be a one-size-fits-all for all epoxy resin projects, it is great for crafting and most household DIY projects. It is important to abide by all safety guidelines listed on your resin containers. Always remember to work in a well ventilated area, use proper protective equipment, and last but not least, have fun!

Team

University of North Alabama, Team I-1, Winner Fall 2024 Member of University of North Alabama, Team I-1, Winner Fall 2024
UNA-WINNER-F24SIG1
1 Member
1 Guide authored