Introduction
Scratches and dust accumulation can significantly impact the image quality of the lens. Even if the lens may not be fragile, the coting of its surface is delicate and prone to damage. It is an important part of the projector as it is able to magnify images and display them onto a surface. If the image is distorted in any way, it may be caused by a dirty or faulty lens. It is necessary to replace the lens if it is cracked or otherwise damaged. Caution should be applied when handling the lens front element, as glass is fragile and easily cracked.
Before beginning the repair be sure the projector is unplugged from the outlet. Also make sure that the projector has cooled off if it has recently been used as it could become warm after prolonged use.
What you need
-
-
-
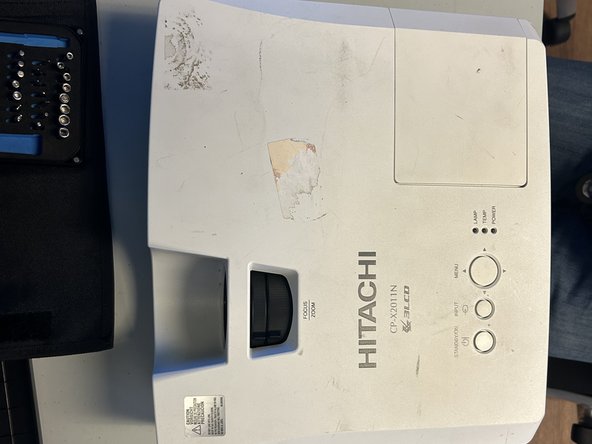
Orient the projector with the underside facing up and remove all nine 11.5 mm screws with a Phillips #00 screwdriver.
-
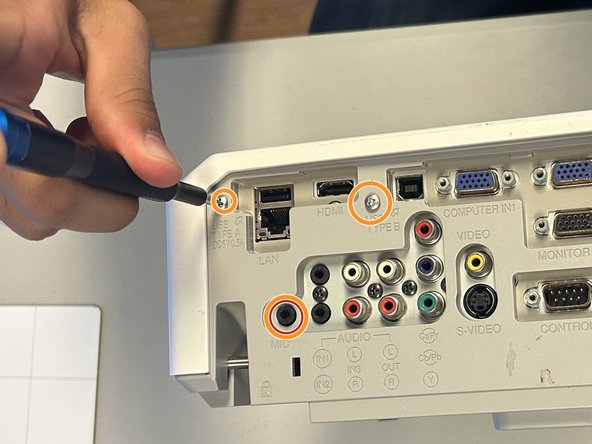
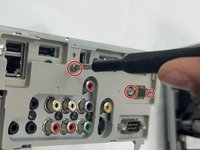
On the outlet area on the rear of the device, remove all three 11.5 mm screws with a Phillips #00 screwdriver.
-
Carefully remove the cover using your hands.
 Ask FixBot
-
-
-
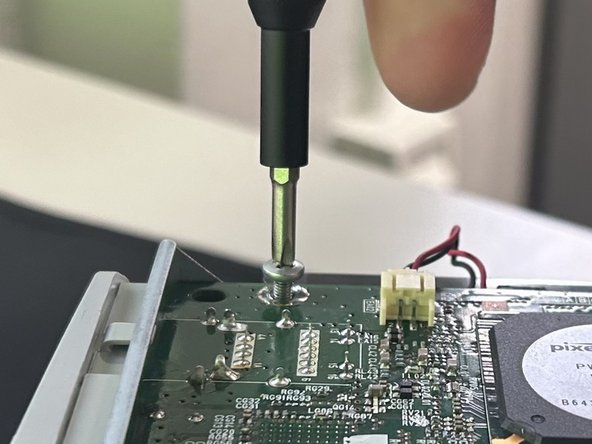
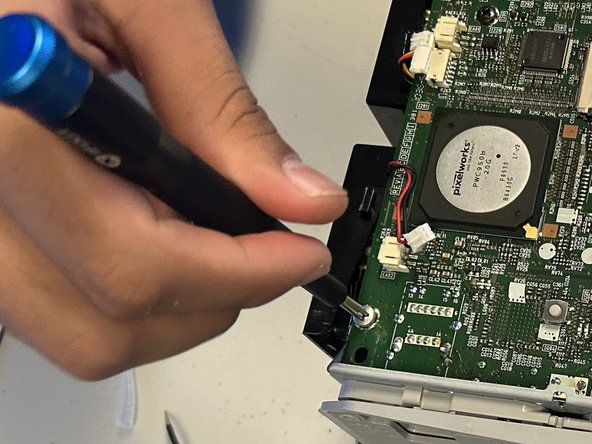
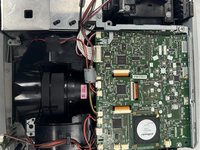
Remove all four 10.47 mm screws holding the motherboard in place with a Phillips #00 screwdriver.
-
-
-
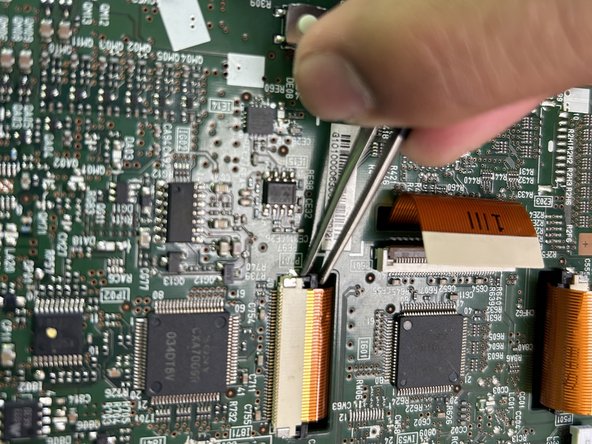
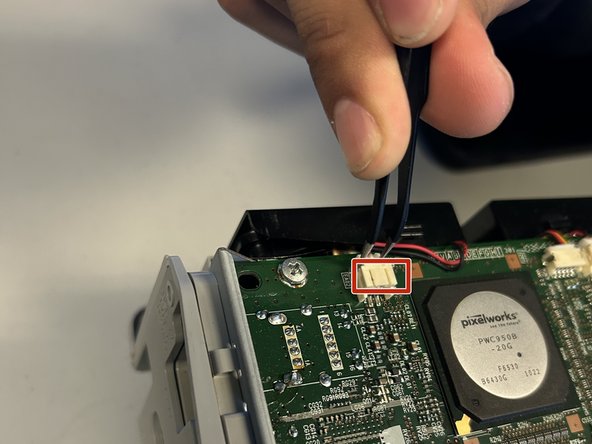
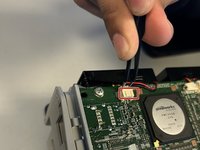
Carefully disconnect all seven ribbon cables and wire connections from the motherboard using tweezers.
-
-
-
-
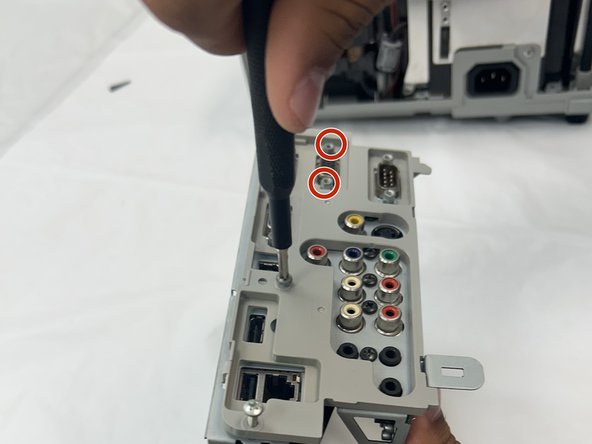
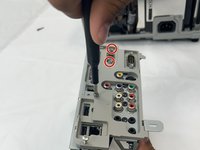
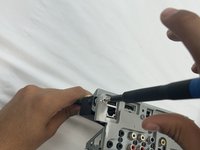
Remove all jack standoff screws to detach the ports from the cover using a Phillips #00 screwdriver.
-
-
-
-
-
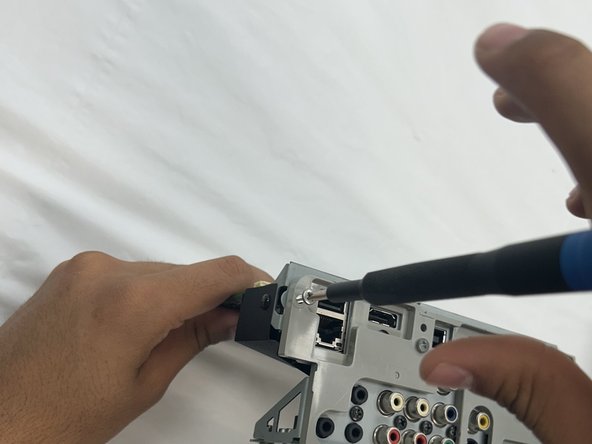
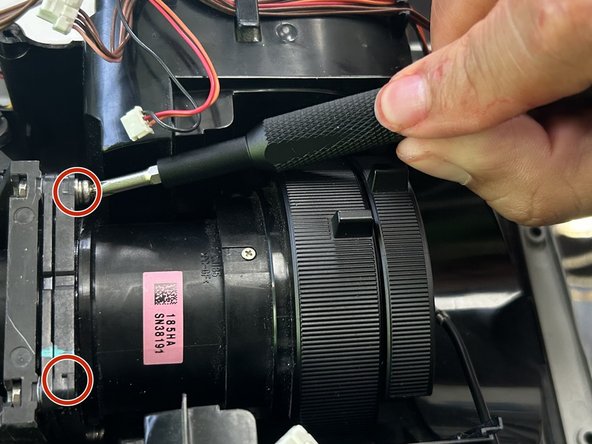
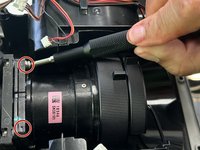
Unscrew the two 6 mm screws securing the lens with a a Phillips #00 screwdriver.
-
-
-
Unscrew the bottom two 6 mm screws securing the projector with a Phillips #00 screwdriver.
-
-










To reassemble your device, follow the above steps in reverse order.
Take your e-waste to an R2 or e-Stewards certified recycler.
Repair didn’t go as planned? Try some basic troubleshooting or ask our Answers community for help.

Team

University of North Texas, Team 2-4, Coppersmith Fall 2024 Member of University of North Texas, Team 2-4, Coppersmith Fall 2024
UNT-COPPERSMITH-F24S2G4
4 Members
8 Guides authored
