Introduction
Follow this guide to remove the battery cradle from your HTC Vive XR Elite.
-
-
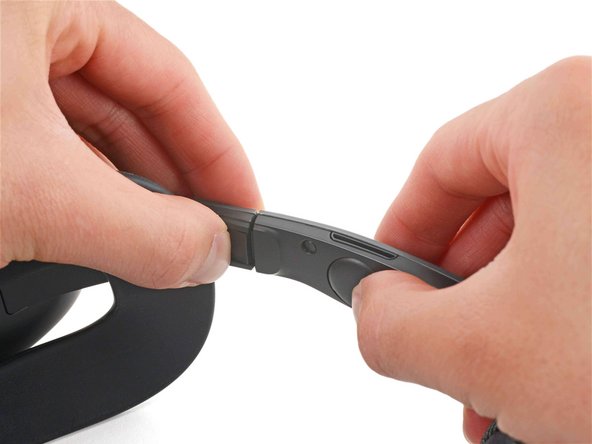
Press the release button on the right battery cradle temple slot.
-
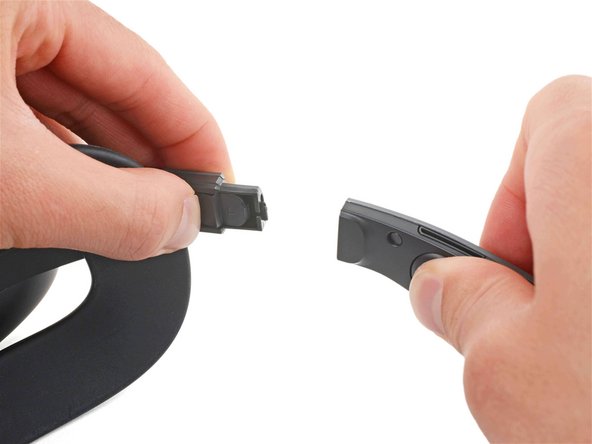
Pull the battery cradle away from the right temple slot to disconnect it.
-
-


Compare your new replacement part to the original part—you may need to transfer remaining components or remove adhesive backings from the new part before installing.
To reassemble your device, follow these instructions in reverse order.
Take your e-waste to an R2 or e-Stewards certified recycler.
Repair didn’t go as planned? Try some basic troubleshooting, or ask our Answers Community for help.

Team
