Free Shipping on Domestic Orders $75+

HTC Vive Pro 2 Face Rest Replacement

What you need

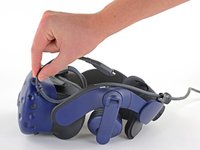
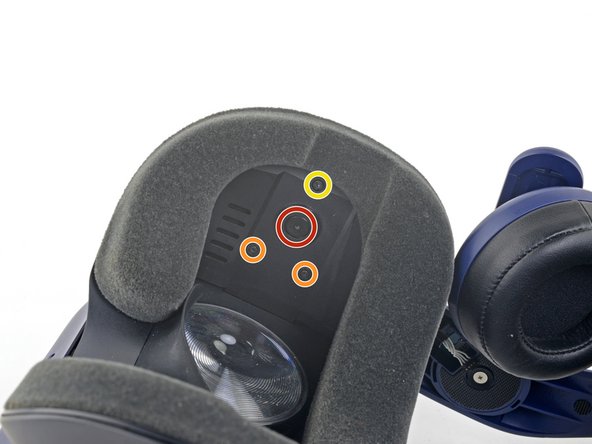
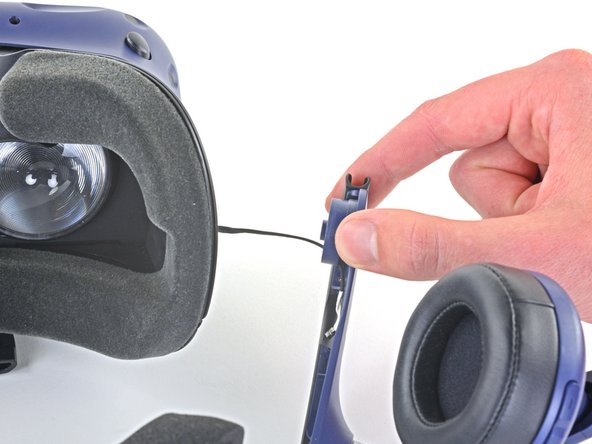
  1. HTC Vive Pro 2 Face Rest Replacement, Reposition the head strap: step 1, image 1 of 2 HTC Vive Pro 2 Face Rest Replacement, Reposition the head strap: step 1, image 2 of 2
    • Rotate the head strap forward as far as it will go.

    Ask FixBot

    Add Comment

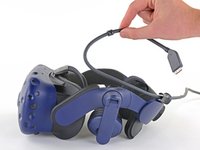
  2. HTC Vive Pro 2 Face Rest Replacement, Unplug the All-In-One Cable: step 2, image 1 of 2 HTC Vive Pro 2 Face Rest Replacement, Unplug the All-In-One Cable: step 2, image 2 of 2
    • Unplug the All-In-One Cable from your headset.

    Ask FixBot

    Add Comment

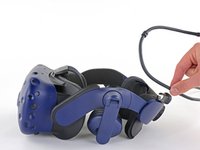
  3. HTC Vive Pro 2 Face Rest Replacement, Remove the All-In-One Cable: step 3, image 1 of 3 HTC Vive Pro 2 Face Rest Replacement, Remove the All-In-One Cable: step 3, image 2 of 3 HTC Vive Pro 2 Face Rest Replacement, Remove the All-In-One Cable: step 3, image 3 of 3
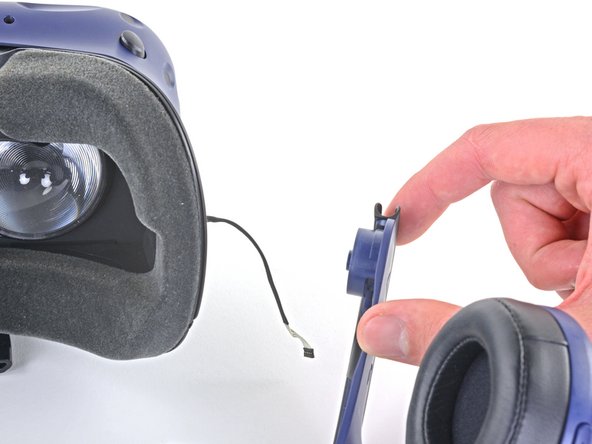
    • Remove the All-In-One Cable from the cable guides along the left side of the head strap.

    • During reassembly, connect the All-In-One Cable to the headset before routing it through the cable guides. This will ensure it has the right amount of slack.

    Ask FixBot

    Add Comment

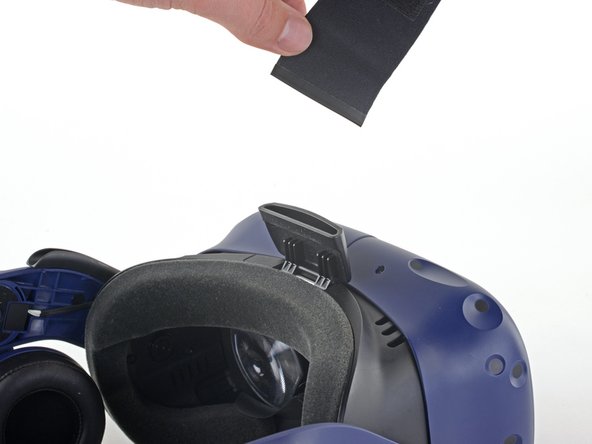
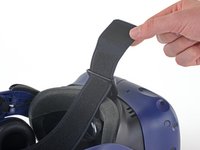
  4. HTC Vive Pro 2 Face Rest Replacement, Remove the top strap: step 4, image 1 of 2 HTC Vive Pro 2 Face Rest Replacement, Remove the top strap: step 4, image 2 of 2
    • Separate the top strap from itself where the Velcro secures it.

    Ask FixBot

    Add Comment

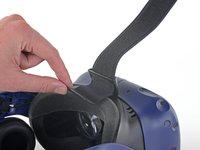
  5. HTC Vive Pro 2 Face Rest Replacement: step 5, image 1 of 3 HTC Vive Pro 2 Face Rest Replacement: step 5, image 2 of 3 HTC Vive Pro 2 Face Rest Replacement: step 5, image 3 of 3
    • Peel back the Velcro securing the rear of the top strap.

    • Feed the top strap out through the head strap to partially remove it.

    Ask FixBot

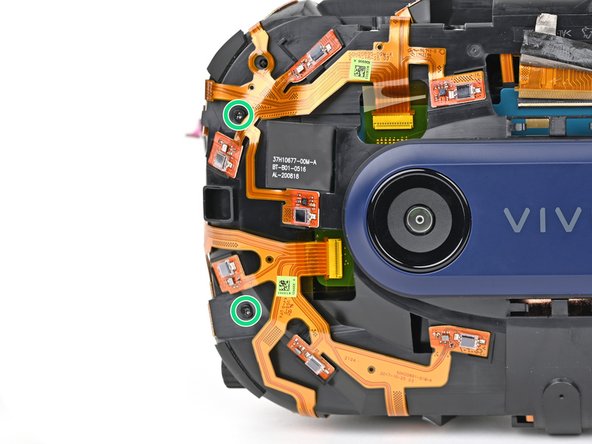
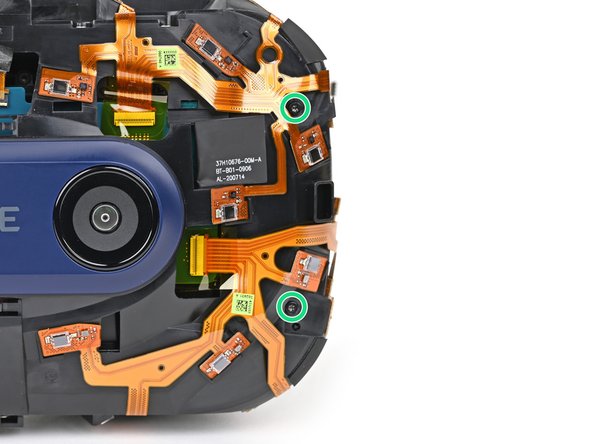
    Add Comment

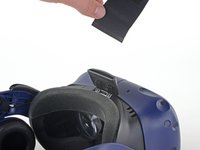
  6. HTC Vive Pro 2 Face Rest Replacement: step 6, image 1 of 3 HTC Vive Pro 2 Face Rest Replacement: step 6, image 2 of 3 HTC Vive Pro 2 Face Rest Replacement: step 6, image 3 of 3
    • Feed the top strap through the clip near the front of headset to fully remove it.

    Ask FixBot

    Add Comment

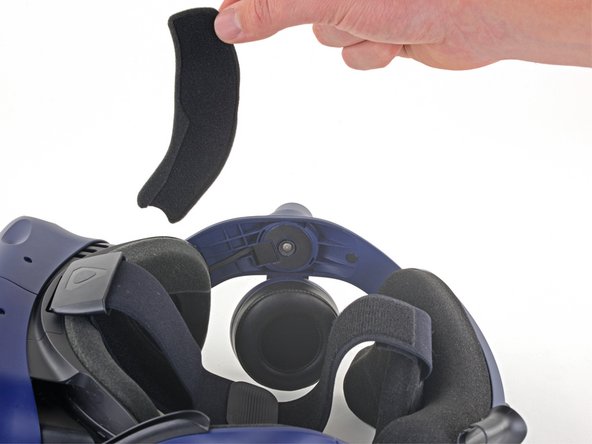
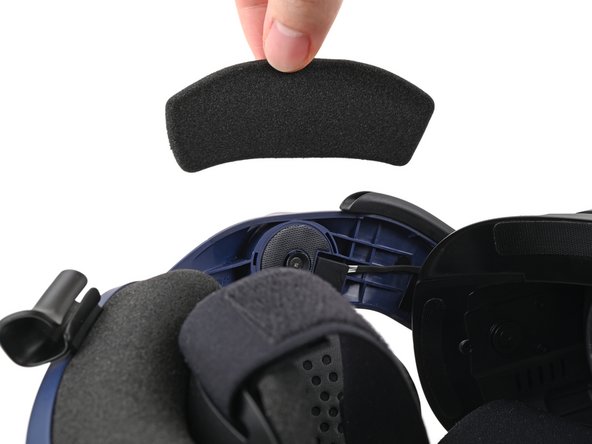
  7. HTC Vive Pro 2 Face Rest Replacement, Remove the front side foam pads: step 7, image 1 of 3 HTC Vive Pro 2 Face Rest Replacement, Remove the front side foam pads: step 7, image 2 of 3 HTC Vive Pro 2 Face Rest Replacement, Remove the front side foam pads: step 7, image 3 of 3
    • Peel off both front side foam pads to uncover the speaker wires.

    Ask FixBot

    Add Comment

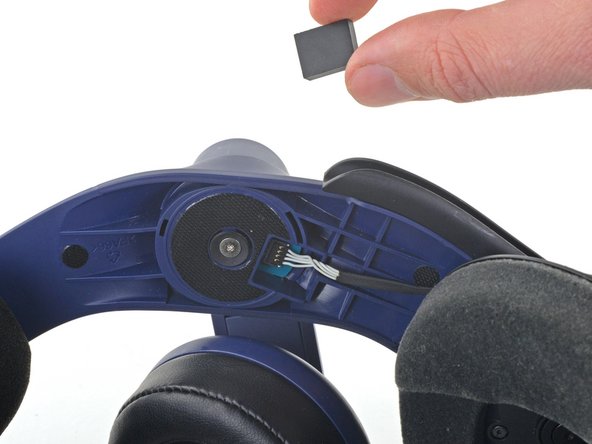
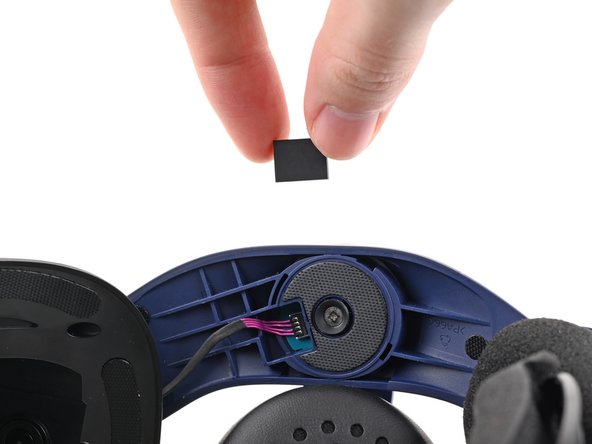
  8. HTC Vive Pro 2 Face Rest Replacement, Remove the two rubber spacers: step 8, image 1 of 3 HTC Vive Pro 2 Face Rest Replacement, Remove the two rubber spacers: step 8, image 2 of 3 HTC Vive Pro 2 Face Rest Replacement, Remove the two rubber spacers: step 8, image 3 of 3
    • Use the point of your spudger to pry out the two rubber spacers next to the headphone screws.

    • Be careful not to accidentally pry any of the speaker wires under the rubber spacer.

    Ask FixBot

    Add Comment

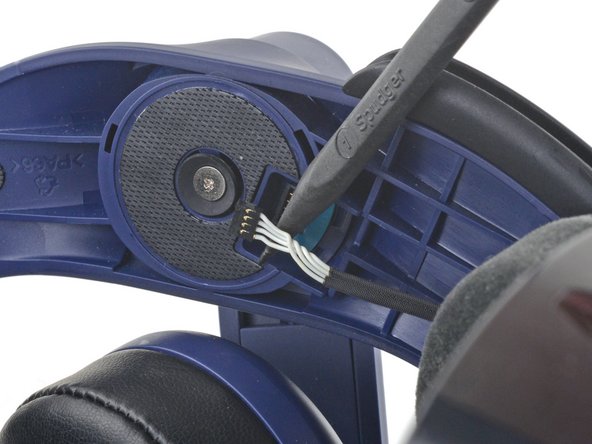
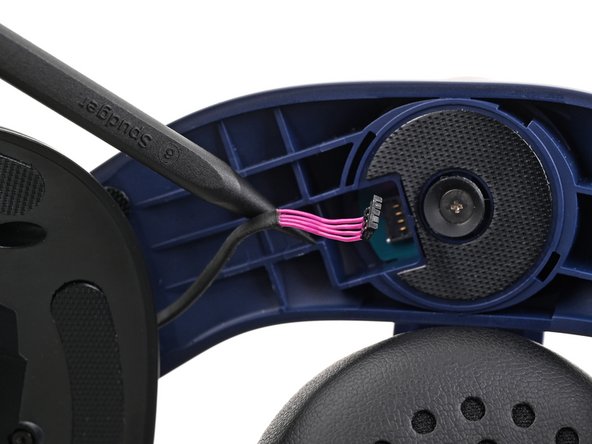
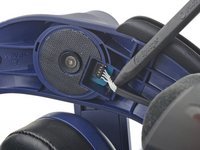
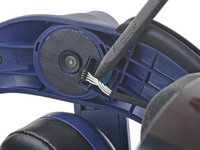
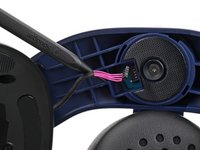
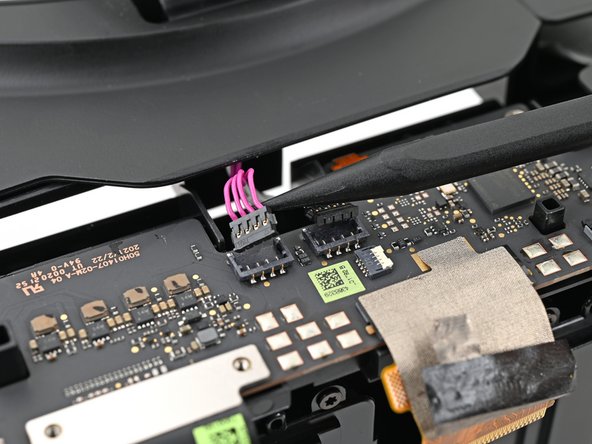
  9. HTC Vive Pro 2 Face Rest Replacement, Disconnect the speaker wires: step 9, image 1 of 3 HTC Vive Pro 2 Face Rest Replacement, Disconnect the speaker wires: step 9, image 2 of 3 HTC Vive Pro 2 Face Rest Replacement, Disconnect the speaker wires: step 9, image 3 of 3
    • Use the point of your spudger to pry up and disconnect both the left and right headphone speaker wires.

    Ask FixBot

    Add Comment

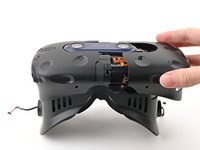
  10. HTC Vive Pro 2 Face Rest Replacement, Remove the head strap: step 10, image 1 of 2 HTC Vive Pro 2 Face Rest Replacement, Remove the head strap: step 10, image 2 of 2
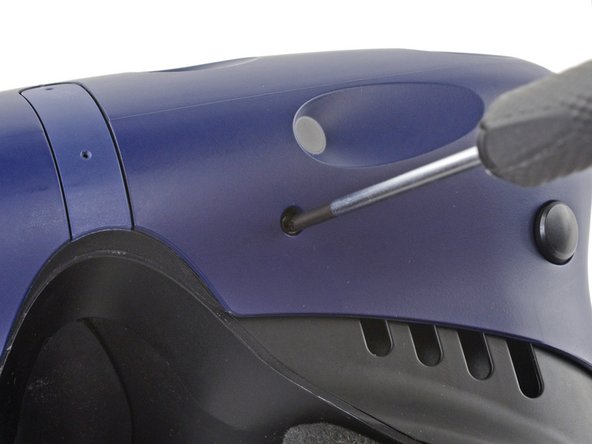
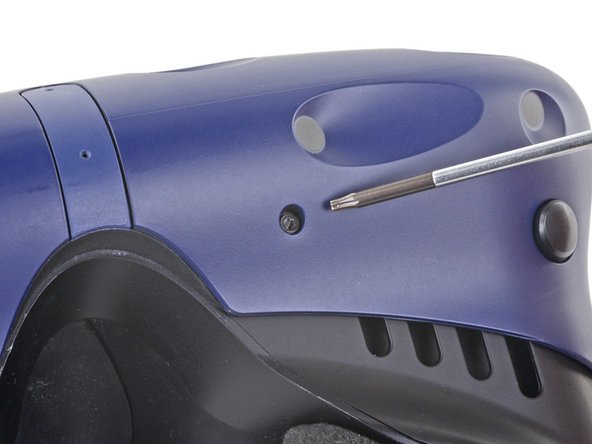
    • Use a T6 Torx screwdriver to remove the two 12.1 mm screws (one on each side) securing the head strap to the headset.

    • Use a T5 Torx screwdriver to remove the following screws securing the head strap to the headset:

    • Four 3.9 mm screws (two on each side)

    • Two 4.1 mm screws (one on each side)

    Ask FixBot

    Add Comment

  11. HTC Vive Pro 2 Face Rest Replacement: step 11, image 1 of 1
    • Remove the two plastic spacers underneath the previously removed Torx T6 screw.

    Ask FixBot

    Add Comment

  12. HTC Vive Pro 2 Face Rest Replacement: step 12, image 1 of 3 HTC Vive Pro 2 Face Rest Replacement: step 12, image 2 of 3 HTC Vive Pro 2 Face Rest Replacement: step 12, image 3 of 3
    • Thread the headphone speaker wires out through both ends of the head strap.

    Ask FixBot

    Add Comment

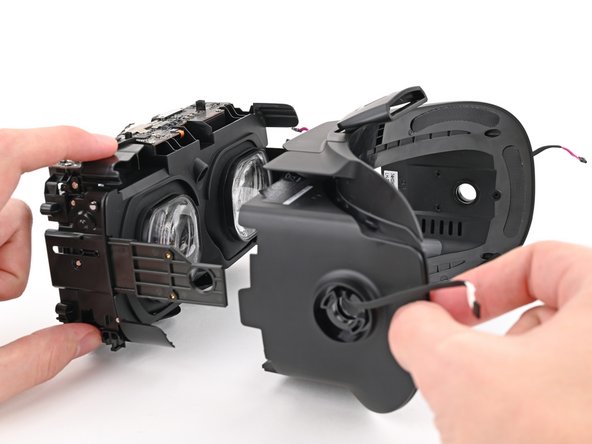
  13. HTC Vive Pro 2 Face Rest Replacement, Remove the outer shell: step 13, image 1 of 3 HTC Vive Pro 2 Face Rest Replacement, Remove the outer shell: step 13, image 2 of 3 HTC Vive Pro 2 Face Rest Replacement, Remove the outer shell: step 13, image 3 of 3
    • The four screws securing the outer shell are covered with black stickers. If the stickers are difficult to remove, simply press your T6 Torx driver through them.

    Ask FixBot

    Add Comment

  14. HTC Vive Pro 2 Face Rest Replacement: step 14, image 1 of 2 HTC Vive Pro 2 Face Rest Replacement: step 14, image 2 of 2
    • Use a T6 Torx screwdriver to remove the four 3.9 mm screws (two on top, two on bottom) securing the outer shell to the headset.

    Ask FixBot

    Add Comment

  15. HTC Vive Pro 2 Face Rest Replacement: step 15, image 1 of 3 HTC Vive Pro 2 Face Rest Replacement: step 15, image 2 of 3 HTC Vive Pro 2 Face Rest Replacement: step 15, image 3 of 3
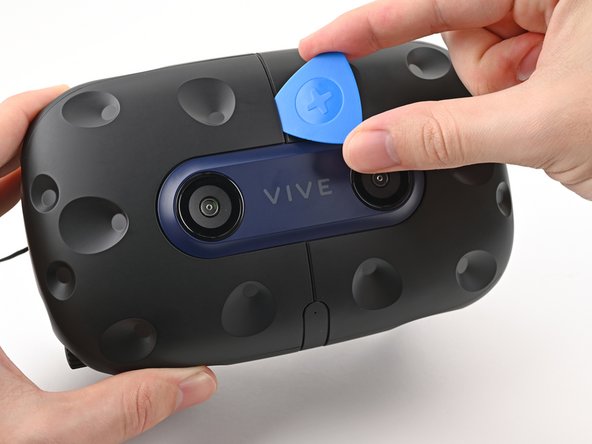
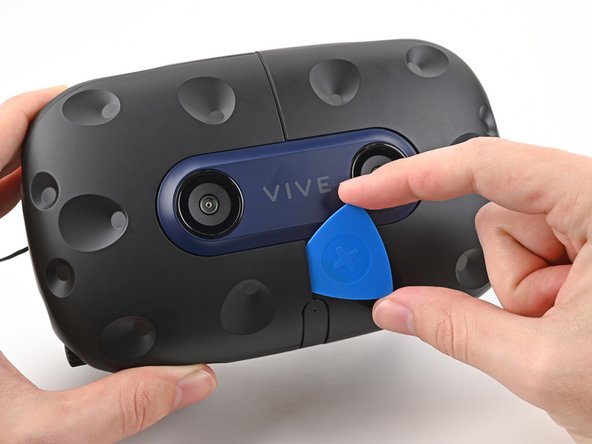
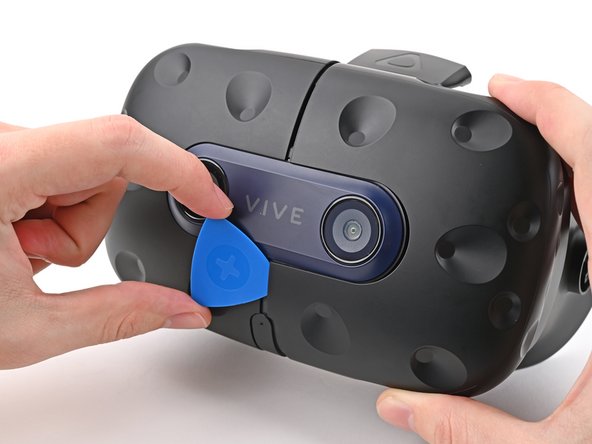
    • Insert an opening pick into the seam between the two halves of the outer shell.

    • Slide the opening pick through the seam to dislodge the clips securing it to the headset.

    • Only insert the opening pick as far as necessary. There are ribbon cables underneath the outer shell.

    Ask FixBot

    Add Comment

  16. HTC Vive Pro 2 Face Rest Replacement: step 16, image 1 of 3 HTC Vive Pro 2 Face Rest Replacement: step 16, image 2 of 3 HTC Vive Pro 2 Face Rest Replacement: step 16, image 3 of 3
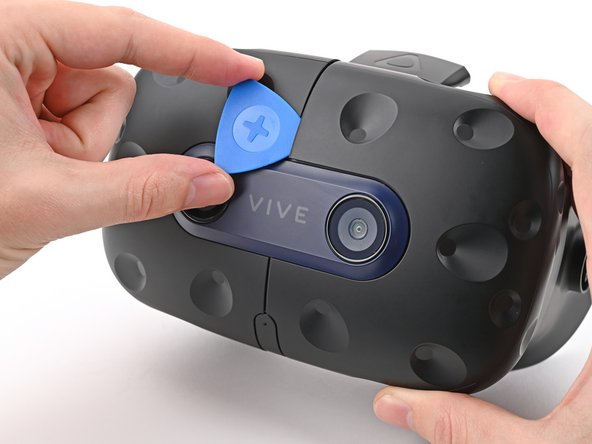
    • Continue sliding the opening pick through each seam until all clips have been dislodged.

    Ask FixBot

    Add Comment

  17. HTC Vive Pro 2 Face Rest Replacement: step 17, image 1 of 3 HTC Vive Pro 2 Face Rest Replacement: step 17, image 2 of 3 HTC Vive Pro 2 Face Rest Replacement: step 17, image 3 of 3
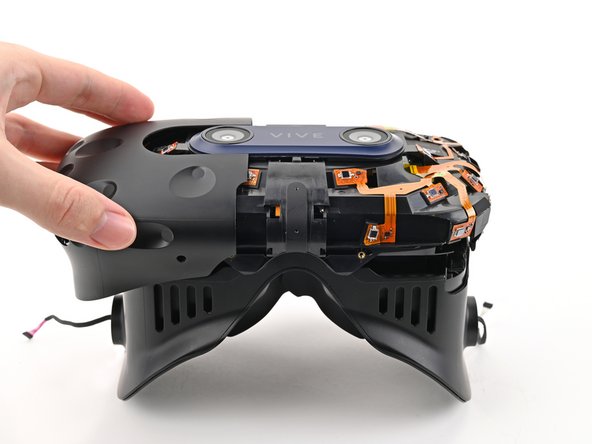
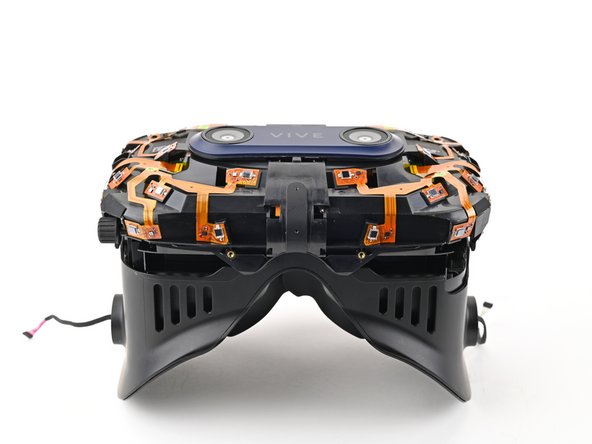
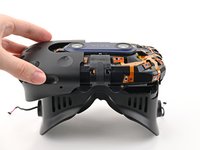
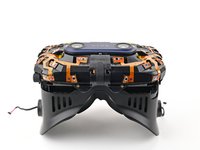
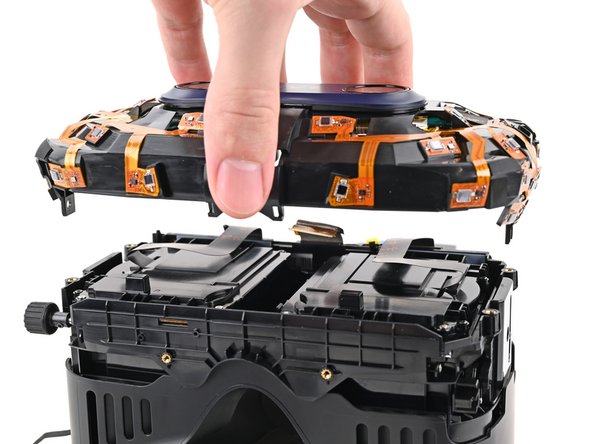
    • Carefully slide each half of the outer shell off of the sensor array.

    • Be careful not to snag any of the ribbon cables underneath.

    Ask FixBot

    Add Comment

  18. HTC Vive Pro 2 Face Rest Replacement, Remove the face rest cushion: step 18, image 1 of 3 HTC Vive Pro 2 Face Rest Replacement, Remove the face rest cushion: step 18, image 2 of 3 HTC Vive Pro 2 Face Rest Replacement, Remove the face rest cushion: step 18, image 3 of 3
    • Use your fingers to gently peel the face rest cushion off of the headset.

    Ask FixBot

    Add Comment

  19. HTC Vive Pro 2 Face Rest Replacement, Disconnect the microphone: step 19, image 1 of 2 HTC Vive Pro 2 Face Rest Replacement, Disconnect the microphone: step 19, image 2 of 2
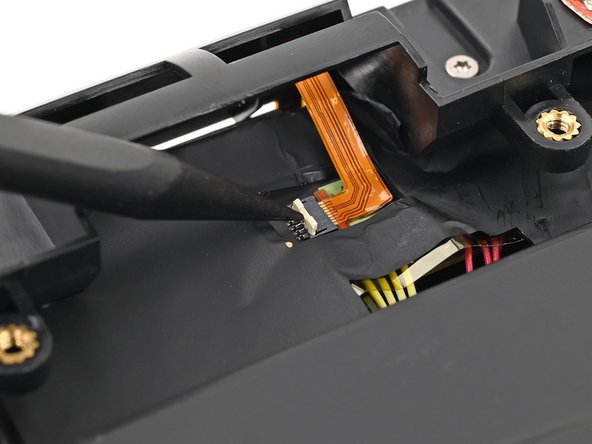
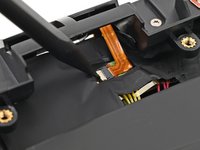
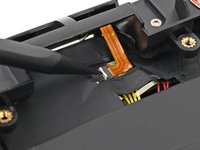
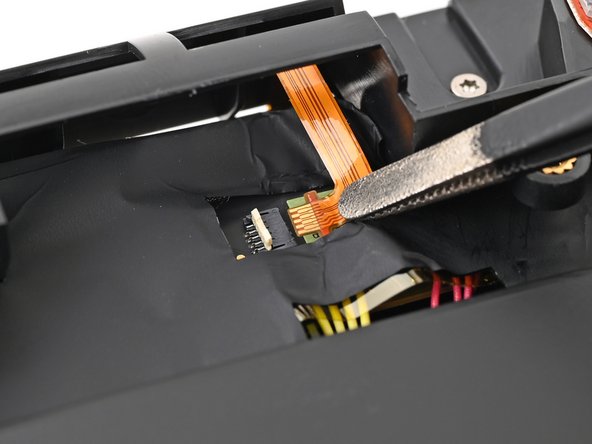
    • Use the point of your spudger, or a clean fingernail, to flip up the locking tab on the microphone ZIF connector on the daughterboard.

    Ask FixBot

    Add Comment

  20. HTC Vive Pro 2 Face Rest Replacement: step 20, image 1 of 2 HTC Vive Pro 2 Face Rest Replacement: step 20, image 2 of 2
    • Use tweezers, or your fingers, to pull the microphone cable straight out of its socket.

    Ask FixBot

    Add Comment

  21. HTC Vive Pro 2 Face Rest Replacement, Disconnect the sensor array: step 21, image 1 of 2 HTC Vive Pro 2 Face Rest Replacement, Disconnect the sensor array: step 21, image 2 of 2
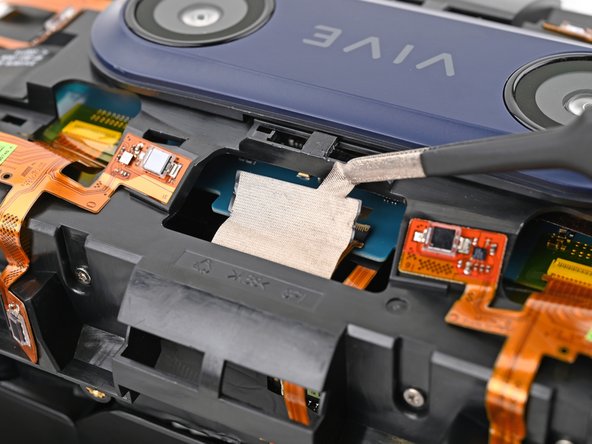
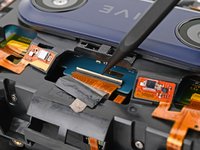
    • Use tweezers, or your fingers, to peel the conductive fabric off the sensor array ZIF connector on the motherboard.

    Ask FixBot

    Add Comment

  22. HTC Vive Pro 2 Face Rest Replacement: step 22, image 1 of 2 HTC Vive Pro 2 Face Rest Replacement: step 22, image 2 of 2
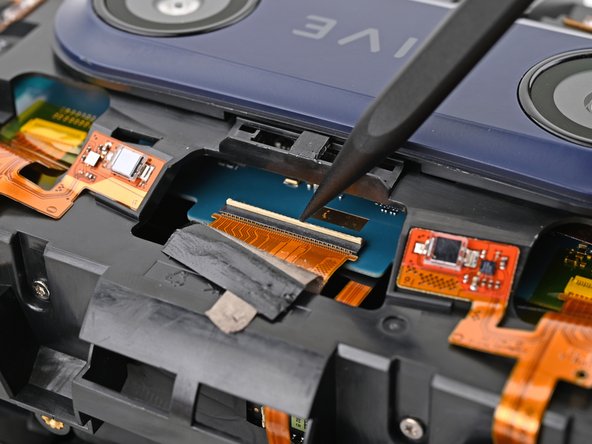
    • Use your spudger, or a clean fingernail, to flip up the locking tab on the sensor array ZIF connector.

    Ask FixBot

    Add Comment

  23. HTC Vive Pro 2 Face Rest Replacement: step 23, image 1 of 1
    • Use your fingers to grip the left and right sides of the sensor array cable and pull it straight out of its socket.

    Ask FixBot

    Add Comment

  24. HTC Vive Pro 2 Face Rest Replacement, Remove the sensor array screws: step 24, image 1 of 2 HTC Vive Pro 2 Face Rest Replacement, Remove the sensor array screws: step 24, image 2 of 2
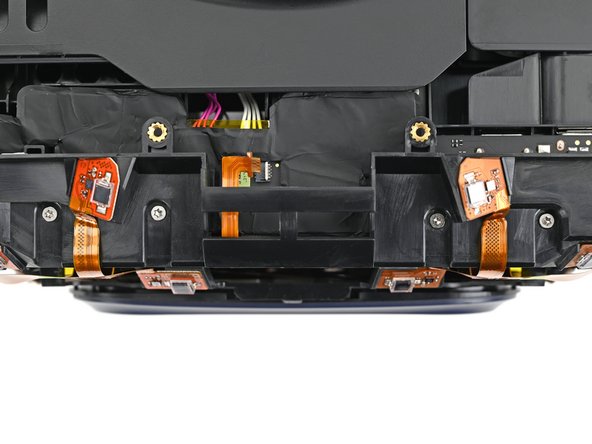
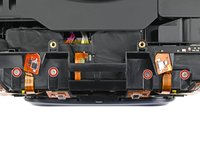
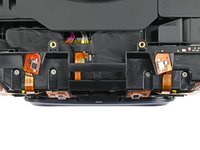
    • Use a T5 Torx screwdriver to remove the four 3.0 mm‑long screws securing the top of the sensor array.

    Ask FixBot

    Add Comment

  25. HTC Vive Pro 2 Face Rest Replacement: step 25, image 1 of 3 HTC Vive Pro 2 Face Rest Replacement: step 25, image 2 of 3 HTC Vive Pro 2 Face Rest Replacement: step 25, image 3 of 3
    • Use a T6 Torx screwdriver to remove the four 3.8 mm‑long screws securing the front of the sensor array.

    Ask FixBot

    Add Comment

  26. HTC Vive Pro 2 Face Rest Replacement, Remove the sensor array: step 26, image 1 of 2 HTC Vive Pro 2 Face Rest Replacement, Remove the sensor array: step 26, image 2 of 2
    • Lift the sensor array straight off the lens assembly and remove it, making sure you thread the cable through its slot.

    • During reassembly, make sure the sensor assembly cable is threaded through its slot before continuing.

    Ask FixBot

    Add Comment

  27. HTC Vive Pro 2 Face Rest Replacement, Remove the thermal pad: step 27, image 1 of 3 HTC Vive Pro 2 Face Rest Replacement, Remove the thermal pad: step 27, image 2 of 3 HTC Vive Pro 2 Face Rest Replacement, Remove the thermal pad: step 27, image 3 of 3
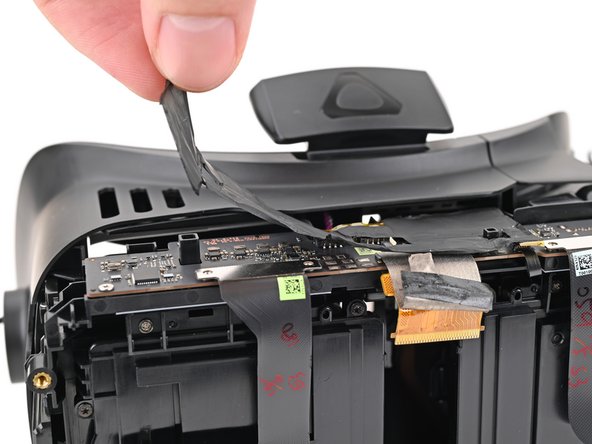
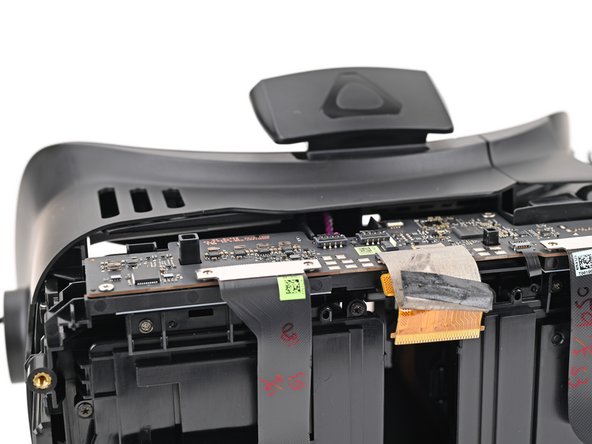
    • Use your fingers to peel up the thermal pad covering the daughterboard.

    • The thermal pad will likely remove the Kapton tape from the ZIF connectors on the daughterboard. Replace the Kapton tape if necessary.

    • Set aside the thermal pad. You'll reuse it during reassembly.

    Ask FixBot

    Add Comment

  28. HTC Vive Pro 2 Face Rest Replacement, Disconnect the headphones: step 28, image 1 of 2 HTC Vive Pro 2 Face Rest Replacement, Disconnect the headphones: step 28, image 2 of 2
    • Use the point of a spudger to pry up and disconnect both of the headphone cables from the daughterboard.

    • Pry as close to the head of the connector as possible, as you risk breaking off the wires if you pry further away.

    Ask FixBot

    Add Comment

  29. HTC Vive Pro 2 Face Rest Replacement, Remove the face rest: step 29, image 1 of 2 HTC Vive Pro 2 Face Rest Replacement, Remove the face rest: step 29, image 2 of 2
    • Slide the face rest off the lens assembly and remove it.

    Ask FixBot

    Add Comment

Conclusion

Compare your new replacement part to the original part—you may need to transfer remaining components or remove adhesive backings from the new part before installing.

To reassemble your device, follow the above steps in reverse order.

Take your e-waste to an R2 or e-Stewards certified recycler.

Repair didn’t go as planned? Try some basic troubleshooting, or ask our Answers community for help.

Cancel: I did not complete this guide.

Alex Diaz-Kokaisl

Member since: 01/16/22

241,258 Reputation

1,180 Guides authored

Team

iFixit Member of iFixit

Staff

122 Members

26,665 Guides authored

0 Guide Comments

Add Comment

View Statistics:

Past 24 Hours: 3

Past 7 Days: 9

Past 30 Days: 27

All Time: 417