Introduction
Is your HP Envy 17m-ae111dx screen broken? If so, here is the guide to fix the problem with a replacement of the of laptop screen. All you will need is the iFixit Opening Tool and iFixit iOpener Tool. For more information on how to properly use the iOpener, please visit and read through the iOpener instructions.
What you need
-
-
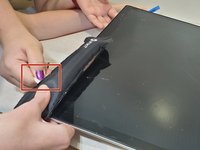
Microwave the iOpener Device for 30 seconds. For more instructions on how to properly use the iOpener, please read through our iOpener instructions.
-
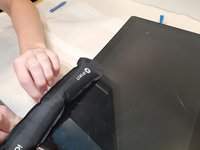
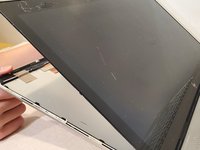
Lay the clear side of the iOpener down on the outer edge of the screen to melt the adhesive.
-
-


To reassemble your device, follow these instructions in reverse order.
Team

Embry-Riddle Aeronautical University, Team S23-G5, McClure Fall 2019 Member of Embry-Riddle Aeronautical University, Team S23-G5, McClure Fall 2019
ERAU-MCCLURE-F19S23G5
4 Members
5 Guides authored
1 Guide Comment
Thanks and by the way this is also equivalent to an hp envy 17-ae013ca