Free Shipping on Domestic Orders $75+

HP EliteBook 840 G7 Fan Cable De-Routing

Views: 221

View statistics:

Past 24 Hours:
1
Past 7 Days:
3
Past 30 Days:
18
All Time:
221
Comments: 0

No one has left comments on this guide. Will you be first?

Go to guide comments
Completed: 0

No one has marked this guide "completed." Will you be the first?

Favorites: 0

No one has favorited (and subscribed to) this guide. Will you be the first?

Time Required: No estimate
Difficulty: Moderate
HP EliteBook 840 G7 Fan Cable De-Routing
Prerequisite Only This is a prerequisite-only guide! This guide is part of another procedure and isn’t meant to be used alone.

Introduction

Go to step 1 ↓

This guide shows how to de‑route the cables on the edge of the fan in your HP EliteBook 840 G7 laptop.

What you need

Tools

    1. HP EliteBook 840 G7 Fan Cable De-Routing, Before you begin: step 1, image 1 of 2 HP EliteBook 840 G7 Fan Cable De-Routing, Before you begin: step 1, image 2 of 2
      • Before starting your repair, allow your laptop's battery to drain below 25%—a charged lithium-ion battery is a potential safety hazard if accidentally damaged.

      • Save your work, fully shut down your laptop, and unplug all cables.

      Ask FixBot

      Add Comment

    1. HP EliteBook 840 G7 Fan Cable De-Routing, Unfasten the bottom cover: step 2, image 1 of 2 HP EliteBook 840 G7 Fan Cable De-Routing, Unfasten the bottom cover: step 2, image 2 of 2
      • Despite the standards, Phillips screwdrivers can vary in size and shape—two drivers labeled as the same size may fit differently in the same screw. Use the size that fits the most snug into the screw head to avoid stripping it.

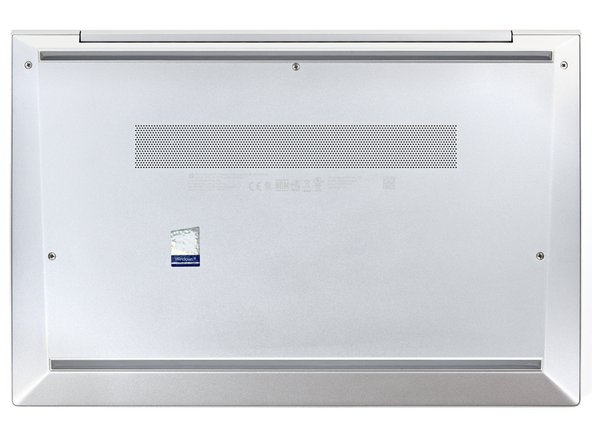
      • Use a Phillips screwdriver to fully loosen (but not remove) the five captive screws securing the bottom cover.

      Ask FixBot

      Add Comment

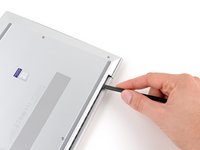
    2. HP EliteBook 840 G7 Fan Cable De-Routing, Release the bottom cover clips: step 3, image 1 of 3 HP EliteBook 840 G7 Fan Cable De-Routing, Release the bottom cover clips: step 3, image 2 of 3 HP EliteBook 840 G7 Fan Cable De-Routing, Release the bottom cover clips: step 3, image 3 of 3
      • Position your laptop so the rear edge (with the screen hinge) is closest to you.

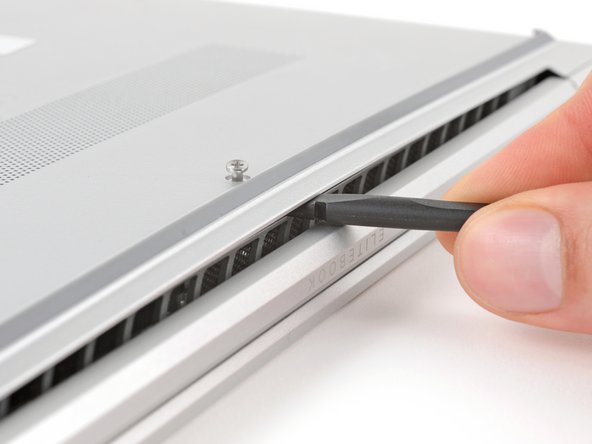
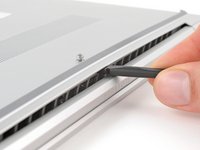
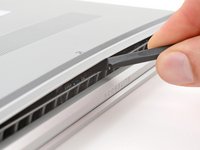
      • Insert the flat end of a spudger between the rear edge of the bottom cover and the frame, near the middle screw and ELITEBOOK text.

      • If you're having trouble inserting your spudger, make sure the screw is fully loosened. If necessary, use your fingers to gently pull the screw up.

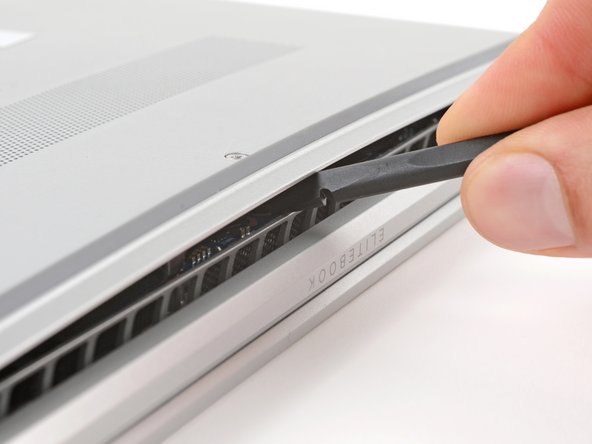
      • Use your spudger to pry up the cover to release the clip securing it.

      • Leave the spudger inserted under the bottom cover for the next step.

      Ask FixBot

      Add Comment

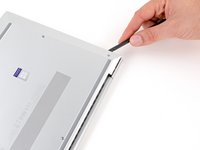
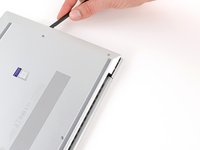
    3. HP EliteBook 840 G7 Fan Cable De-Routing: step 4, image 1 of 3 HP EliteBook 840 G7 Fan Cable De-Routing: step 4, image 2 of 3 HP EliteBook 840 G7 Fan Cable De-Routing: step 4, image 3 of 3
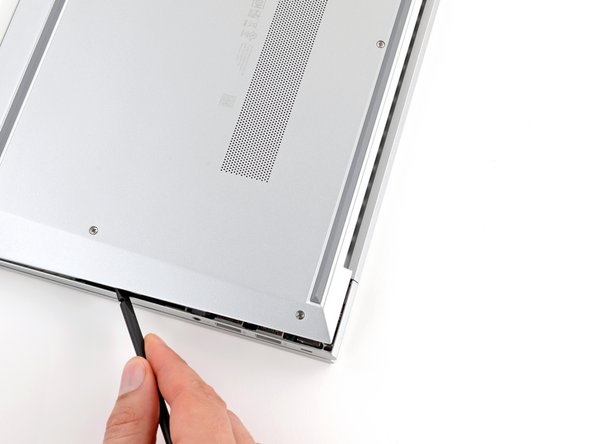
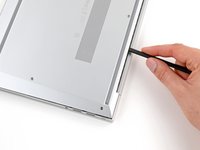
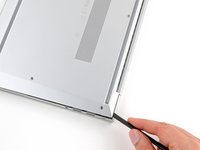
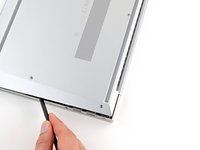
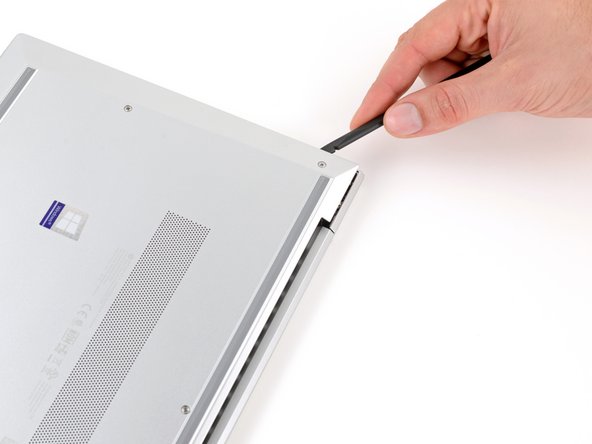
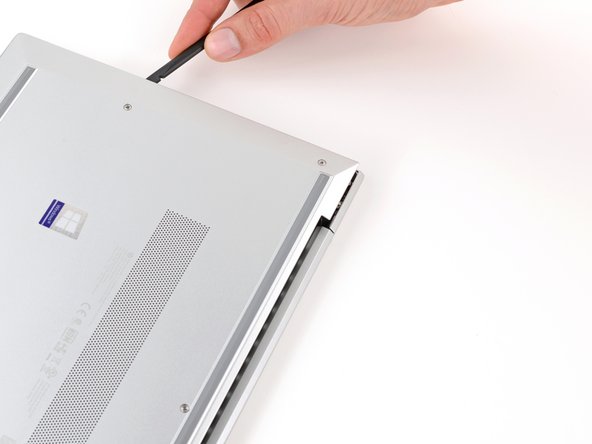
      • Slide your spudger along the rear edge toward one of the corners to release the rear edge clips.

      • Rotate your spudger around the corner and up the edge to release the clips securing the short edge of the cover.

      Ask FixBot

      Add Comment

    4. HP EliteBook 840 G7 Fan Cable De-Routing: step 5, image 1 of 3 HP EliteBook 840 G7 Fan Cable De-Routing: step 5, image 2 of 3 HP EliteBook 840 G7 Fan Cable De-Routing: step 5, image 3 of 3
      • Reinsert the flat end of a spudger near the ELITEBOOK text.

      • Repeat the previous step for the other side of the cover to release the remaining clips.

      Ask FixBot

      Add Comment

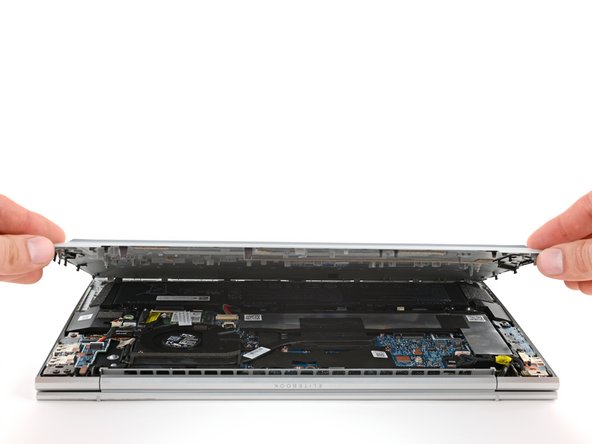
    5. HP EliteBook 840 G7 Fan Cable De-Routing, Remove the bottom cover: step 6, image 1 of 3 HP EliteBook 840 G7 Fan Cable De-Routing, Remove the bottom cover: step 6, image 2 of 3 HP EliteBook 840 G7 Fan Cable De-Routing, Remove the bottom cover: step 6, image 3 of 3
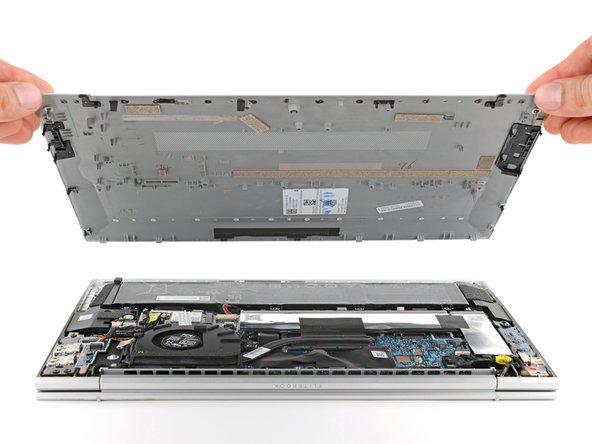
      • Lift and remove the bottom cover.

      • The cover should lift away easily. If you feel resistance, use the flat end of a spudger to release any remaining clips, and check that all screws are fully loosened.

      • During reassembly, slide the clips along the front edge of the cover (opposite the hinge) into their slots on the frame, then lay the cover down. Press firmly around the perimeter to engage all of the clips.

      Ask FixBot

      Add Comment

    1. HP EliteBook 840 G7 Fan Cable De-Routing, Disconnect the battery: step 7, image 1 of 3 HP EliteBook 840 G7 Fan Cable De-Routing, Disconnect the battery: step 7, image 2 of 3 HP EliteBook 840 G7 Fan Cable De-Routing, Disconnect the battery: step 7, image 3 of 3
      • Position your laptop so the front edge (opposite the screen hinges) is closest to you.

      • Use the point of a spudger or your fingernail to push on alternating sides of the battery's sliding connector to walk it completely out of its socket.

      Ask FixBot

      Add Comment

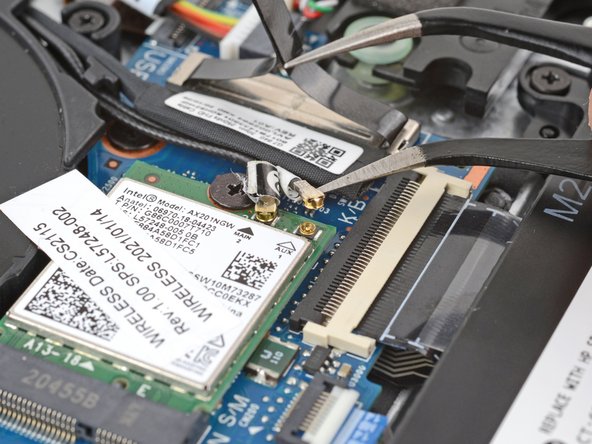
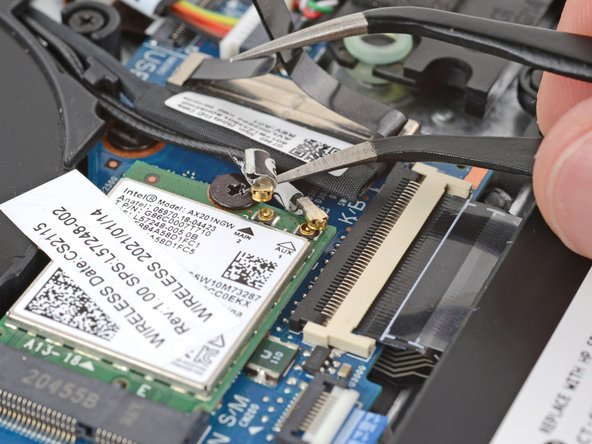
    1. HP EliteBook 840 G7 Fan Cable De-Routing, Disconnect the WLAN module cables: step 8, image 1 of 3 HP EliteBook 840 G7 Fan Cable De-Routing, Disconnect the WLAN module cables: step 8, image 2 of 3 HP EliteBook 840 G7 Fan Cable De-Routing, Disconnect the WLAN module cables: step 8, image 3 of 3
      • Slide an arm of a pair of angled tweezers under the metal neck of one of the coaxial connectors on the WLAN (Wi-Fi) module, located just below the fan.

      • Lift straight up to disconnect the cable.

      • Repeat to disconnect the second connector.

      • During reassembly:

      • Connect the cable with black tape to the socket with a black arrow below it, and the cable with white tape to the socket with a white arrow.

      • Use tweezers to hold a connector in place over its socket and gently press down with your finger or a spudger—the connector should "snap" into place. If you're having trouble, reposition the head and try again. Don't use excessive force.

      Ask FixBot

      Add Comment

    1. HP EliteBook 840 G7 Fan Cable De-Routing, Disconnect the display cable: step 9, image 1 of 2 HP EliteBook 840 G7 Fan Cable De-Routing, Disconnect the display cable: step 9, image 2 of 2
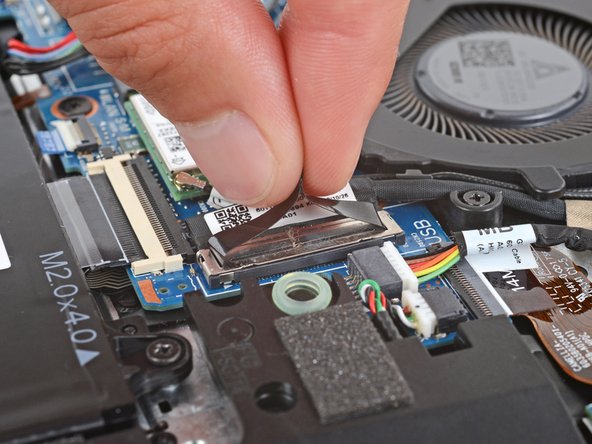
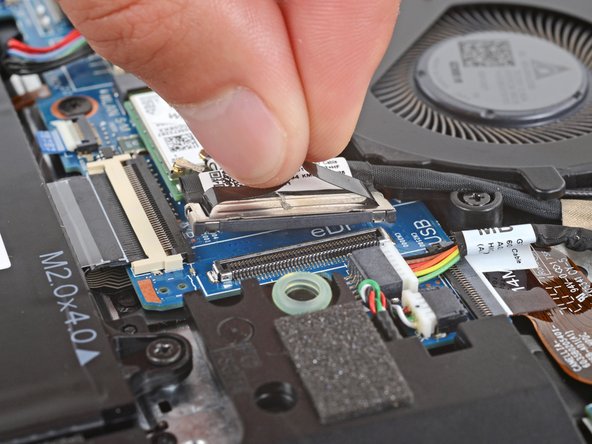
      • Use your fingers to grip the plastic pull tab on the right display cable press connector, below the fan.

      • Pull straight up to disconnect the connector.

      • During reassembly, align the connector carefully over its socket and press down with your fingertip—first on one side, then the other—until it clicks into place. Don't try to force the connector into place. If you're having trouble, reposition it and try again. Don't use excessive force.

      Ask FixBot

      Add Comment

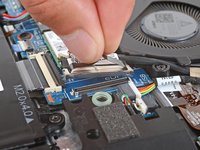
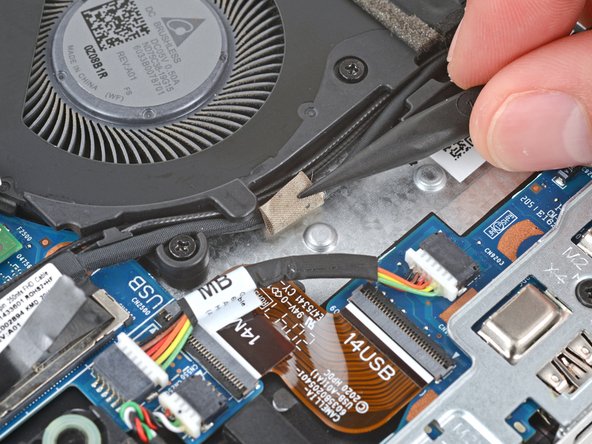
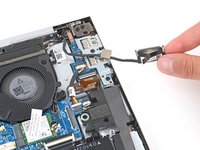
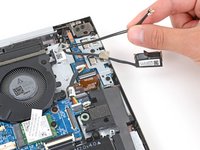
    2. HP EliteBook 840 G7 Fan Cable De-Routing, Peel up the fan tape: step 10, image 1 of 2 HP EliteBook 840 G7 Fan Cable De-Routing, Peel up the fan tape: step 10, image 2 of 2
      • Use tweezers or your fingers to peel up the cable tape near the right side of the fan.

      • You don't need to fully remove the tape—it can stay on the cable.

      Ask FixBot

      Add Comment

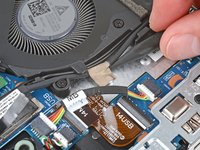
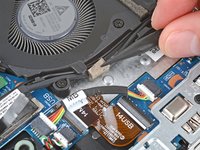
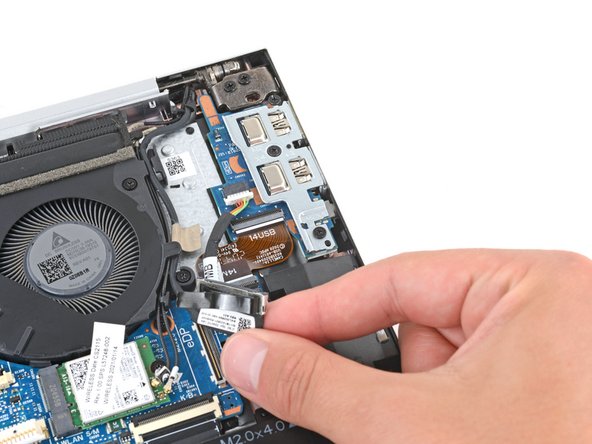
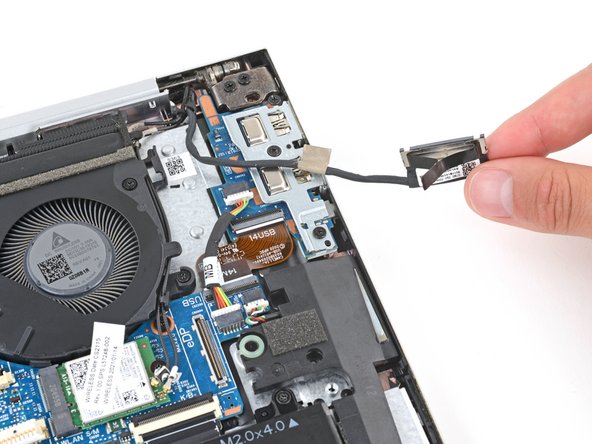
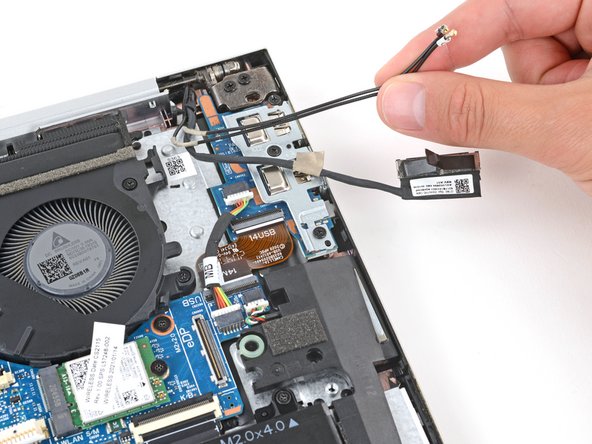
    3. HP EliteBook 840 G7 Fan Cable De-Routing, De‑route the fan cables: step 11, image 1 of 3 HP EliteBook 840 G7 Fan Cable De-Routing, De‑route the fan cables: step 11, image 2 of 3 HP EliteBook 840 G7 Fan Cable De-Routing, De‑route the fan cables: step 11, image 3 of 3
      • Use your fingers to pull the display cable and two coaxial cables out from their clips on the right side of the fan.

      • During reassembly, use this photo as a reference to properly route the cables into their clips.

      Ask FixBot

      Add Comment

Finish Line

Cancel: I did not complete this guide.

Spencer Day

Member since: 09/14/22

206,717 Reputation

1,266 Guides authored

Team

iFixit Member of iFixit

Staff

121 Members

72,885 Guides authored

0 Guide Comments

Add Comment

View Statistics:

Past 24 Hours: 1

Past 7 Days: 3

Past 30 Days: 18

All Time: 221