Introduction
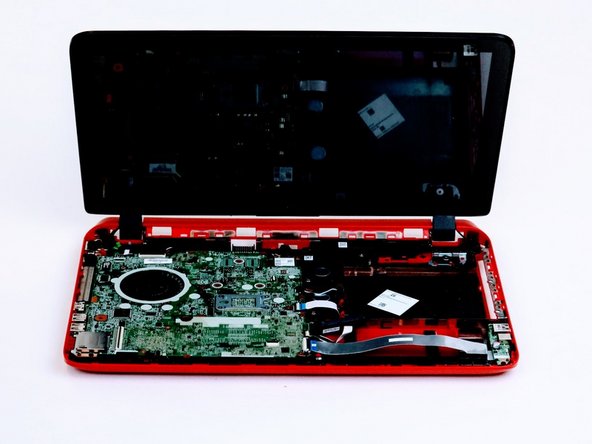
Use this guide to help disassemble the keyboard panel for any parts needing to be replaced located under the keyboard panel.
What you need
-
-
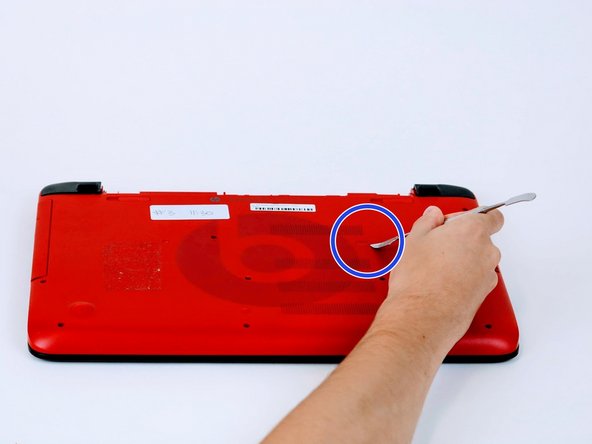
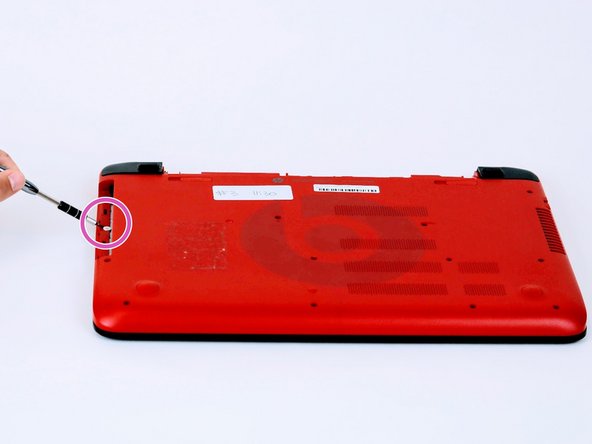
Turn computer over and begin removing noticeable 8mm screws with a Phillips #0 screwdriver.
-
-
-
-
Once screws are removed you may now remove the optical drive.
-
Remove the hidden 3mm screw in the optical drive port.
-
-
-
Remove the rubberized feet located on the left and right shoulder of the computer to uncover hidden 8mm screws.
-
The shoulder caps are removable. Underneath there are 2 additional screws.
-


Team

Linn Benton Community College, Team S1-G3, Karnes Fall 2018 Member of Linn Benton Community College, Team S1-G3, Karnes Fall 2018
LBCC-KARNES-F18S1G3
4 Members
7 Guides authored