What you need
-
-
Turn off your laptop and open the screen so it is perpendicular to the keyboard.
-
Insert an opening tool between the bezel and screen assembly, near the top right corner.
 Ask FixBot
-
-
-
-
Once you've created a gap, gently lift and slide the tool down the sides and across the top of the seam until the bezel pops off.
-
Continue moving the tool down to release it.
-
-
-
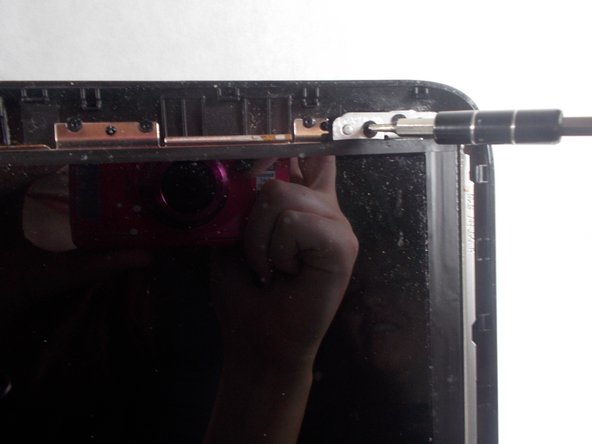
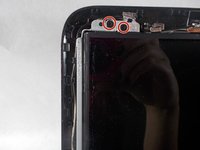
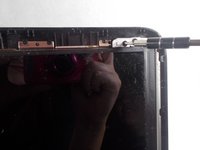
Remove the Phillips PM2.0×5.2 screws at the top of the screen with the #0 bit. This will allow the screen to pop off easily.
-
Once all the screws are removed, gently remove the screen from the lid.
-
Disconnect the ZIF connector on the back of the screen.
-


Compare your new replacement part to the original part—you may need to transfer remaining components or remove adhesive backings from the new part before you install it.
To reassemble your device, follow these instructions in reverse order.
Take your e-waste to an R2 or e-Stewards certified recycler.
Repair didn’t go as planned? Try some basic troubleshooting, or ask our Answers community for help.
Cancel: I did not complete this guide.
2 other people completed this guide.

Team

UMass Dartmouth, Team S2-G4, Bernier Spring 2018 Member of UMass Dartmouth, Team S2-G4, Bernier Spring 2018
UMASSD-BERNIER-S18S2G4
3 Members
5 Guides authored