Free Shipping on Domestic Orders $75+

HMD Fusion Back Cover Removal

Views: 321

View statistics:

Past 24 Hours:
1
Past 7 Days:
12
Past 30 Days:
23
All Time:
321
Comments: 2

2 comments on steps.

Completed: 0

No one has marked this guide "completed." Will you be the first?

Favorites: 0

No one has favorited (and subscribed to) this guide. Will you be the first?

Time Required: No estimate
Difficulty: Moderate
HMD Fusion Back Cover Removal
Prerequisite Only This is a prerequisite-only guide! This guide is part of another procedure and isn’t meant to be used alone.

Introduction

Go to step 1 ↓

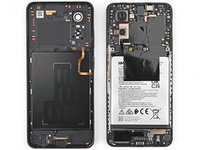
Prerequisite guide to remove the back cover in your HMD Fusion phone.

What you need

Tools

    1. HMD Fusion Back Cover Removal, Remove the SIM card tray: step 1, image 1 of 3 HMD Fusion Back Cover Removal, Remove the SIM card tray: step 1, image 2 of 3 HMD Fusion Back Cover Removal, Remove the SIM card tray: step 1, image 3 of 3
      • Firmly press a SIM eject tool, bit, or straightened paper clip into the SIM card tray hole on the left edge of your phone until the tray ejects.

      • Remove the SIM card tray.

      Ask FixBot

      Add Comment

    1. HMD Fusion Back Cover Removal, Remove the back cover screws: step 2, image 1 of 3 HMD Fusion Back Cover Removal, Remove the back cover screws: step 2, image 2 of 3 HMD Fusion Back Cover Removal, Remove the back cover screws: step 2, image 3 of 3
      • Use a T3 Torx screwdriver to remove the sixteen 5.0 mm‑long screws securing the back cover.

      • Use your fingernails, or angled tweezers, to remove any stuck screws.

      • The screws are secured tightly in the back cover, so you might not be able to remove all of them. If you can't remove a few screws, don't worry! Move to the next step and follow the guide normally.

      Ask FixBot

      Add Comment

    2. HMD Fusion Back Cover Removal: step 3, image 1 of 1
      Tool used on this step:
      Magnetic Project Mat
      $19.95
      Buy
      • During the next four steps, the remaining back cover screws might fall out unexpectedly.

      • To avoid losing screws, you can place a tray, bowl, or Magnetic Project Mat under the phone while you work.

      Ask FixBot

      Add Comment

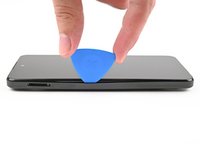
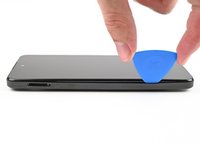
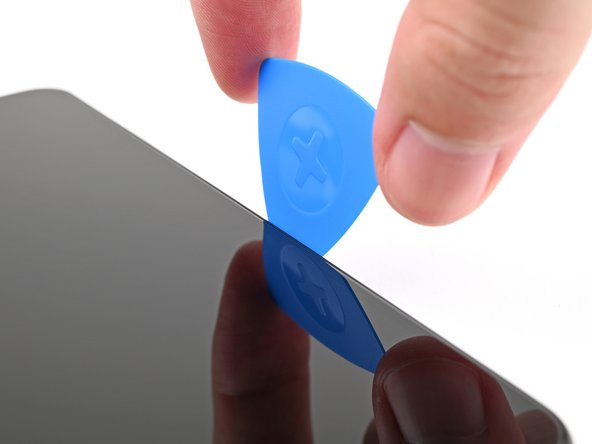
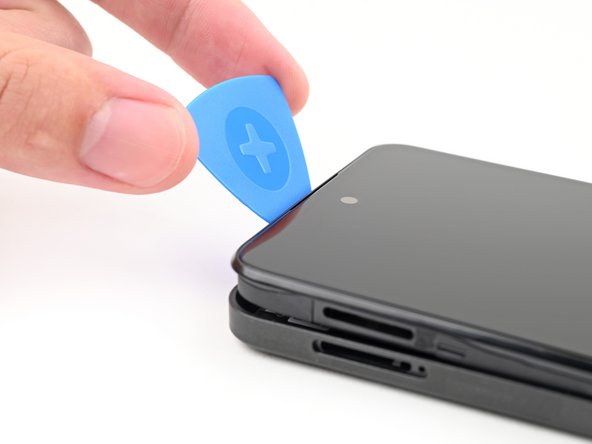
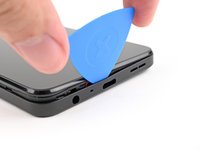
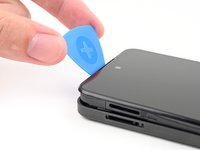
    3. HMD Fusion Back Cover Removal, Unclip the back cover: step 4, image 1 of 2 HMD Fusion Back Cover Removal, Unclip the back cover: step 4, image 2 of 2
      • Flip your phone over so the screen is facing up.

      • Insert the tip of an opening pick between the back cover and frame at the SIM card tray cutout.

      Ask FixBot

      Add Comment

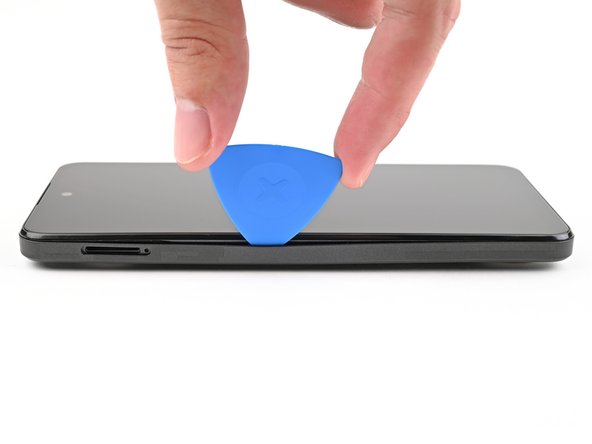
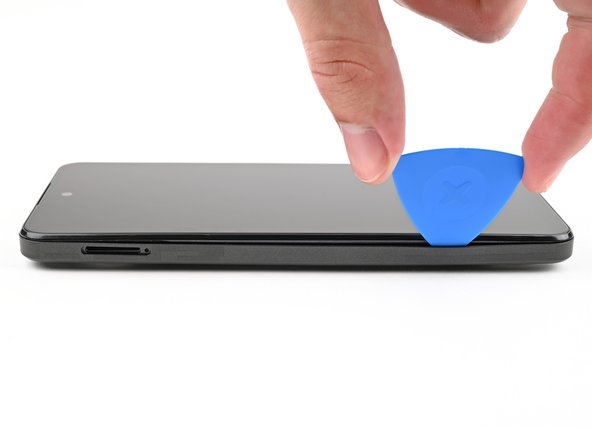
    4. HMD Fusion Back Cover Removal: step 5, image 1 of 3 HMD Fusion Back Cover Removal: step 5, image 2 of 3 HMD Fusion Back Cover Removal: step 5, image 3 of 3
      • Slide the opening pick along the left edge to begin unclipping the back cover.

      Ask FixBot

      Add Comment

    5. HMD Fusion Back Cover Removal: step 6, image 1 of 3 HMD Fusion Back Cover Removal: step 6, image 2 of 3 HMD Fusion Back Cover Removal: step 6, image 3 of 3
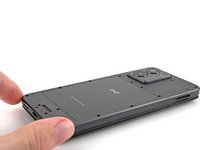
      • Continue sliding the pick around the perimeter of your phone until the back cover is fully unclipped.

      • The corners can be tricky to unclip and may take some force. If you're having trouble, try prying up with the pick.

      • Don't try to fully remove the cover yet, as it's still connected by a delicate cable.

      Ask FixBot

      Add Comment

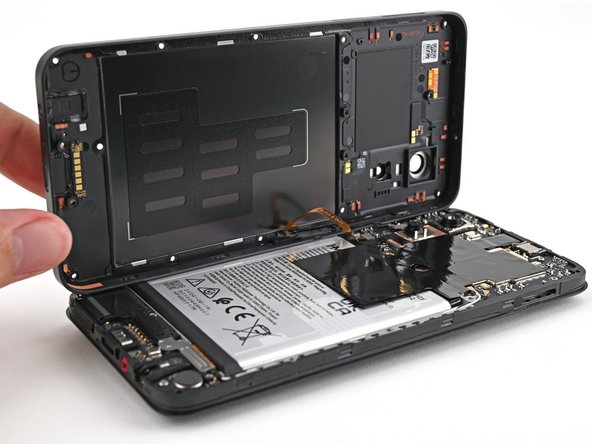
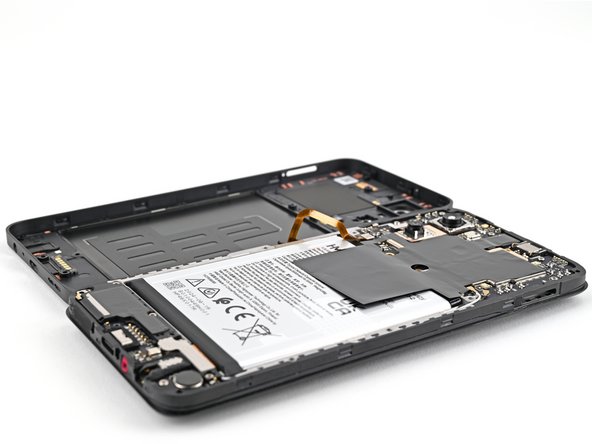
    6. HMD Fusion Back Cover Removal: step 7, image 1 of 3 HMD Fusion Back Cover Removal: step 7, image 2 of 3 HMD Fusion Back Cover Removal: step 7, image 3 of 3
      • Carefully flip your phone over so the back cover is facing up.

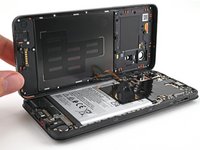
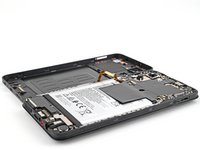
      • Lift the back cover off the frame and flip it over the left edge of your phone, laying the cover flat on your work surface.

      • Be very careful not to strain the back cover's delicate cable.

      • During reassembly, place the back cover onto the frame and firmly press around the perimeter to reengage all the clips.

      Ask FixBot

      Add Comment

    7. HMD Fusion Back Cover Removal, Disconnect the battery: step 8, image 1 of 3 HMD Fusion Back Cover Removal, Disconnect the battery: step 8, image 2 of 3 HMD Fusion Back Cover Removal, Disconnect the battery: step 8, image 3 of 3
      Ask FixBot

      Add Comment

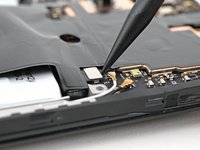
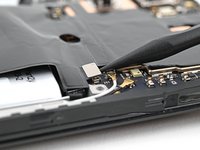
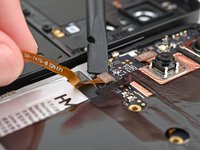
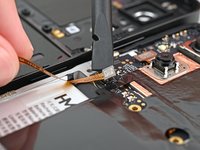
    8. HMD Fusion Back Cover Removal, Disconnect the power button: step 9, image 1 of 3 HMD Fusion Back Cover Removal, Disconnect the power button: step 9, image 2 of 3 HMD Fusion Back Cover Removal, Disconnect the power button: step 9, image 3 of 3
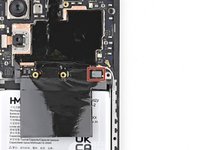
      • Use a spudger to pry up and disconnect the power button press connector.

      • Remove the back cover.

      Ask FixBot

      Add Comment

Conclusion

To reassemble your device, follow these instructions in reverse order.

Take your e-waste to an R2 or e-Stewards certified recycler.

Repair didn’t go as planned? Try some basic troubleshooting, or ask our Answers community for help.

Cancel: I did not complete this guide.

Alex Diaz-Kokaisl

Member since: 01/16/22

250,853 Reputation

1,200 Guides authored

Team

Guide Team Member of Guide Team

Staff

10 Members

62,132 Guides authored

0 Guide Comments

Add Comment

View Statistics:

Past 24 Hours: 1

Past 7 Days: 12

Past 30 Days: 23

All Time: 321