Introduction
This repair guide was authored by the iFixit staff and hasn’t been endorsed by Google. Learn more about our repair guides here.
Follow this guide to replace the charging assembly for the Pixel 3. The charging assembly contains the USB-C port as well as some antenna connectors, and is layered underneath the loudspeaker. This requires removing the loudspeaker first, which will compromise the loudspeaker’s ingress gasket.
This guide is only for the Screen Assembly guide as a prereq.
What you need
-
-
-
Remove the two 1.9 mm Phillips screws securing the charging assembly to the bottom edge of the phone.
 Ask FixBot
-
-
-
Apply a heated iOpener to the bottom edge of the phone for a minute to loosen the adhesive holding the charging assembly in place.
-
-
-
-
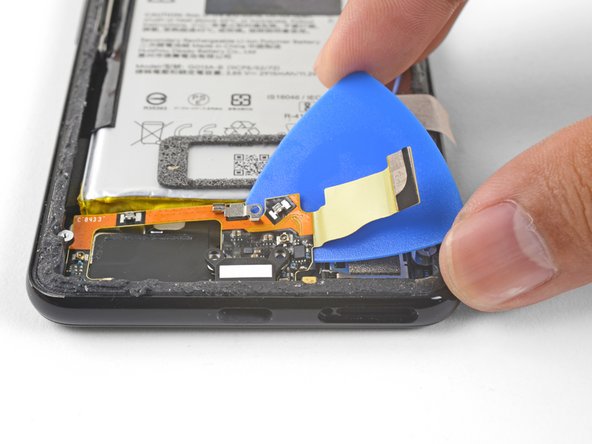
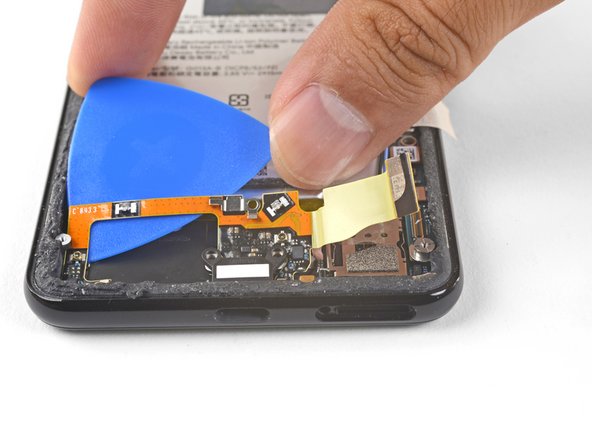
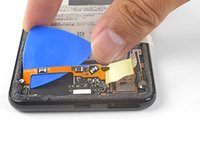
Insert an opening pick underneath the charging assembly's flex cable.
-
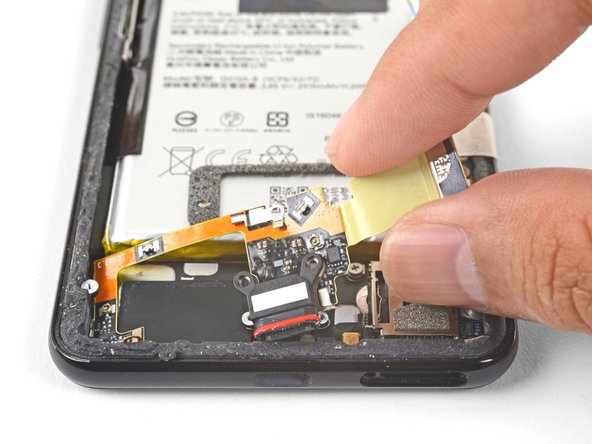
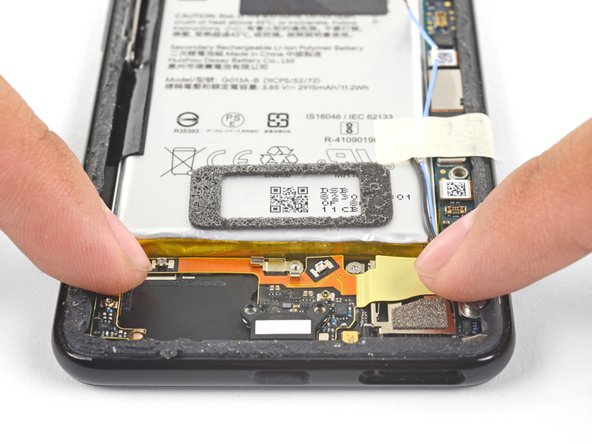
Slide the opening pick below the charging assembly to loosen it from the phone.
-
-
Tool used on this step:Tweezers$4.99
-
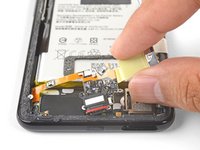
Use a pair of tweezers or your fingers to remove the charging assembly.
-
-
-
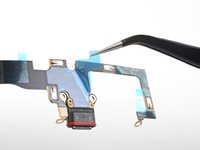
Be sure to remove all plastic liners from the assembly to expose the adhesive.
-
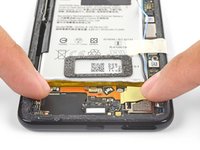
Line up the assembly's bottom left corner into place.
-
Carefully lay the rest of the assembly in place, making sure that the USB-C port is correctly seated in its respective cutout.
-
Use your fingers to press the assembly onto the frame.
-
-




To reassemble your device, follow these instructions in reverse order.
Repair didn’t go as planned? Check out our Google Pixel 3 Answers community for troubleshooting help.


