
Game Boy Advance Back Shell Replacement

What you need

  1. Game Boy Advance Back Shell Replacement, Prepare your Game Boy for disassembly: step 1, image 1 of 2 Game Boy Advance Back Shell Replacement, Prepare your Game Boy for disassembly: step 1, image 2 of 2
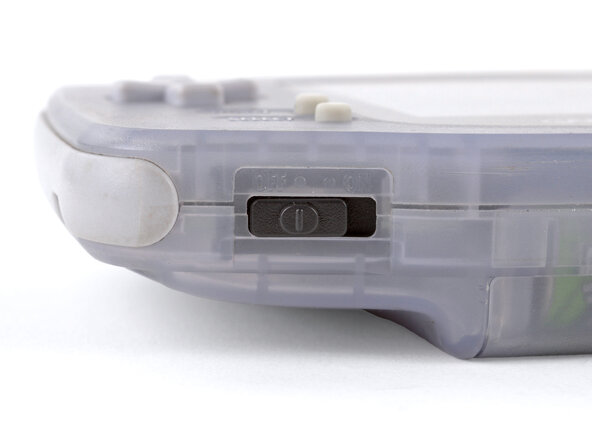
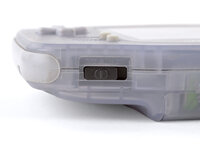
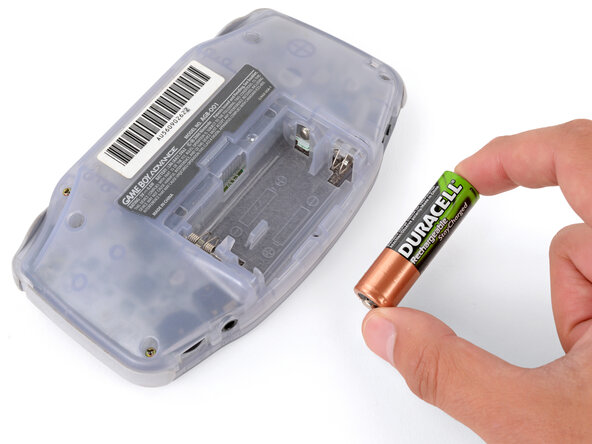
    • Before working on your Game Boy, turn the power switch to the OFF position and unplug any cables.

    • If you have a game cartridge installed, remove it.

    • Since your Game Boy will be laying screen‑side down for most of your repair, consider placing it on a clean cloth for protection.

  2. Game Boy Advance Back Shell Replacement, Remove the battery cover: step 2, image 1 of 3 Game Boy Advance Back Shell Replacement, Remove the battery cover: step 2, image 2 of 3 Game Boy Advance Back Shell Replacement, Remove the battery cover: step 2, image 3 of 3
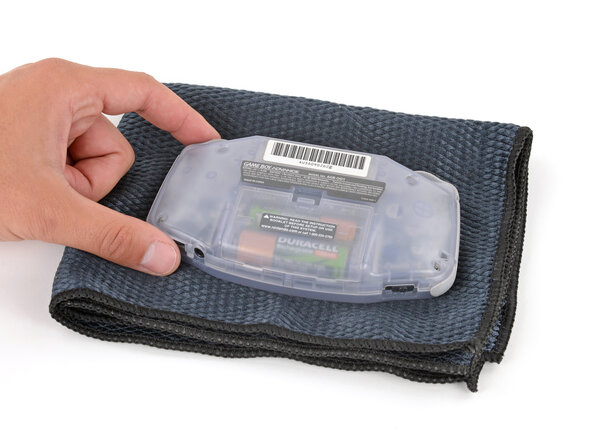
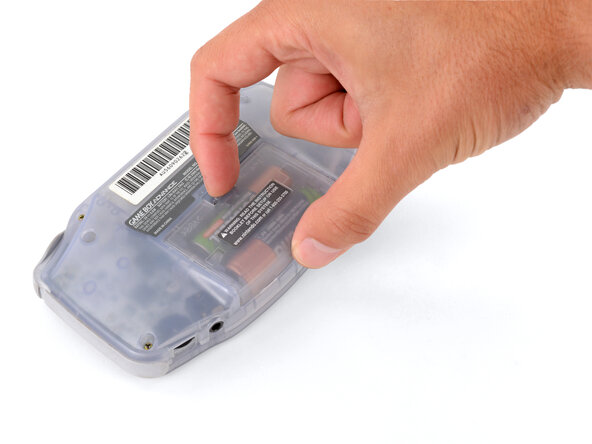
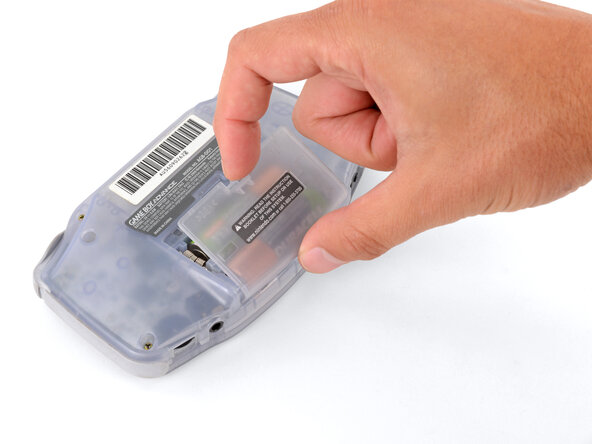
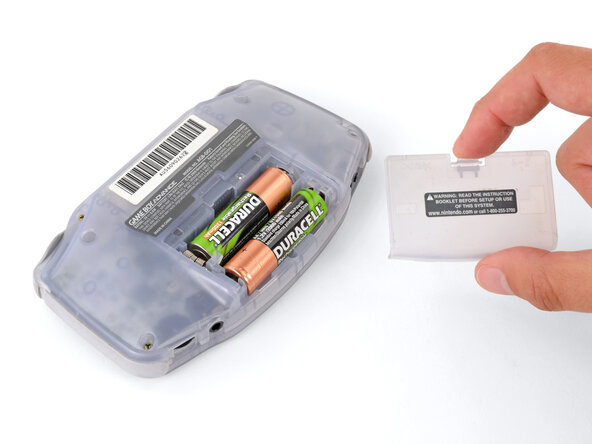
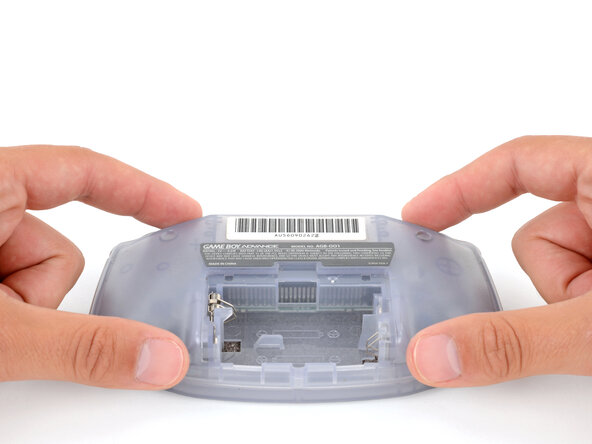
    • Release the battery cover tab with your finger and swing the cover away from your Game Boy to remove it.

    • During reassembly, insert the tabs on the bottom edge of the cover into their cutouts and press the cover into place.

  3. Game Boy Advance Back Shell Replacement, Remove the batteries: step 3, image 1 of 3 Game Boy Advance Back Shell Replacement, Remove the batteries: step 3, image 2 of 3 Game Boy Advance Back Shell Replacement, Remove the batteries: step 3, image 3 of 3
    • Remove the two AA batteries.

    • If the metal terminals are corroded, follow this guide to clean them.

    • When installing batteries, use the diagram in the battery well to properly orient them.

  4. Game Boy Advance Back Shell Replacement, Remove the back shell screws: step 4, image 1 of 2 Game Boy Advance Back Shell Replacement, Remove the back shell screws: step 4, image 2 of 2
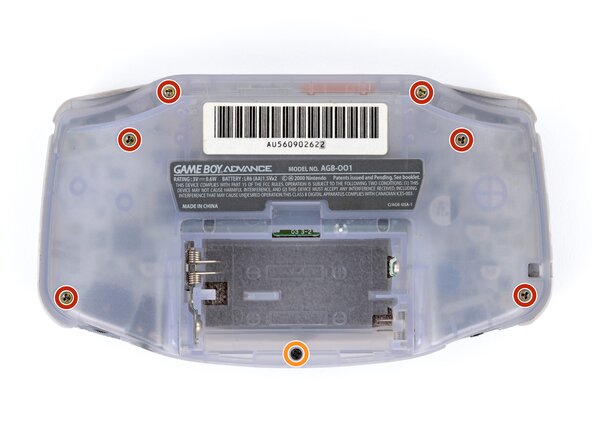
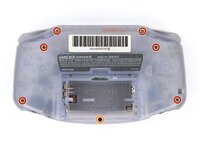
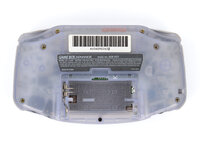
    • Remove the seven screws securing the back shell:

    • Six 9.4 mm‑long tri‑point Y0 screws

    • One 8.5 mm‑long JIS 1 screw

    • You can try to use a non-iFixit Phillips driver in a pinch, but you risk damaging or stripping screws. Push down firmly on the driver and twist slowly.

  5. Game Boy Advance Back Shell Replacement, Remove the back shell: step 5, image 1 of 2 Game Boy Advance Back Shell Replacement, Remove the back shell: step 5, image 2 of 2
    • Lift the back shell straight up and remove it.

    • During reassembly, squeeze the shell firmly around the edges and ensure the shoulder buttons and bumpers are properly seated with no large gaps. Gently test the buttons to make sure everything feels correct.

Conclusion

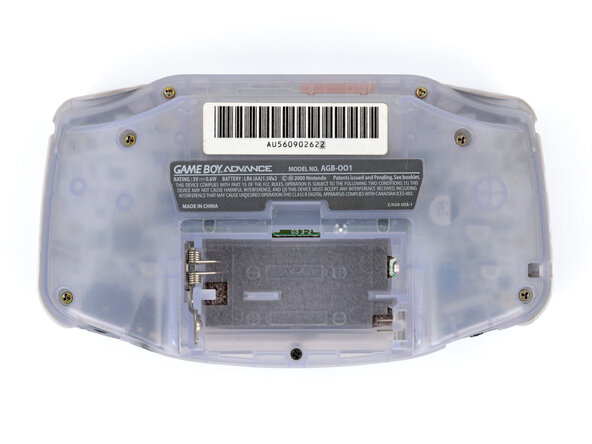
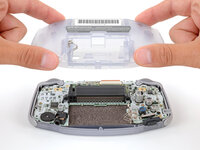
To reassemble your device, follow these instructions in reverse order.

Repair didn’t go as planned? Try some basic troubleshooting, or ask our Answers Community for troubleshooting help.

5 other people completed this guide.

Spencer Day

Member since: 09/14/22

149,269 Reputation

995 Guides authored

2 Guide Comments

Seeing the GBA-SP guide, could information here be added so we know which mm triwing screws the regular GBA backpanel uses?

Renzo Guichelaar - Reply

We've updated the guide, and it now includes the screw measurements.

Spencer Day -

Add Comment

View Statistics:

Past 24 Hours: 3

Past 7 Days: 40

Past 30 Days: 127

All Time: 12,396