Introduction
Use this guide to replace the Touchpad in your Framework 13 Laptop.
What you need
-
-
Unplug all cables and fully shut down your laptop from the OS.
 Ask FixBot
-
-
-
Use your Framework Screwdriver to loosen the five captive T5 Torx screws securing the Input Cover.
-
-
-
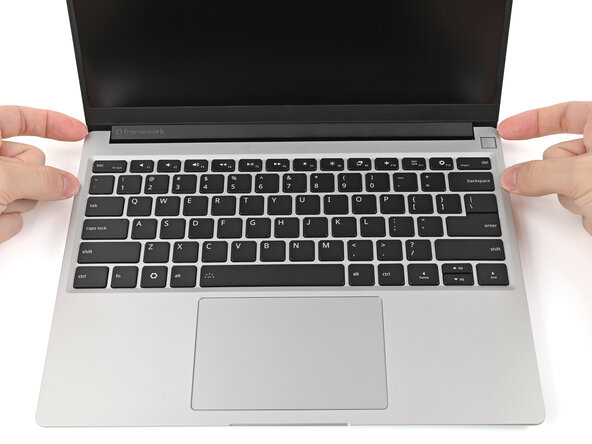
Flip over your laptop and open it.
-
Use your fingers to lift the Input Cover up and release it from its magnets.
-
-
-
Flip the top of the Input Cover so the Keyboard is facing down.
-
Rest the Input Cover over the Battery, making sure the Touchpad Cable isn't being strained.
-
-
-
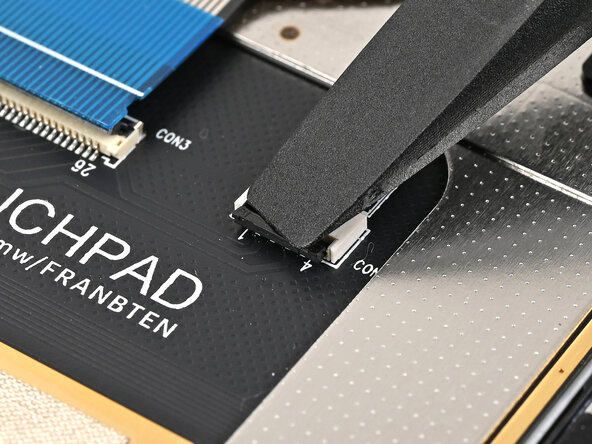
Insert your finger into the Touchpad Cable press connector loop.
-
Lift up to disconnect the Touchpad Cable from the Mainboard.
-
-
-
Fingerprint Reader Cable
-
Keyboard Membrane Cable
-
Keyboard Backlight Cable
-
The replacement touchpad comes with a Touchpad Cable pre‑installed, so you don't have to disconnect it.
-
-
-
Use the flat end of your Framework Screwdriver, or a clean fingernail, to lift up the locking tab on the Fingerprint Reader ZIF connector on the touchpad.
-
-
-
Use your fingers to lightly grip the Fingerprint Reader Cable and slide it straight out of its socket.
-
-
-
Use the flat end of your Framework Screwdriver, or a clean fingernail, to lift up the locking tab on the keyboard membrane ZIF connector on the touchpad.
-
-
-
Use your fingers to lightly grip the keyboard membrane cable and slide it straight out of its socket.
-
-
-
Use the flat end of your Framework Screwdriver, or a clean fingernail, to lift up the locking tab on the keyboard backlight ZIF connector on the touchpad.
-
-
-
-
Use your fingers to lightly grip the keyboard backlight cable and slide it straight out of its socket.
-
-
-
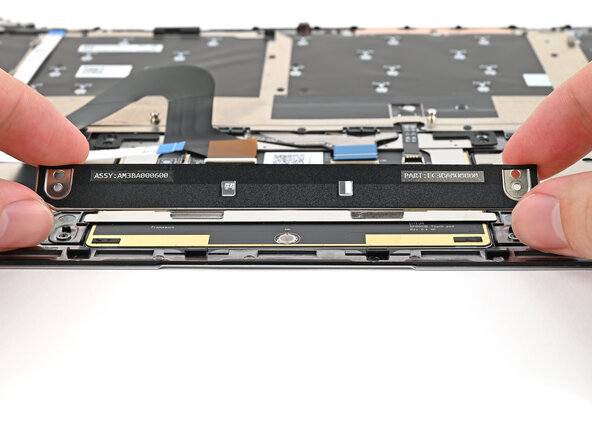
Use your Framework Screwdriver to remove the two 1.8 mm‑long Phillips screws securing the touchpad bracket.
-
-
-
Lift the touchpad bracket towards the top of the Input Cover to release its two metal clips.
-
Remove the touchpad bracket.
-
-
-
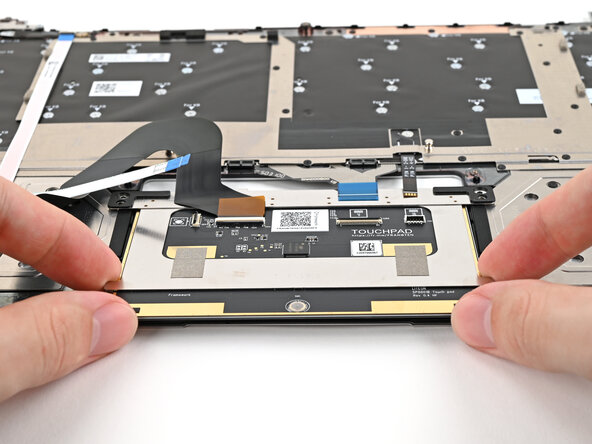
Use your Framework Screwdriver to remove the two 1.8 mm‑long Phillips screws securing the touchpad.
-
-
-
Use your fingers to lift the bottom edge of the touchpad and pull it towards the bottom edge of the Input Cover to release its two metal clips.
-
Remove the touchpad.
-
-
-
Congratulations on completing disassembly! The remaining steps will show how to reassemble your Framework Laptop.
-
-
-
Fold the six plastic tabs over the edge of the Touchpad.
-
-
-
Slide the metal tabs on the touchpad under its indentations in the Input Cover.
-
Align the screw holes on the touchpad with the ones on the Input Cover.
-
-
-
While holding the touchpad in place, use your Framework Screwdriver to install the two 1.8 mm‑long Phillips screws securing the top of the touchpad.
-
-
-
Slide the metal clips on the touchpad bracket into its slots on the Input Cover.
-
Press the bracket flat onto the Input Cover.
-
-
-
Use your Framework Screwdriver to install the two 1.8 mm‑long Phillips screws securing the touchpad bracket.
-
-
-
Slide the keyboard backlight cable straight into its socket.
-
-
-
Use the flat end of your Framework Screwdriver, or a clean fingernail, to press down the locking tab on the keyboard backlight ZIF connector.
-
-
-
Slide the keyboard membrane cable straight into its socket.
-
-
-
Use the flat end of your Framework Screwdriver, or a clean fingernail, to press down the locking tab on the keyboard membrane ZIF connector.
-
-
-
Slide the Fingerprint Reader Cable straight into its socket.
-
-
-
Use the flat end of your Framework Screwdriver, or a clean fingernail, to press down the locking tab on the Fingerprint Reader Cable ZIF connector.
-
-
-
Flip over the Input Cover and peel off the Touchpad's protective film.
-
Check if the Touchpad is aligned evenly with the sides and the bottom of the Input Cover. If it's misaligned, remove the Touchpad screws, adjust the Touchpad, and reinstall the screws.
-
-
-
Before continuing, check the Touchpad Cable's ZIF connector located on the back of the Touchpad:
-
Make sure the white line on the cable is parallel to and adjacent with the socket.
-
If the cable isn't inserted far enough, use the flat end of the Framework Screwdriver to flip up the black latch, reposition the cable, and lock the latch.
-
-
-
Position the Input Cover, Keyboard down, on top of the laptop so it just covers the battery.
-
-
-
Insert your finger into the Touchpad Cable press connector loop.
-
Align the press connector over its socket and press down with your finger.
-
-
-
Flip the Input Cover over the laptop and align the bottom edges.
-
-
-
Use your Framework Screwdriver to tighten the five captive T5 Torx screws securing the Input Cover.
-


You finished fixing your Framework Laptop!
Take your e-waste to an R2 or e-Stewards certified recycler.
If you need help, contact Framework support.
