Introduction
Use this guide to replace the LPCAMM2 interposer in your Framework Laptop 13 Pro.
What you need
-
-
-
Unplug all cables and fully shut down your laptop from the OS.
 Ask FixBot
-
-
-
-
-
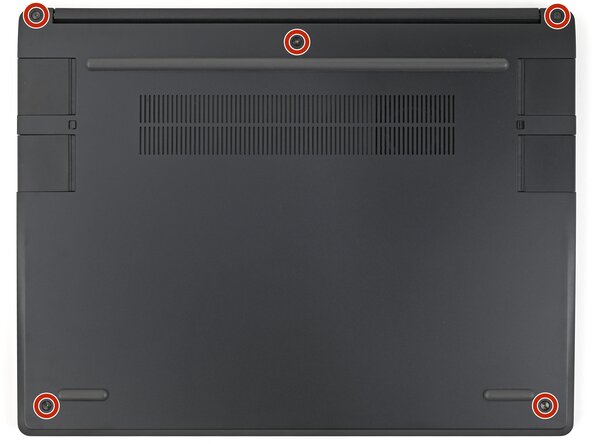
Use your Framework Screwdriver to loosen the five captive T5 Torx screws securing the Input Cover.
-
-
-
Flip over your laptop and open it.
-
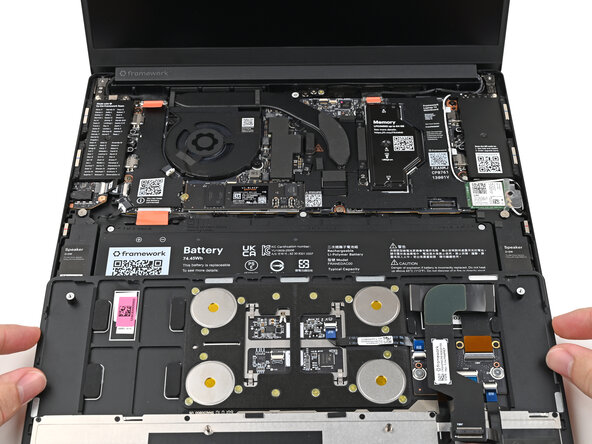
Use your fingers to lift the Input Cover up and release it from its magnets.
-
-
-
Flip the top of the Input Cover so the Keyboard is facing down.
-
Rest the Input Cover over the Battery, making sure the Touchpad Cable isn't being strained.
-
-
-
Insert your finger into the Touchpad Cable press connector loop.
-
Lift up to disconnect the Touchpad Cable from the Mainboard.
-
-
-
-
-
Use your Framework Screwdriver to loosen the captive T5 Torx screws securing the LPCAMM2 Memory Cover in reverse order from 3–1.
-
-
-
-
Lift the LPCAMM2 Memory Cover straight off the memory and remove it.
-
-
-
-
-
Grip the LPCAMM2 module by its edges and lift it straight off its alignment pegs to remove it.
-
Make sure there's no dust or debris on top of the Interposer before continuing.
-
-
-
-
-
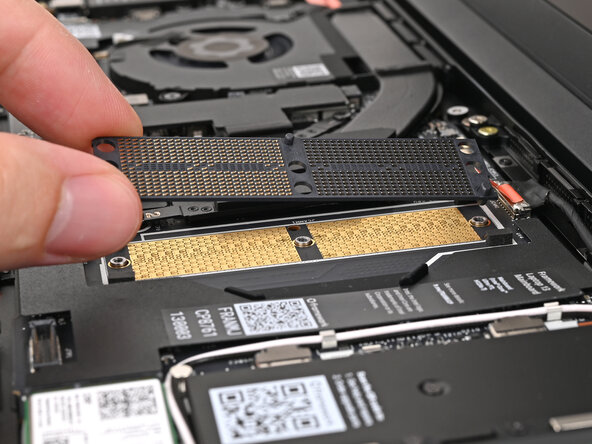
Use a fingernail to lift up the bottom edge of the Interposer until you can grip its edges with your fingers.
-
Lift the Interposer straight off its alignment pegs and remove it.
-
-
-
-
-
Congratulations on completing disassembly! The remaining steps will show how to reassemble your Framework Laptop.
-
-
-
-
-
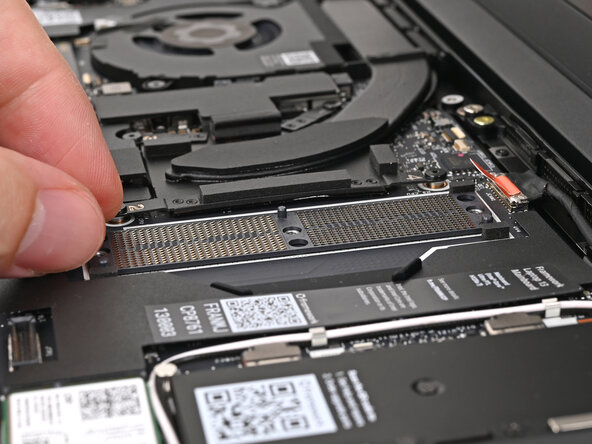
Place the Interposer onto the Mainboard, making sure it slots in properly and that it sits flat surrounded by four sponges.
-
-
-
-
-
Place the LPCAMM2 module on top of the Interposer, making sure it slots into its alignment pegs.
-
-
-
-
-
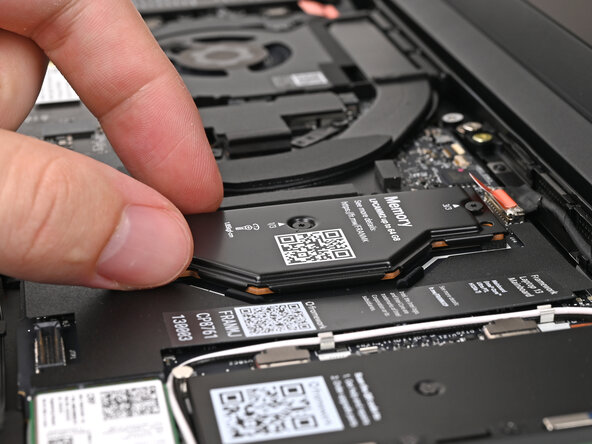
Place the LPCAMM2 Memory Cover on top of the memory, making sure its screws align with the screw holes.
-
-
-
Use your Framework Screwdriver to tighten the captive T5 Torx screws securing the LPCAMM2 Memory Cover in order from 1–3.
-
-
-
-
-
Position the Input Cover, Keyboard down, on top of the laptop so it just covers the Battery.
-
-
-
Insert your finger into the Touchpad Cable press connector loop.
-
Align the press connector over its socket and press down with your finger.
-
-
-
Flip the Input Cover over the laptop and align the bottom edges.
-
-
-
Use your Framework Screwdriver to tighten the five captive T5 Torx screws securing the Input Cover.
-
-

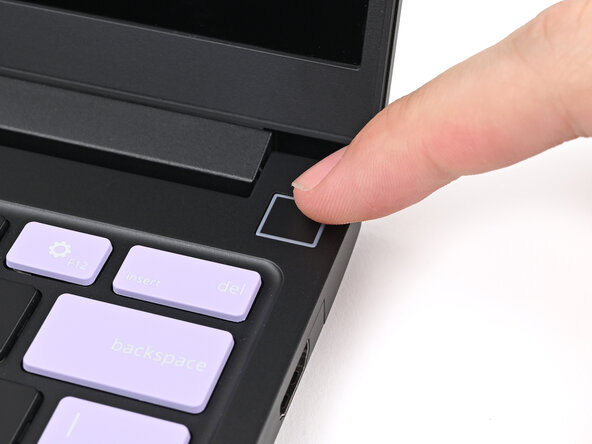


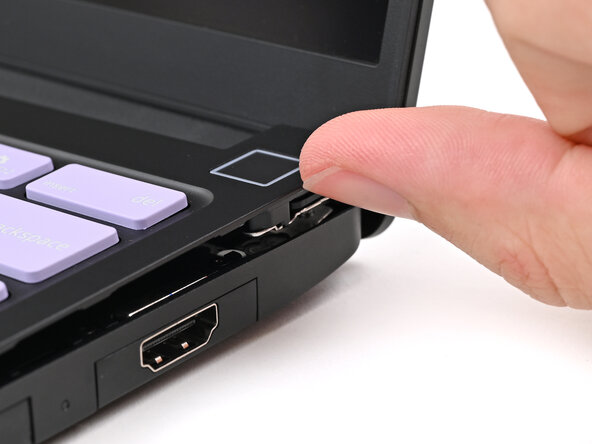


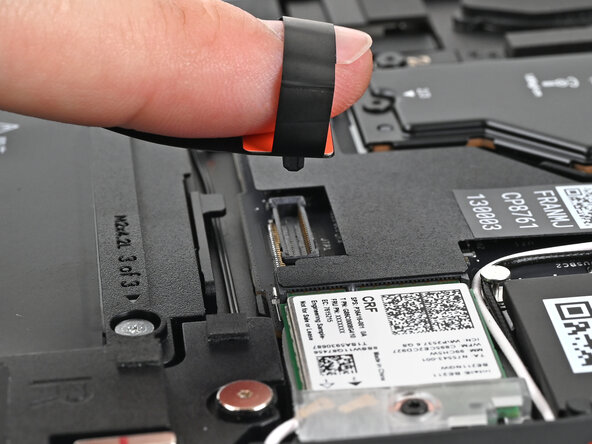


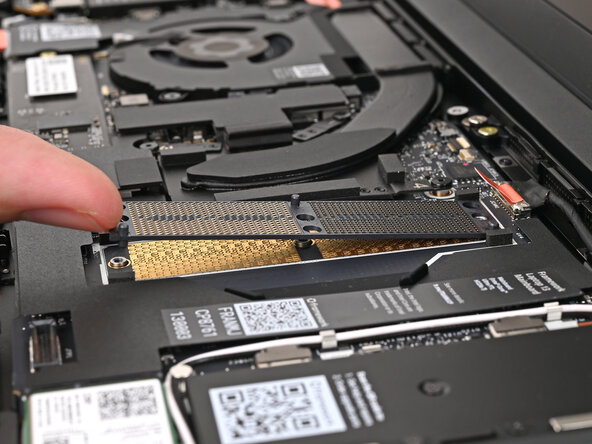











You finished fixing your Framework Laptop! The first boot will take longer and start with a “Memory Training in Progress” screen. If you run into any errors during Memory Training, please see this page.
Take your e-waste to an R2 or e-Stewards certified recycler.
If you need help, contact Framework support.

